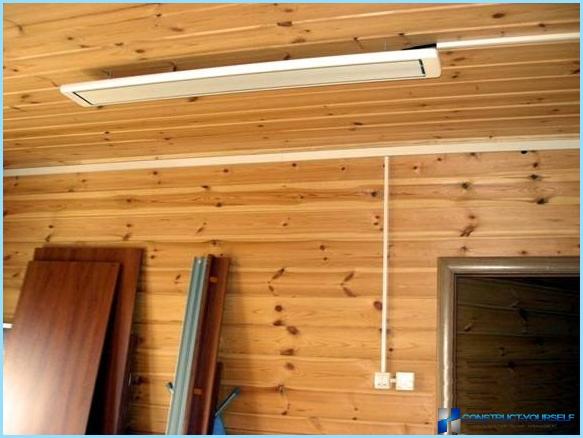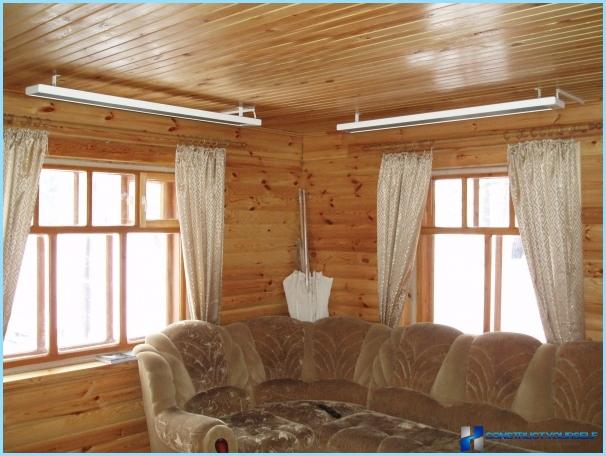
Infrared panels every year are gaining more and more popularity. They are easy to use and provide fast heating of the room, and a built-in thermostat allows you in few clicks to set the desired heating temperature. Moreover, the installation of infrared heaters with your hands is quick and easy if you follow the instructions. Other advantages of this equipment could be considered:
- long life;
- quiet;
- security;
- spot heating;
- the possibility of using open space.
It is not surprising that many people are interested in installation of infrared heaters with your own hands. This process does not require special skills and takes about 25 minutes to a half hour.
Training ↑
Necessary tools ↑
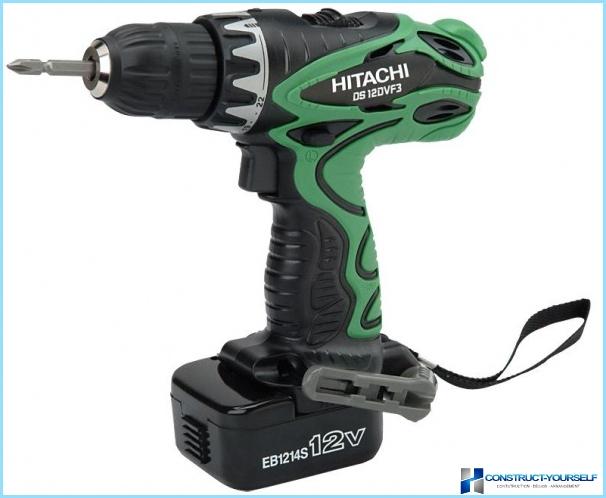
To install the infrared heater was as it should be, you must have tools:
- screwdriver;
- screwdriver;
- pliers;
- roulette.
As necessary, it is possible to use more sophisticated equipment. For example, if you are interested in installation of infrared heaters in the amount of several pieces, for calculations it is best to use a pyrometer. It will help identify the warmest and coldest places of the room. Based on the information received, you will choose the best location for each device.
Safety ↑
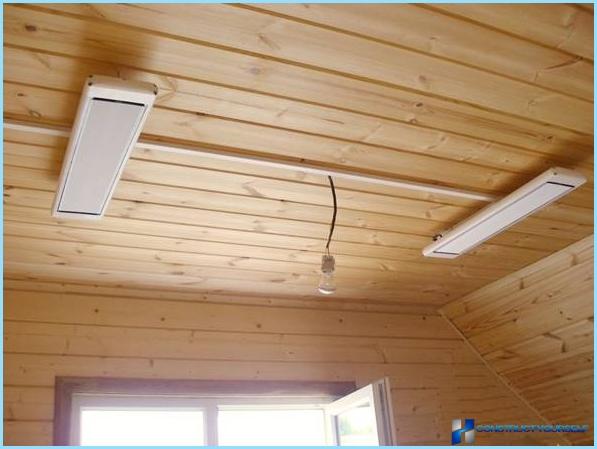
There is a set of measures that will prevent accidents during the installation and operation process:
- Do not install the IR panel near flammable and explosive objects;
-
Electric cables should be laid on non-combustible base;
-
Fasteners must not touch the heating element;
-
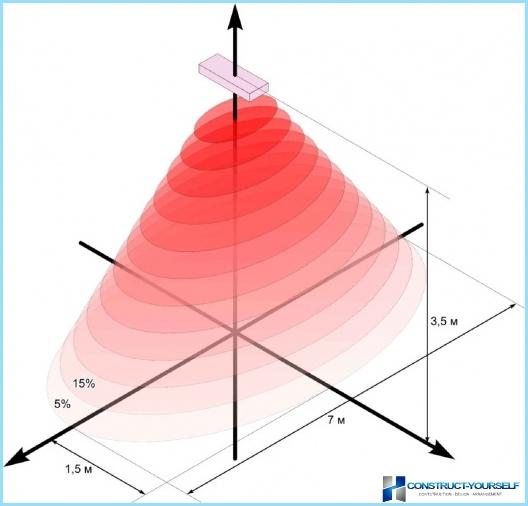
The height at which to hang the panel is 2.5—3.5 meters;
-
For a house or flat purchased vehicles with a capacity of not more than 800 Watts.
Device cannot be switched on until the completion of the installation. The apparatus should have an appropriate degree of protection, if the panel is mounted in the bath or sauna. Under these rules, the installation of the infrared heater goes quickly and without complications.
Installation guidelines ↑
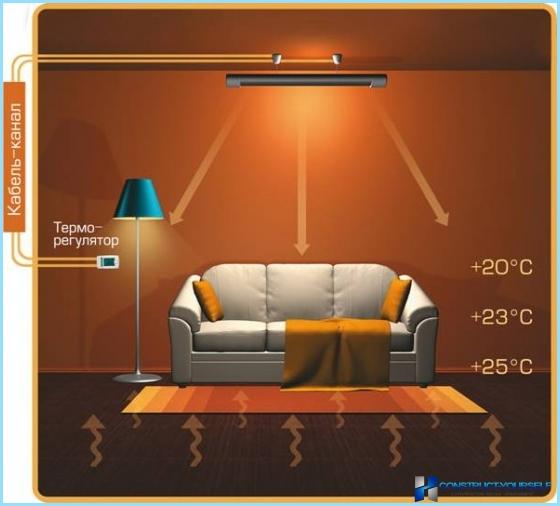
When installing radiant heaters with their hands, it is necessary that the distance between the ceiling and the housing is not less than 3 millimeters. In the country houses of panel carry out to heat the external space, for example, a summer kitchen. In such cases, to increase efficiency it is necessary to put under the body insulating material or foil.
Installation ↑
The installation process ↑
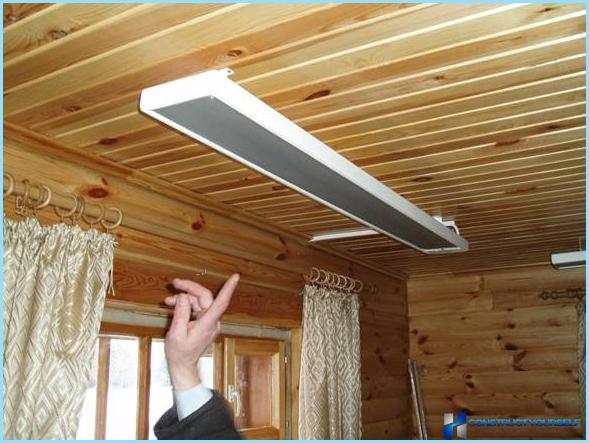
To install the infrared heater was as simple as possible – it is better to place the panel in connector to the wall. In most models, the self-locking contacts. The package includes mounting the device to the ceiling.
The installation process includes the following steps:
- remove the unit from the packaging and place on any flat surface of the heating plate down;
- mark the mounting location and make some holes;
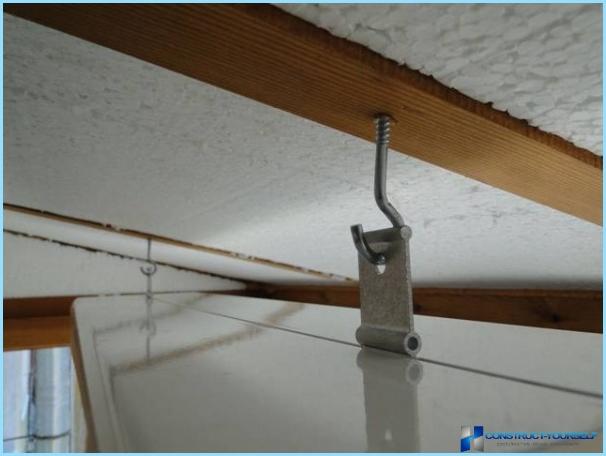
- screw the screw-ring;
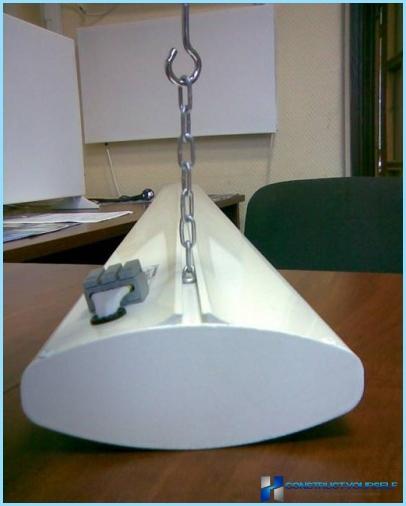
- hang the chain, adjusting height (if needed).
- mount the device using mounting hooks or brackets.
As you can see, the installation of infrared heaters with your own hands is not a particularly complicated process. Also, the panels can be mounted on the wall, but the heating effect will be much less.
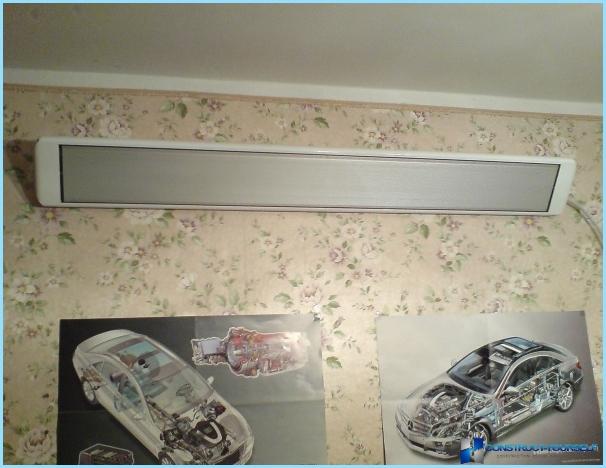
Installation of different models of infrared heaters:
The network connection ↑
The device connects to the thermostat, which will maintain the desired temperature. This is done through three terminals: «earth», «phase» and «zero». Accordingly, the lead-in cable must be three-core. Alternatively, you can use PVA 3×1,5.
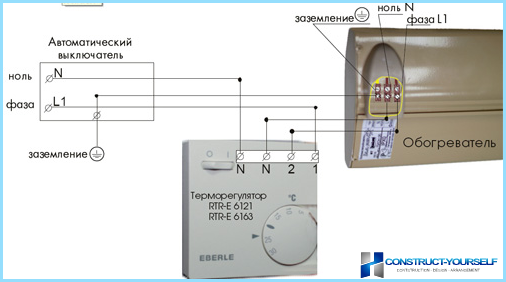
The cable ends are connected to the terminals. The polarity is indicated on the ends of the wires. After the device is installed and connected, it is advisable to wipe it with an alcohol solution before switching.
Connect multiple devices ↑
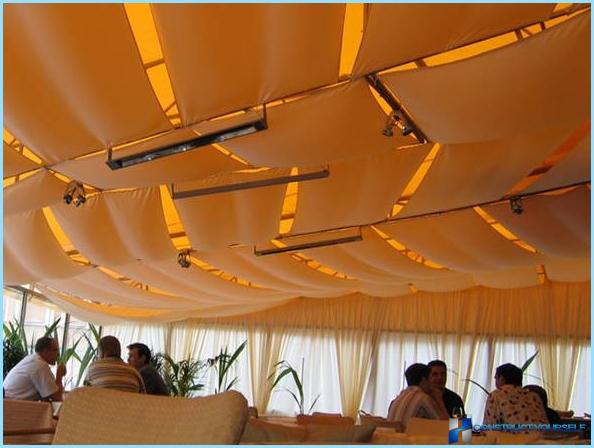
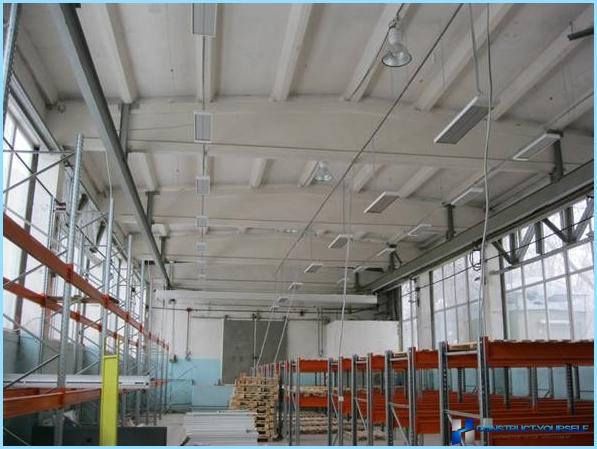
If you are interested in installation of infrared heaters with your hands in large rooms, it is necessary to take into account that you will need some AIDS. To ensure a smooth operation, all the panels are connected to one thermostat. This will effectively regulate the temperature throughout the facility.

