The contents
- Additional quality windmill
- The role of the windmill in landscape design
- Do a windmill with your hands
- Choose a place and prepare it
- Create a plan
- Selection of the right to work tools and materials
- Markup design
- Treatment
- Assembly
- Decorating
The era of farming long gone many centuries ago, but this does not mean that all practices of the time now nothing. For example, today we will talk about how to make a windmill with your hands.
You should start with why this is, in General, need? Hardly anyone because it will grind the wheat into flour. Yes, and the cultivation of millet are professionals and farmers in all the production processes meets modern technology. However, more and more gardeners are wondering how to make a windmill with your hands?
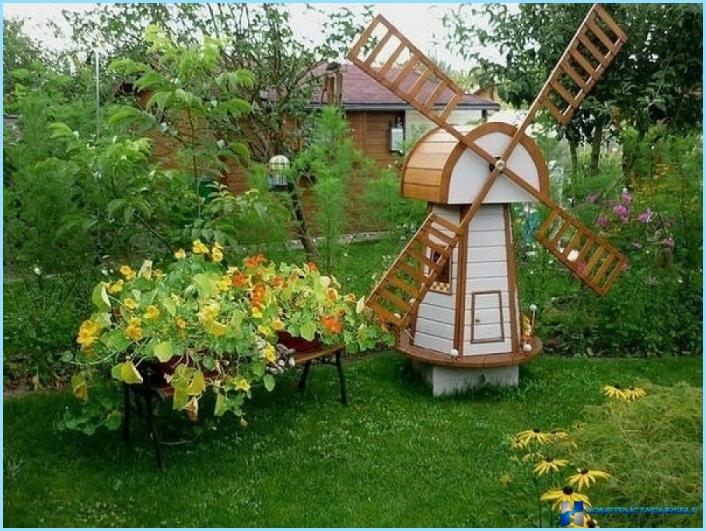
Due to such excitement is quite easy — a windmill which can easily be done with your own hands is a great landscaping element that makes the area truly unique. To sell the garden, which has this feature is much simpler than the plot, as two drops of water similar to the adjacent.
In today’s world uniqueness is valued above all else. Therefore, if you decide to make a windmill with your hands — this will transform your garden. Besides, with due diligence and a small excursion into physics you will be able to use this structure as a source of energy.
Windmill at their country house may not only be a element of the landscape that you made with your own hands, but also the wind energy Converter. This will significantly save the family budget.
Additional quality windmill ↑
Before choosing a place to install a windmill, you have to consider that this building, which you make with your own hands, can have several purposes:
- The windmill can hide a number of unsightly areas of your site like a manhole.
- Some windmills that you can do with their hands, made of light materials. As a result are able to minimize their size. Therefore, these structures are often used as protective caps for valves, pipes and other engineering facilities.
- The construction can be used as a house for children to play. This will take a bit to enlarge the design, but nothing unrealistic here. Most importantly, make it sustainable and do not forget about the entrance.
- In the construction of large size, made for the mill with his own hands, it is possible to store various garden tools. In fact it will be a utility room.
- The stone mill can also be used as grill.
- This structure with slight modification can be used as a Scarecrow for moles. Enough to dig deep into feet by 20 inches that vibrations from the construction that will occur during the rotation of the blades, transmitted to the earth.
As you can see, the windmill that you make with your own hands, you can find a variety of uses, as an element of landscape design.
The role of the windmill in landscape design ↑
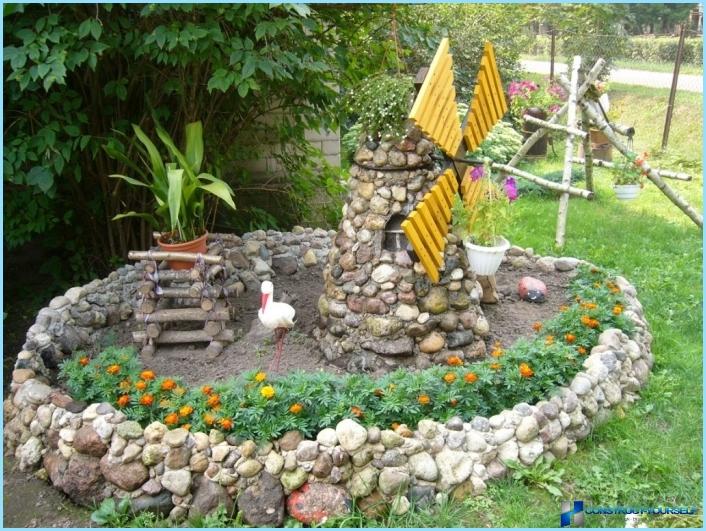
The modern world is so diverse that in order for the site to be the best, simple enough care and smooth garden — beds need to stand out. Thus it is necessary to do all with mind. After all, landscape design is a complex science that takes into account the many nuances.
For example, when selecting vegetative cover such factors as:
- shadow,
- humidity,
- a combination with other cultures,
- required irrigation system etc.
One of the most trendy elements of landscape design at the moment is considered the windmill. The most important advantage of such construction is that the design can be made with your own hands.
Do a windmill with your hands ↑
Choose a place and prepare it ↑
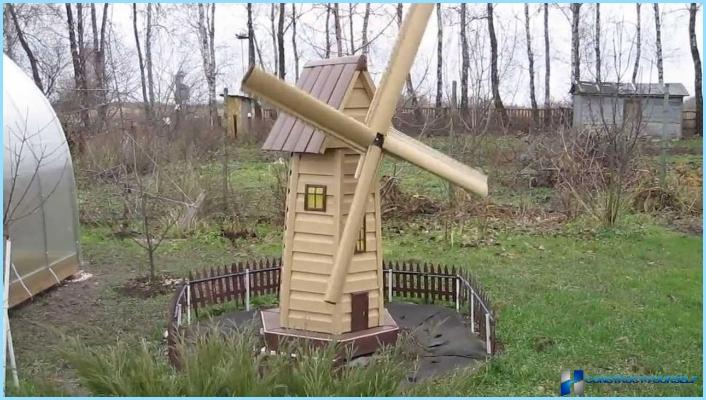
The construction of the windmill is a much more important event than it might seem at first glance. You need to consider many factors to get a really worthwhile element of landscape design.
It is best to install a suitable open space. First, here are the blades of the mill will almost always spin, and secondly, to compile the design in open space is much easier, because nothing will disturb you.
Once you find a suitable place for the installation will need to clean up the site. Remove all hindering the construction of the bushes and stumps. If the grass is too high — cut it with the lawn mower.
The ground before installation must be carefully leveled. Only then you can start laying the Foundation or the platform. To choose the right place, you should be clear about how it will look your future construction.
Create a plan ↑
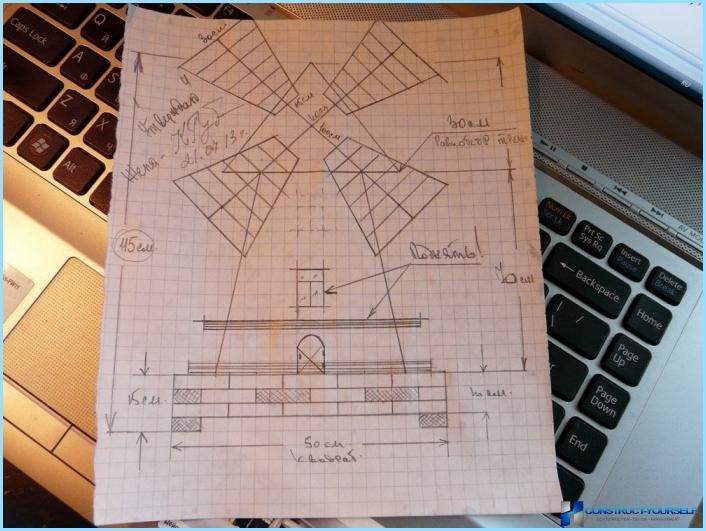
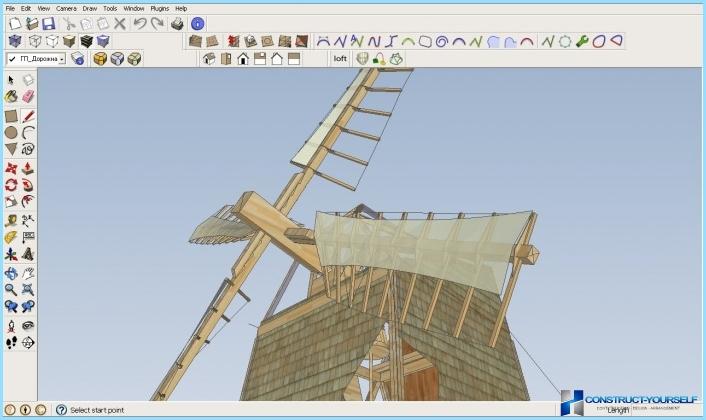
As an example, take the basic design, which needs a fraction of the effort will be able to build everyone. It all starts with creating a plan:
- Draw a sketch of the layout.
- By drawing calculate what the sizes should be in each part of the windmill that you want to do with their hands.
- Select the optimal material from which made the main design elements. The best choice is pine. It has high performance. While its cost is acceptable.
After with the plan and drawing it all sorted you can start to direct the process of Assembly.
Selection of the right to work tools and materials ↑
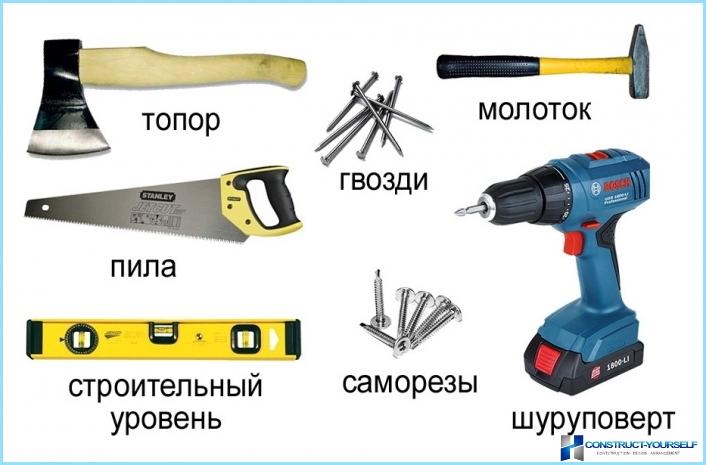
To create good structure you will need these tools:
- Line to create angles.
- Pens, markers, pencils, compass, markers.
- Construction roulette.
- Drill with a set of different-sized nozzles.
- Screw gun or screwdriver. For this purpose, you can use a regular drill with a special nozzle.
- Hammer, saw, fretsaw.
- Bolts, nails, washers, screws, screws. The length of the elements directly depends on how thick of a Board you will use.
- Sandpaper for grinding elements. You can also use grinding machine.
Using these tools you can own hands to make a great windmill, which will be a great addition to your concept of a suburban landscape. To implement the idea you will need these materials:
- To make a windmill with your hands often use plywood or battens. Wide planks are great for the body.
- To make the wall with their hands use sticks.
- For plating, you can use any material.
- To make blades use metal rods or tubes.
- Corners.
- The roof can be made of plywood. As fastening elements, use Reiki.
- In order to secure the blade with his hands you will need a spire and bearing.
After all materials and tools are collected, you will be able to make a windmill with your hands.
Markup designs ↑
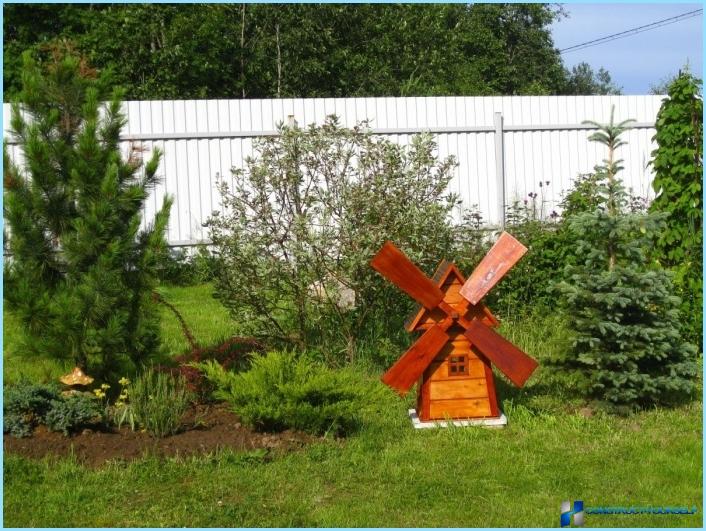
After all the drawings are made, and the necessary equipment is assembled, you can proceed directly to the layout design with the help of their hands:
- Mark four squares on the base. Each 25 centimeters. Each square should be divided into four equal parts. In the middle of the hole.
- Draw four blocks for the sides. The details are best cut from solid pieces of wood. The ratio is 35 to 54 cm.
- The walls can be done easily with their hands in the shape of a trapezoid. This will give a windmill is a truly decorative look.
- Trapezoidal walls of the windmill, which you will do with your hands, consist of six parts, which must be securely attached to each other. Each next part is smaller than the previous two centimeters. Accordingly, the first will be of 35 cm, and the last 25.
- In order to design were reliable need to make a strong frame. When you use quality materials you can do all this with your own hands.
- To make a frame with your hands you’ll need bars. In cross section these elements will meet the following parameters 40 by 40 millimeters. For the project you will need the whole set: eight pieces for 54 and 38 cm, and six pieces 36 cm.
- To make a secure frame with your hands will also need four bars 54 and four by 10 inches. The cross section of each element 30 by 30 mm.
- Create the roof of the windmill will require you to create the layout using templates.
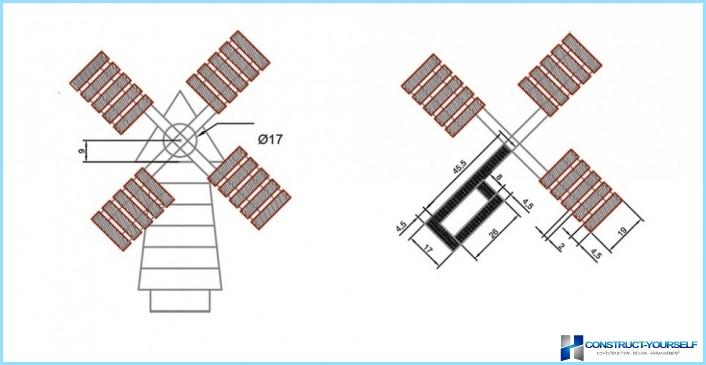
- Draw a line on the 38 see indent exactly in half and draw another one on the 30 cm side seam triangle 35.5 cm. According to this pattern need to handle 10 sheets. They will later play the role of rays.
- Blade for a windmill have to do with their hands as in the diagram elements 45 by 15 mm. will be Just four parts, each of which to fix the items with such characteristics: single 91 cm, 20 to 19, 45,5 two, four, eight, 26 and 17.
- Draw two circles the diameter of each is 17 cm.
After you make the layout of the windmill with his hands — carefully cut out all the elements, Polish them, treat special trains and only then start the final Assembly.
Processing ↑
For impregnation of wood is best to use the following compositions: Pinotex, Aquatex, the Belinsky library.
Each of them was able to prove itself as a reliable means to protect the wood from weathering and insects. These substances will allow you not to worry about the safety of the windmill, collected and installed their own hands.
Assembly ↑
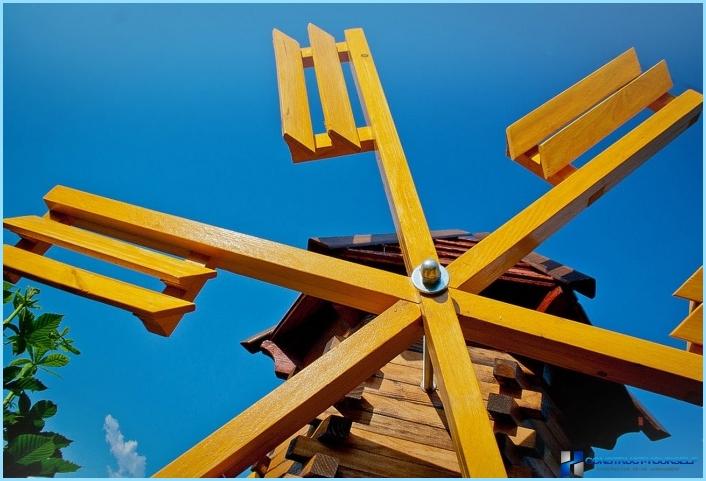
After you finish all parts of the windmill, it will be possible to begin to build with their hands. Just follow the instructions and you will be able to do yourself:
- Fasten the side pieces with rods.
- To make the base of a windmill with your hands, use two squares that have holes in the middle.
- Connect the base and body of the windmill with screws.
- We put together two triangles, bases of which are equal to 38 cm, and the sides 35 and a half.
- On both sides attach the plywood triangles.
- The roof needs to do in two parts. Each will go to five pre-cooked items.
- Windmill windmill construct your own using wooden strips.
- The ends of the blades, secure the short rail and screw the circles in the center. Then drill through the middle holes and install studs. Also have to do with the end.
- Secure spire. The entire structure will seal nuts.
At the end put the cap on the body that you made with your hands and secure all screws.
The detailed process of Assembly of the device of the windmill you can see in the video from below.
Decorating ↑
Once you have made a windmill solely because of their hands, you must give it the appropriate look. You can use varnish. It will give your structure completeness.
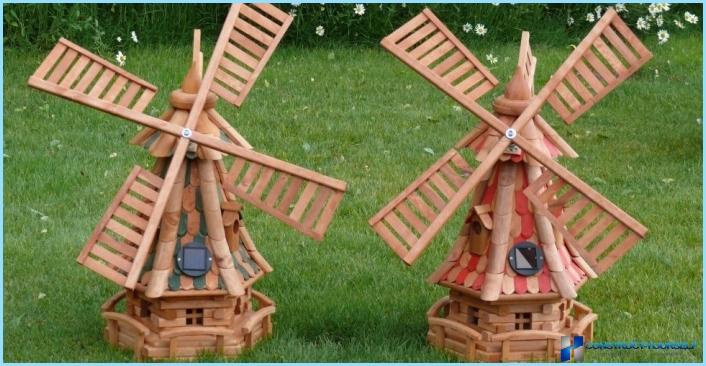
To give the windmill, additional entourage elements can be painted in different colors. Also, you can add images like flowers, butterflies or insects. Each of them is easily done with your hands, if you use a little imagination.
The results ↑
As you can see, to make a windmill for everyone. Importantly, in the initial stages to draw the correct markup and to find a good place. Also you need to decide what unique qualities will have the structure.

