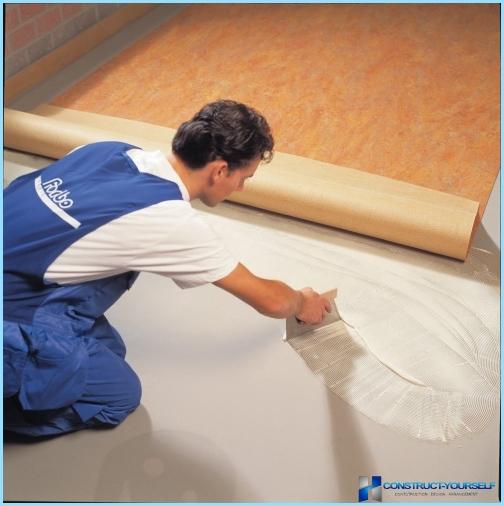
Modern building materials market offers buyers a variety of floor coverings that differ in price range, and technical indicators. Among this diversity, we note the material that appeared in the middle of the last century, the popularity of which has remained unchanged for several decades. Linoleum has excellent performance, reasonable cost, easy installation. The owners of city apartments the question often arises at the laying of the floor material with their hands, consider this question in detail.
Tools ↑
In order to properly lay the linoleum, you will need the following tools:
- pencil;
- roulette;
- metal ruler;
- stationery knife.
The list of basic instruments may also complement a screwdriver, nail puller, hammer, roller and brush.
The stages of work ↑
Professionals there are two main steps of laying linoleum.
- Execution of preliminary works.
- Direct paving.
In the preparation phase should be taken from the premises all furniture, to ensure free access to the floor.
Floor preparation ↑
This phase involves leveling the surface, since the linoleum is laid on a smooth and flat floor. All the irregularities present on the floor, need to fix.
Hardwood floors ↑
In country houses, mainly wooden floors, the preparation of which should be treated with great responsibility.
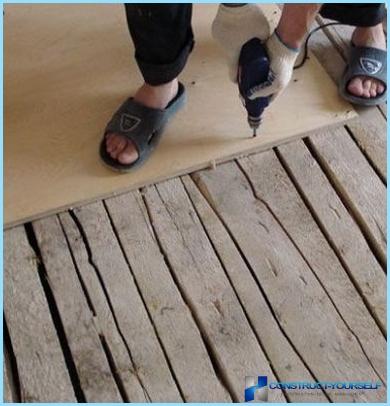
When installing roofing on a wooden floor, proceed according to the following algorithm:
- Dismantle all the old skirting boards at the perimeter of the room. Instead, it’s better to use the new PVC floor. Inspect the condition of the floor surface. Removes all debris accumulated under the baseboards.
- All wood floors raised, tightly sliding Board, eliminating the gaps between them. In identifying substandard boards, concurrent replacement.
- After all the cracks between the boards are removed, it is necessary to treat the surface. Armed with a grinding machine or a hand plane, you need to walk around the perimeter of the floor. To simplify leveling the floor, you can use plywood, laying it with a small offset. For fixing plywood, use parquet adhesive. All gaps between the plywood sheets should be treated with mastic, efficiently dried, ProClarity nails (if necessary).
- Upon detection of scratches, eliminate such problem. All rotten boards eliminate, replace them with new ones. Protruding nail heads gently hammer a hammer, deeper tightening all the screws.
- In the presence of elevation changes, Board level, using stands or by sanding. Eliminate large cracks with putty, then primed, treated floors special antiseptic.
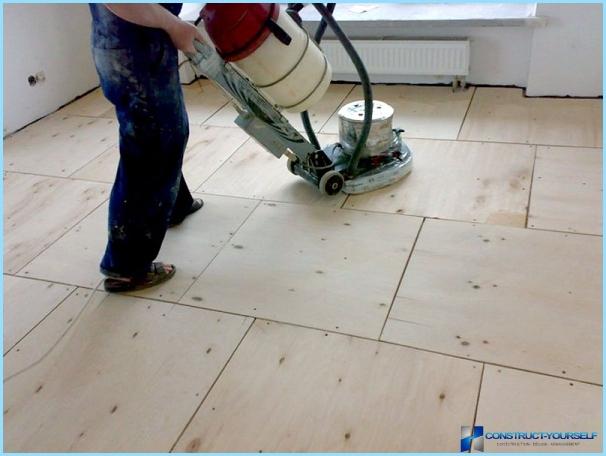
Concrete floor ↑
For modern apartment buildings are typical concrete floors. For their alignment and strengthening, it is important to use resin floors, created on the basis of cement. It is quite possible to do this on their own, without attracting of qualified specialists.
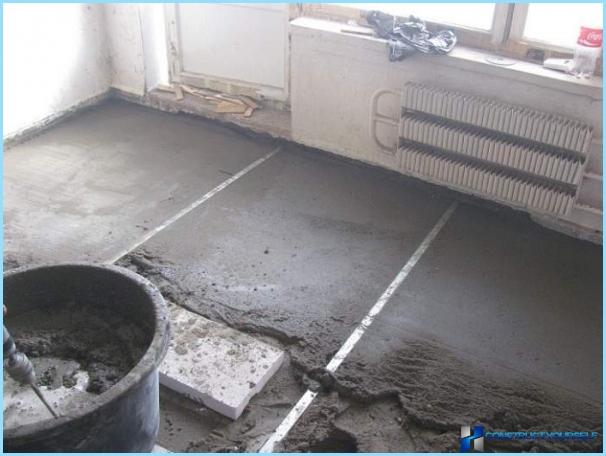
If you have a room or self-leveling concrete floor, the preparation is performed according to a specific algorithm:
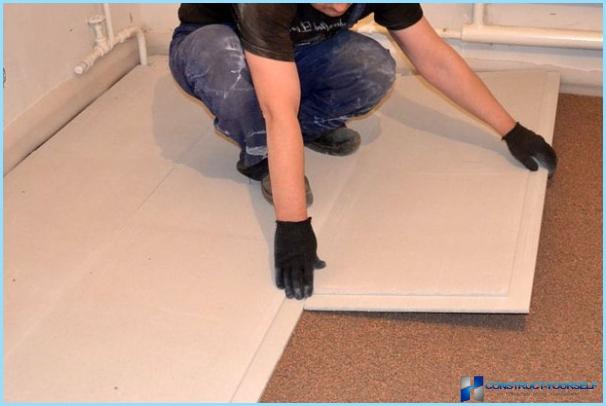
- First you need to conduct a visual inspection of the floor surface to remove debris. When it detects sudden changes in height, problem solve using concrete or levelling compounds. If the differences are too large, you can build a wooden frame, then lay the chipboard sheets. All seams between sheets must be carefully putty.
- Then performed the laying of the decorative coating.
Tiled floor ↑
When laying linoleum on tile, first examine the surface, assess the condition of the tiles. In case of detection of broken or chipped tiles, you need to change them. All the joints between the tiles thoroughly overwritten, getting a smooth surface.
If you cannot level a floor, covered with ceramic tiles, remove tiles, or cover the tile chipboard sheets. Minor irregularities can be eliminated by using a lining underneath the decorative material.
Laid linoleum ↑
After the base is ready, you can proceed to laying linoleum own hands. We offer step by step instructions.
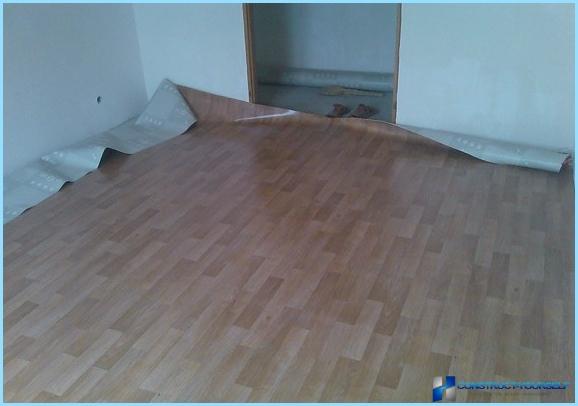
Before you start laying the linoleum, put him in the room, spread out at room temperature for 10-12 hours.
Similar «the trick» help you to eliminate all the waves to avoid mistakes when cutting the material. To attach the decorative material in two main ways: by welding or by a double-sided tape. The choice of technology installation depends on the surface humidity of the room, kind of linoleum. Small room require the laying of linoleum in the width of the roll, but for the apartments with a modern layout not that wide.
Option plank styling ↑
The perimeter of the room cut out the linoleum, making the seam allowance on each side in 10-15 cm In the process of operation of linoleum possible shrinkage, if you don’t leave allowances, linoleum will lose its aesthetic characteristics. The band spread out around the room, checking for compliance in size. Next you need to fold the strip of material in half lengthwise. The open part of the subfloor is treated with a special glue, using a brush or roller.
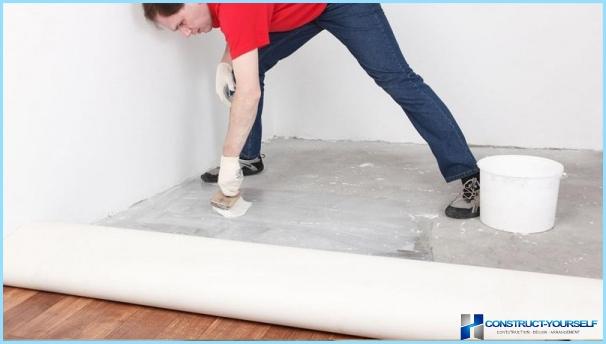
Unfold the linoleum, carefully start to lay it on the surface treated with glue. Take your time, use a clean roller to smooth the surface. Next, similar steps will follow with the second part covering.
Instead of glue to secure the decorative cover, you can use double-sided construction tape. The technique of stacking similar to the case with glue, but first on the floor, applied the tape, then remove the protective film and put cover.
The paving multiband method ↑
Covering can be laid in two lanes. In modern construction is used two types of installation: hot and cold welding.
Cold welding ↑
This method is simple, it is possible to stack the coverage on their own, not to involve professionals. For cold welding will need to glue models «With» and «And».
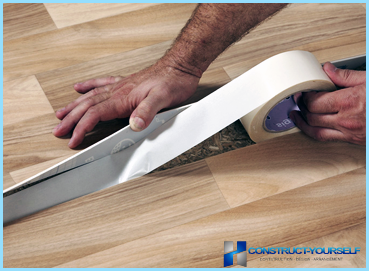
When choosing a brand «And» you also require a tape. It is applied to the joints between the edges of the coating. Then it is cut with a sharp knife through the joint, into the resulting gap making glue. Once the glue dries, the tape is removed.
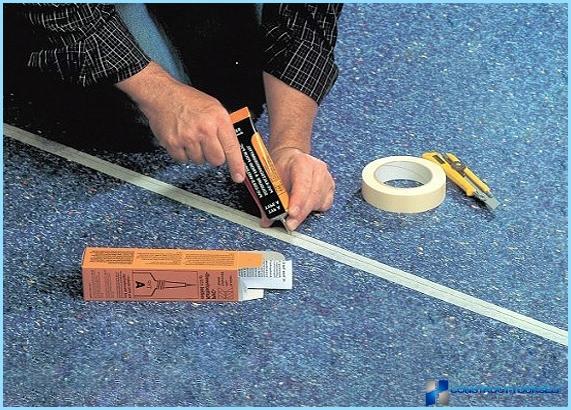
When choosing glue marks «With» simply apply it on the edges between the strips of the coating, in the moment of their junction.
Hot welding ↑
This type of fastening of linoleum involves the use of special equipment. In addition to hot welding will require additional resources. In the work an indispensable machine for welding, in which was inserted a special polymer cord (fastening strips of the linoleum substance).
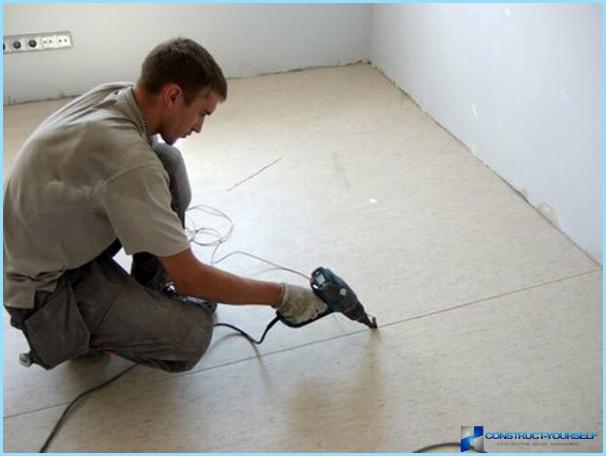
First you need to bring the temperature of the welding machine to +350 degrees Celsius. This temperature allows melting polymer cord. Hot welding is carried out in two stages:
- In the first stage, the device is put to the end of one strip of linoleum to bonding of a polymeric substance goes directly between the strips of the coating. Further, the apparatus move to the center of the room. The polymer layer will be slightly higher coverage, its excess can be removed with a Crescent knife. The excess polymer is necessary to remove until until it hardens.
- In the second stage, performed a similar action, only with the second half of the decorative coating. At this step, bonding material should be laid with overlaps with the first part. The extra material also eliminates a knife.
How to lay linoleum on concrete surface ↑
Stacking is allowed from any corner of the room. First you need to spread a coating over the entire area of the room, align the strip so as to adhere to the pattern. All the extra pieces cut off, leaving 5-10 cm of overlap on the wall. Between the wall and the floors need to leave a 0.5-1cm gap around the perimeter of the room.
When the installation of floor coverings in the premises, the area of which does not exceed 20 m2, there is no need to further strengthen the strip, you can use baseboards. When working indoors with more space, after performing the marking, it is necessary to bend the linoleum, coat the floor with special glue, then put the cover back.
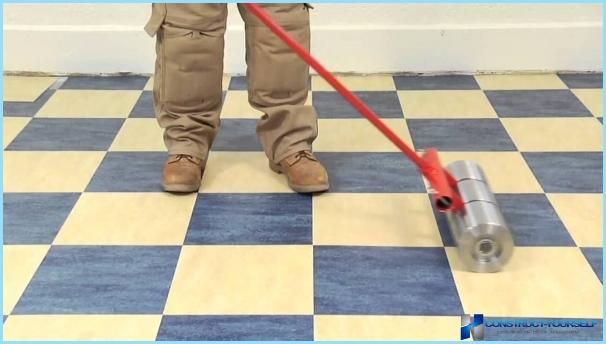
After paving swipe heavy roller, moving to the walls from the city center, driving from the surface all the air bubbles.
For fixing the joints between the strips of linoleum, use the welding polymer, or double-sided tape. After 1-2 days, you can begin installation of decorative moldings on the screws or dowel – nails.
Conclusion ↑
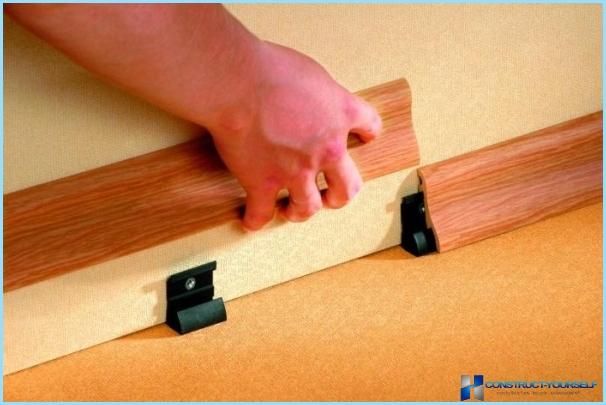
If you do not install the plinths, decorative flooring will look unfinished. Construction stores have PVC skirting any color, they can pick up the parts, connecting elements. If you install plastic skirting at the perimeter of the room, you will turn your floor into a work of art.

