As always, spring has come. She comes every year. Anyway calendar.
We in the country need new beds for vegetables. Why a new one? Last year we made beds out of planks of larch with a thickness of 4 mm and a length of 4 meters. But they turned out so heavy!! Just not lifting! This year I bought another Board, same listak, but with a thickness of 2.5 mm, a length of 4 meters and a height of 18 cm.
Tools ↑
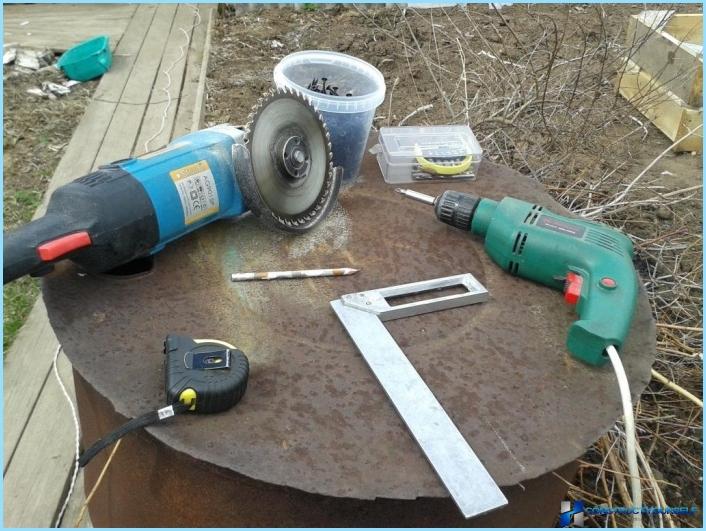
As always, to help us tool: angle grinder, screwdriver, area, bits, meter, pencil and screws
The sides for the beds ↑
Sides for raised beds, I decided to do of the slab. But Croaker is nice, thick. In order to be able next year to plough straight into the beds, making them a width of 60 cm From phalke width of 50 cm
So, make sides for raised beds. I put it on the stool slab
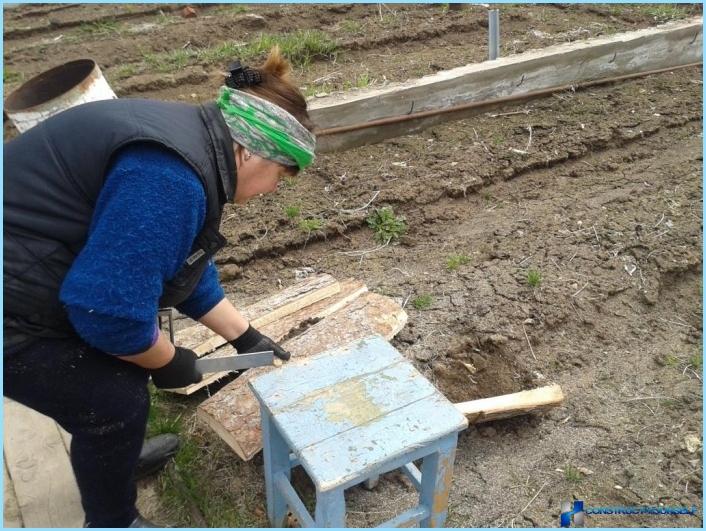
I feel so comfortable to work with, it is possible on earth to do
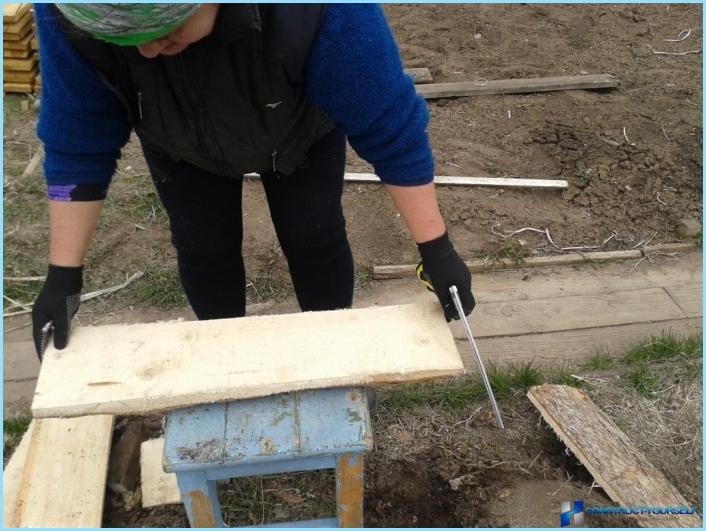
Measure 60 cm
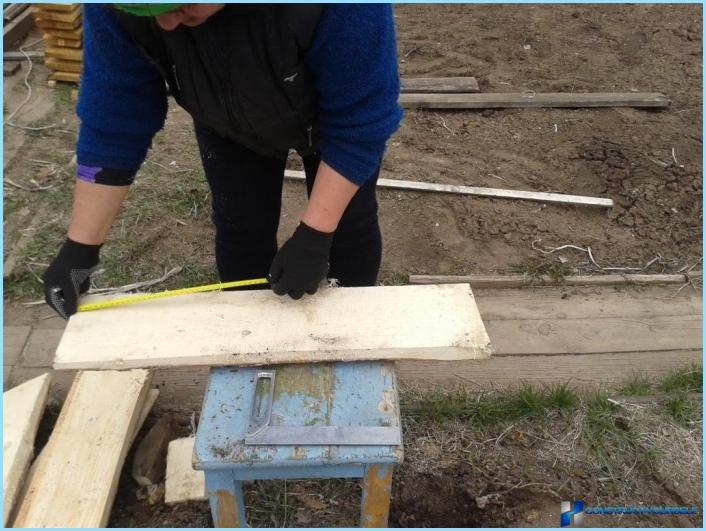
Apply area
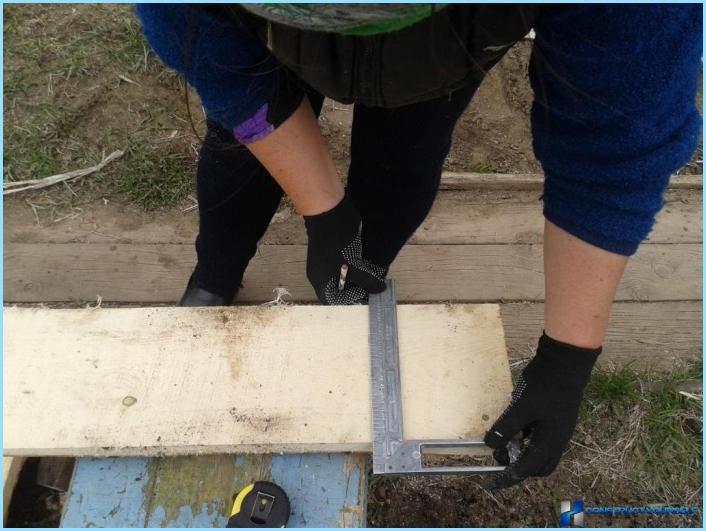
And am straight line
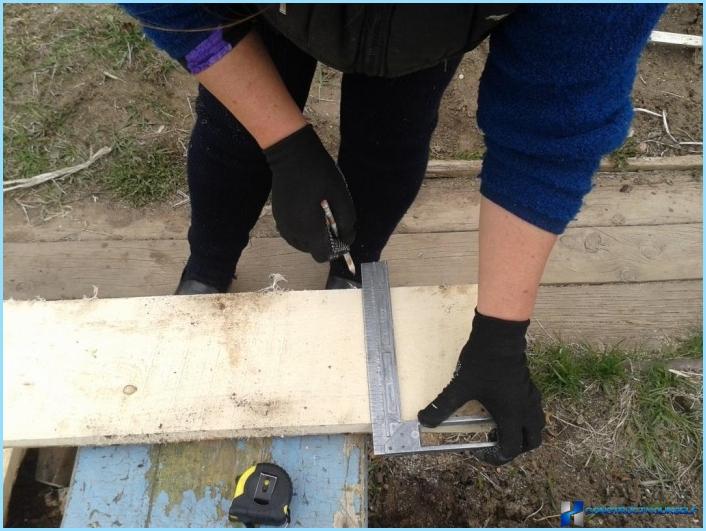
Here you can cut
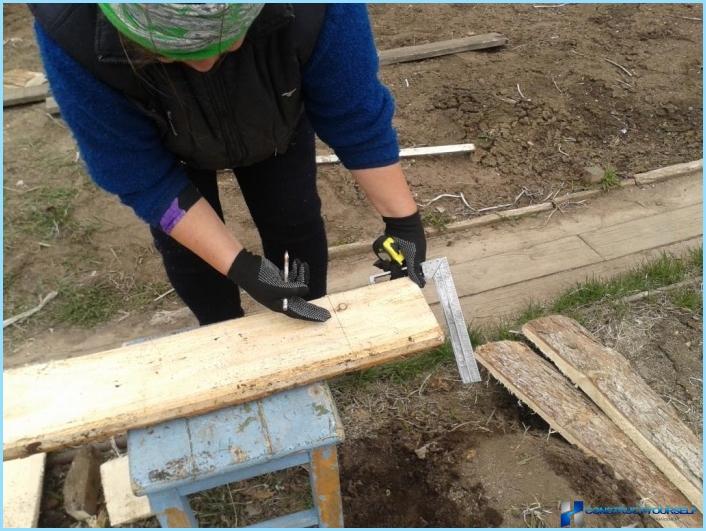
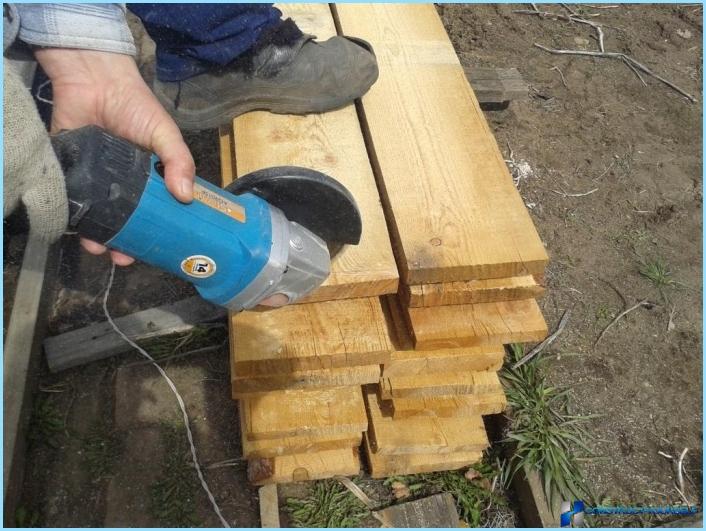
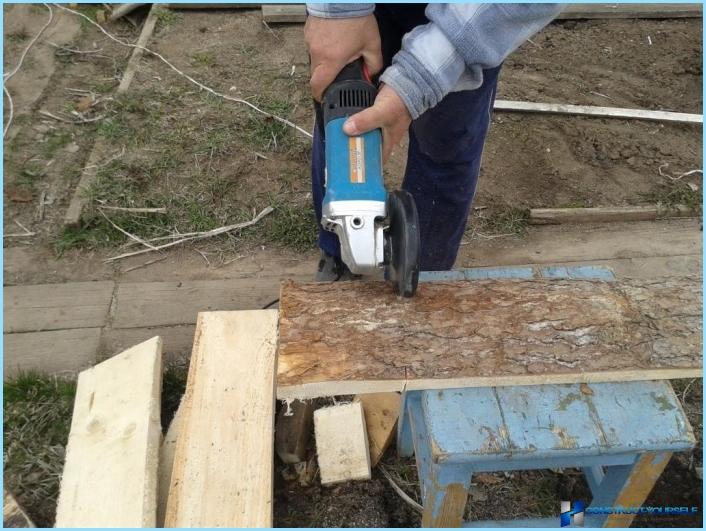
The husband saw off grinder is exactly the rim
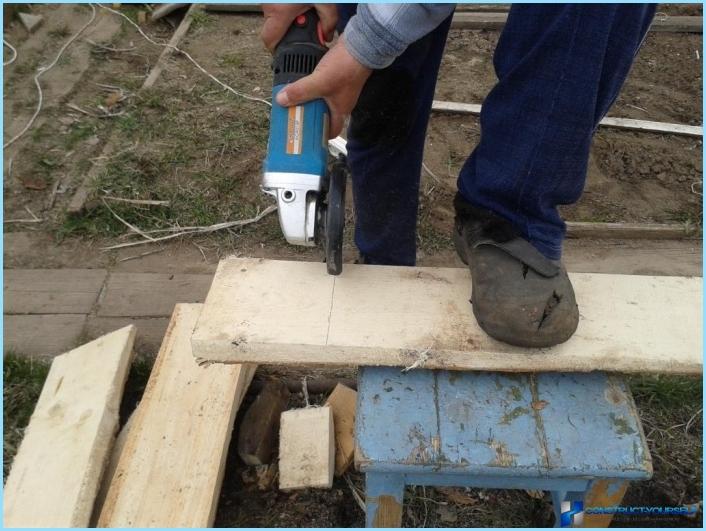
But disk grinders is not enough to saw through the entire thickness of the slab
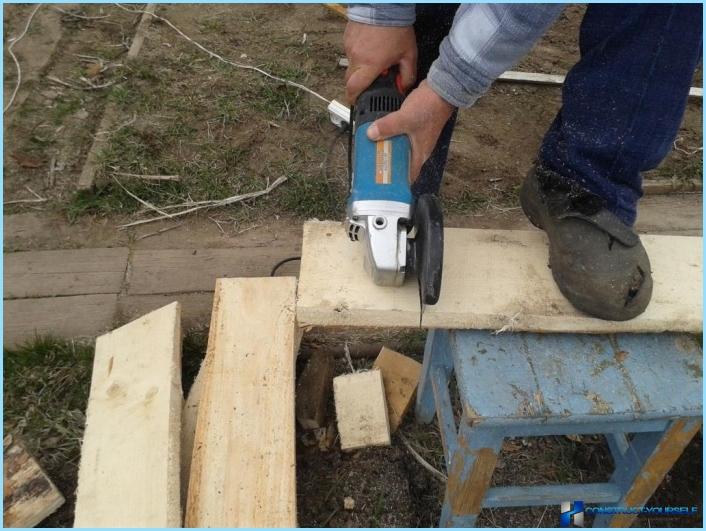
Therefore, the slab is flipped
The sides for the raised beds ready
The Assembly of the ridge ↑
This is our Board.
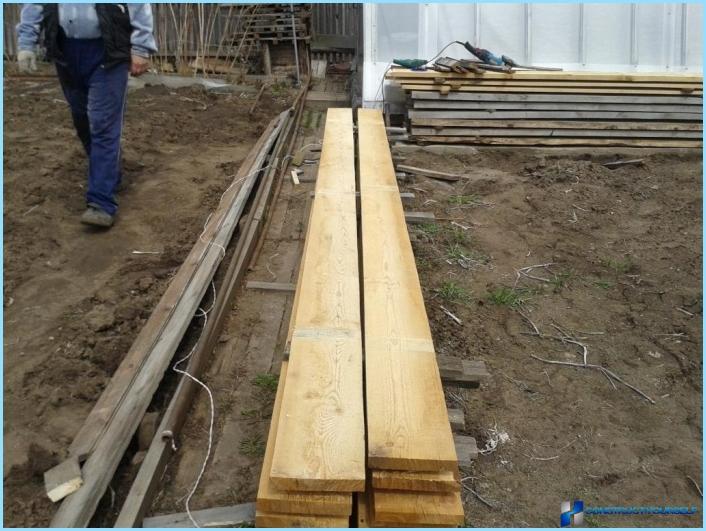
The alignment of the boards ↑
Their length is not ideal
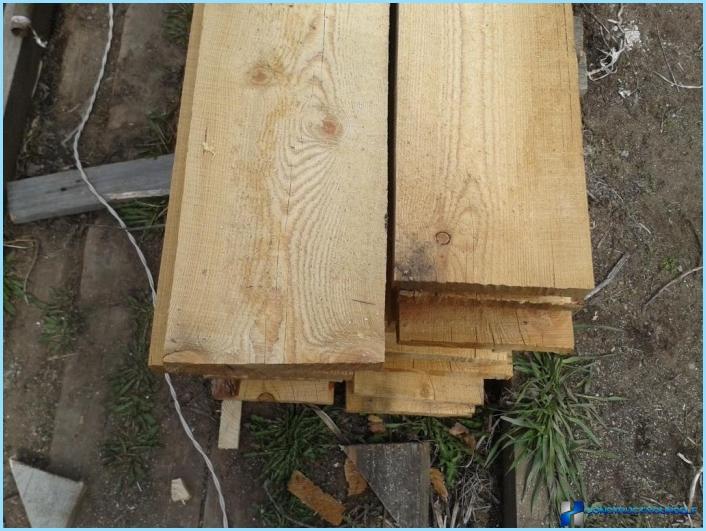
On the one hand, align the Board
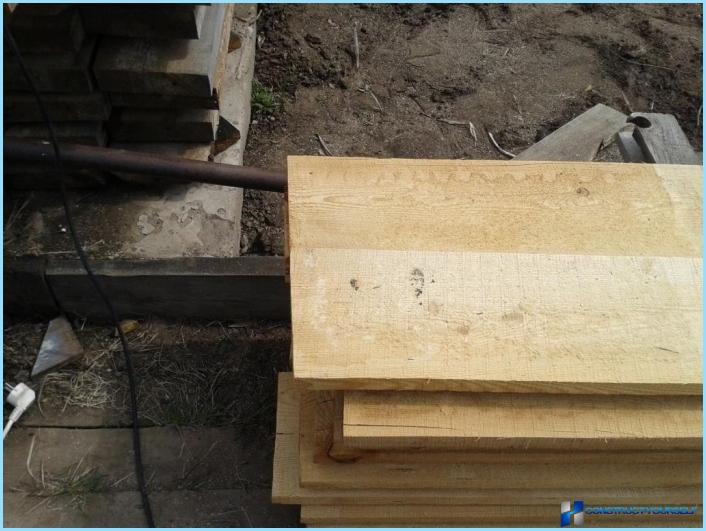
But on the other hand surplus
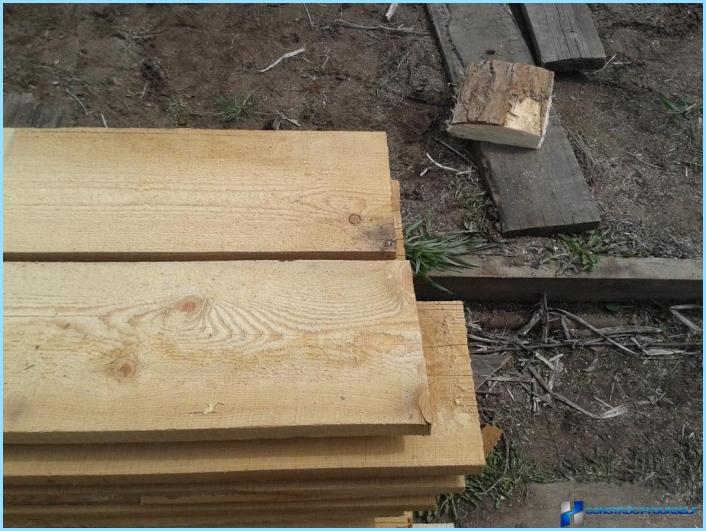
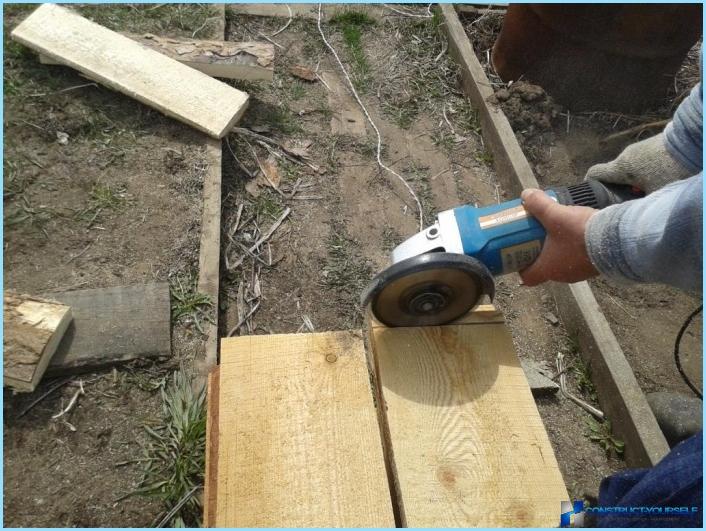
The excess sawn off grinder. By the way, the husband does not want to cut with a chain saw. Bulgarian he likes more
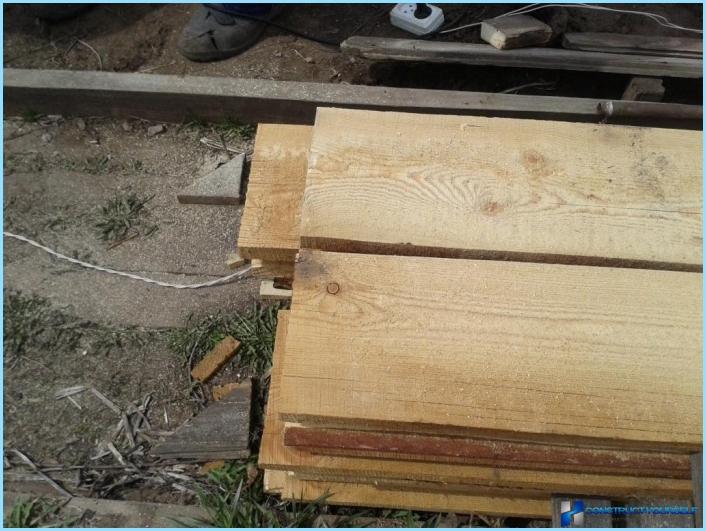
Get a smooth Board on all sides
Fasten boards with sidewalls ↑
Put the Board on side
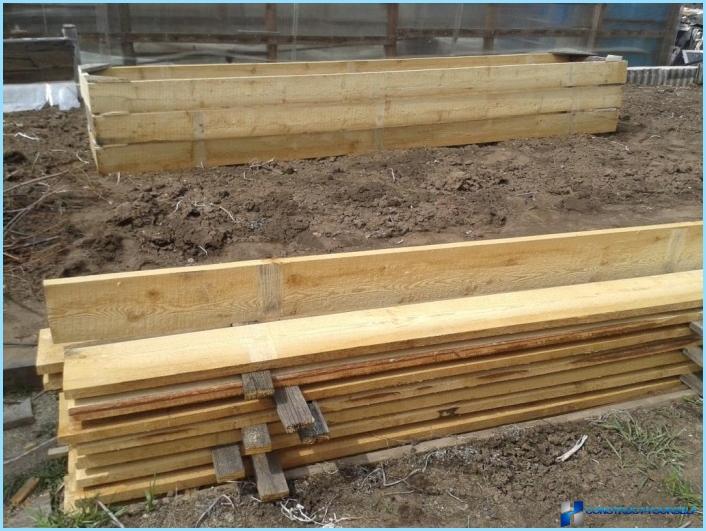
Puts boards
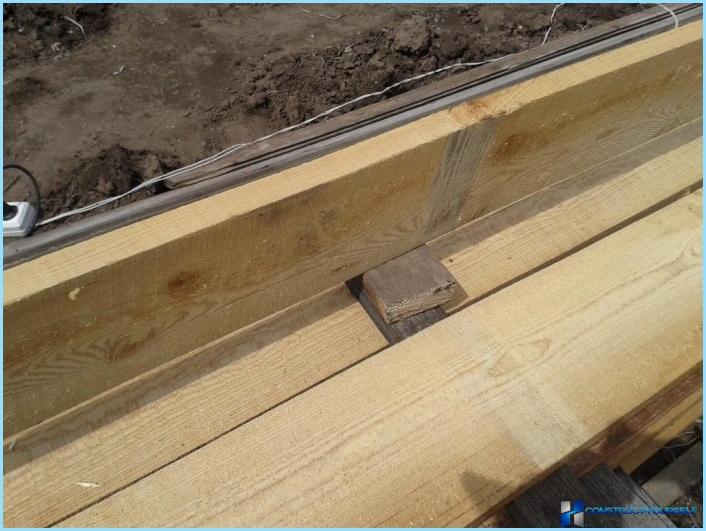
Apply sidewall
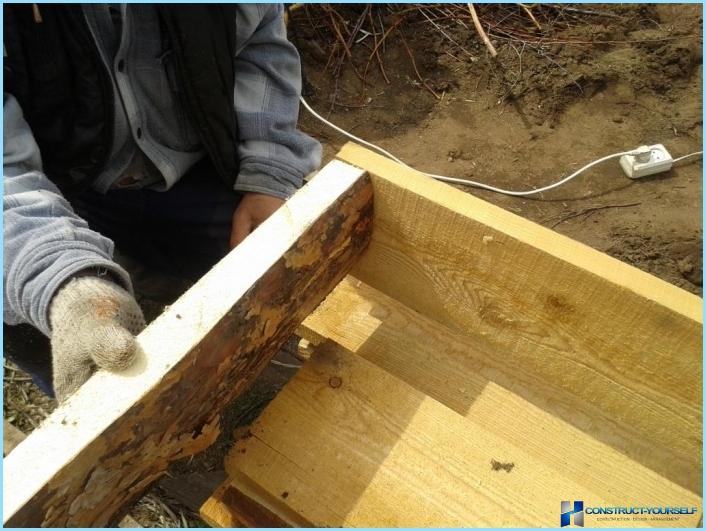
And presumptive sidewall
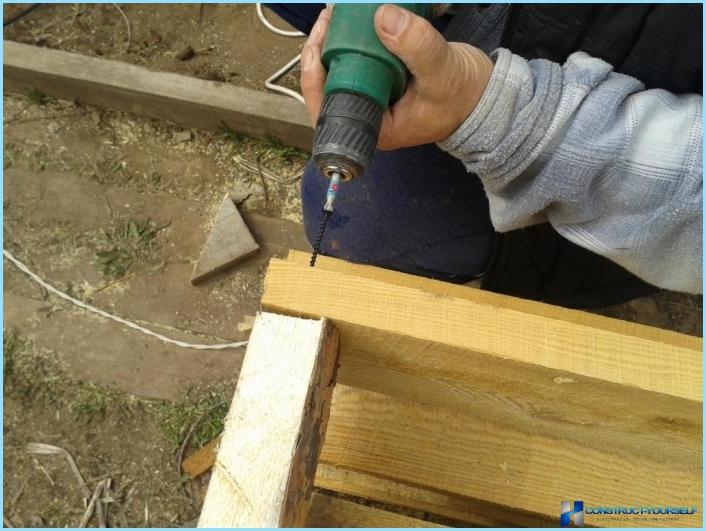
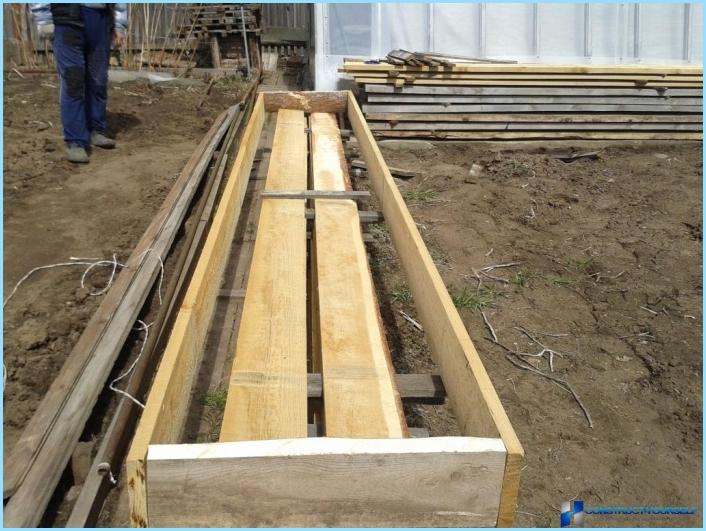
That’s how it all happened
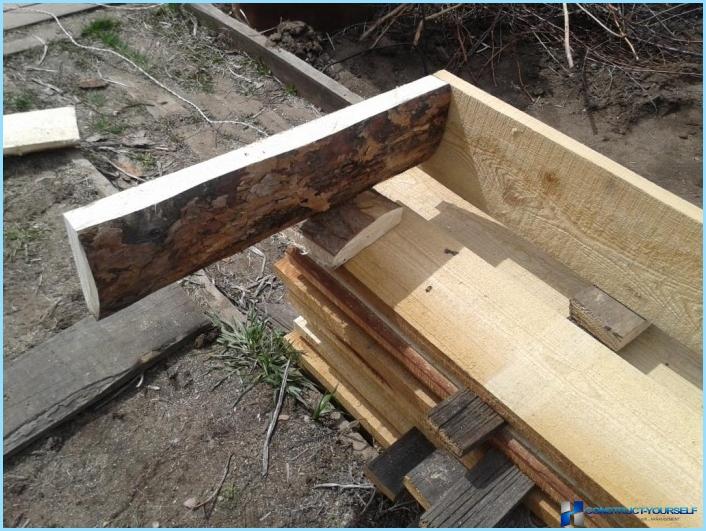
The same is done on the opposite side
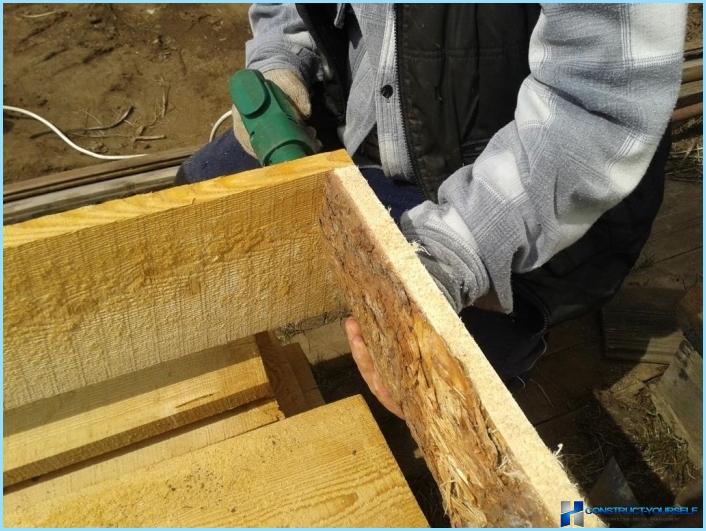
Put our design on the side
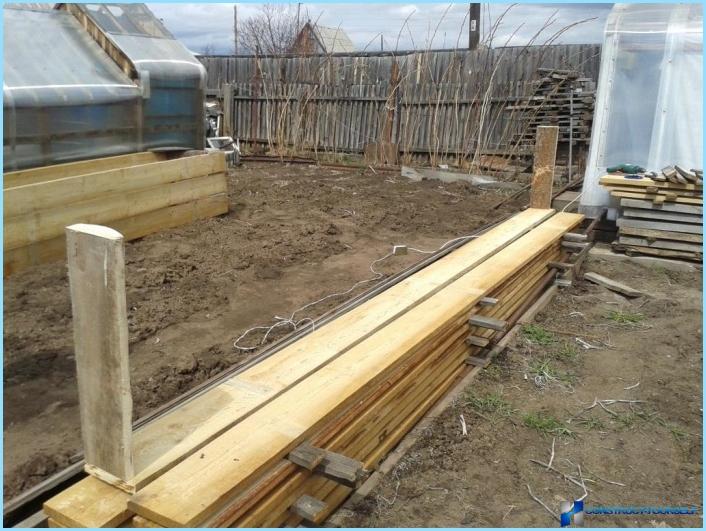
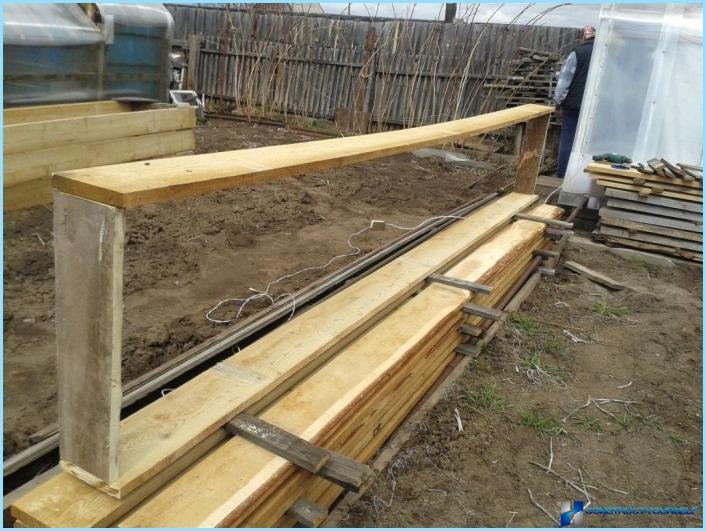
Put on top of the second Board
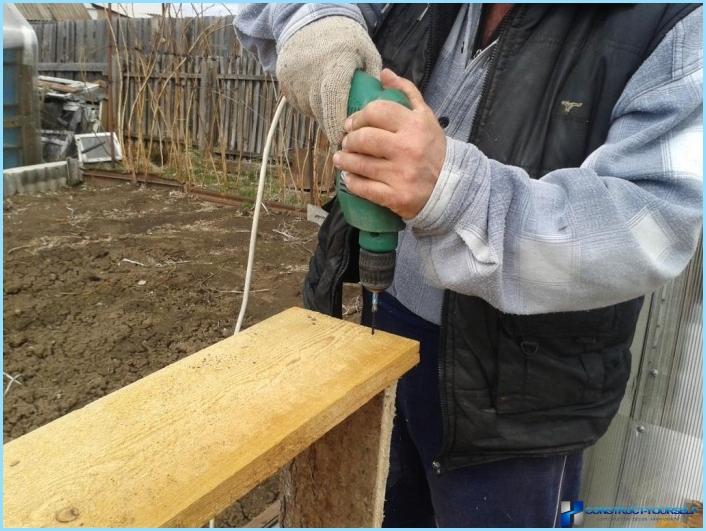
And held together by screws
On the second side as well surubim
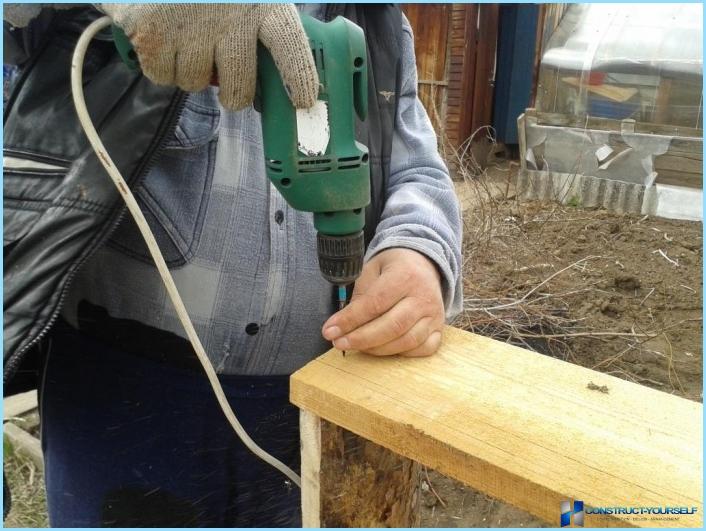
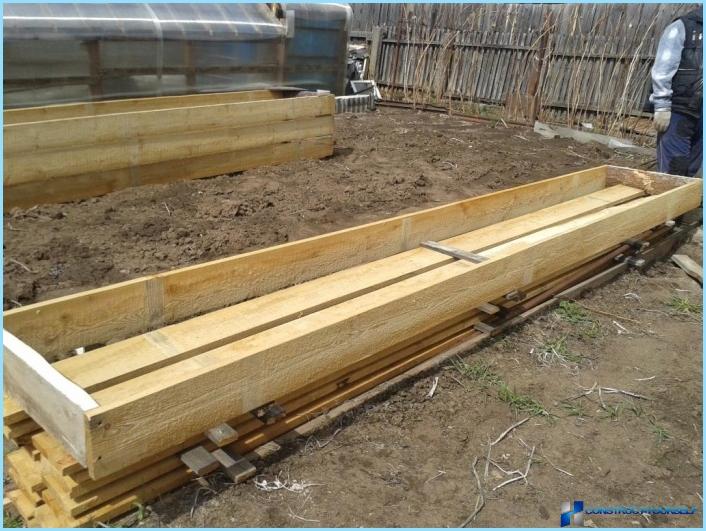
The patch is almost ready
Fasten the corners of the beds ^ the
Now our bed is necessary to give rigidity. To do this, fasten the corner piece of the Board
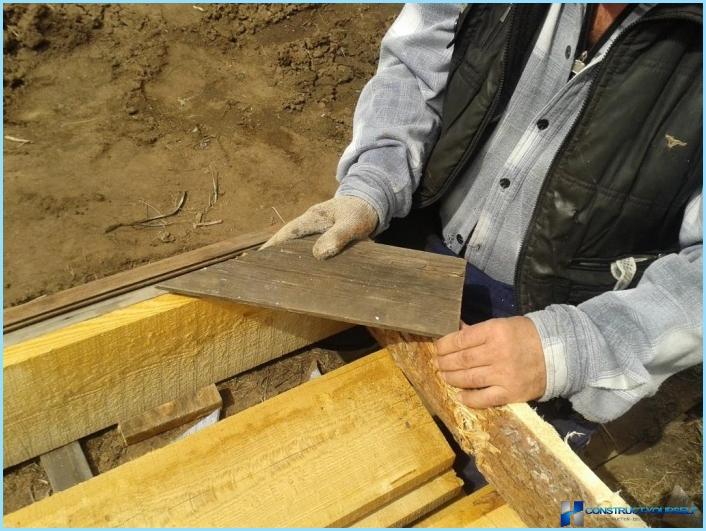
Surubim with one hand
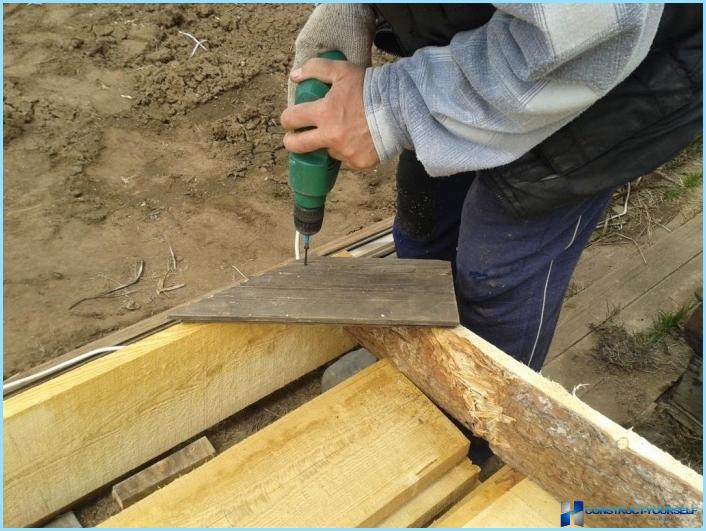
Surubim on the other hand
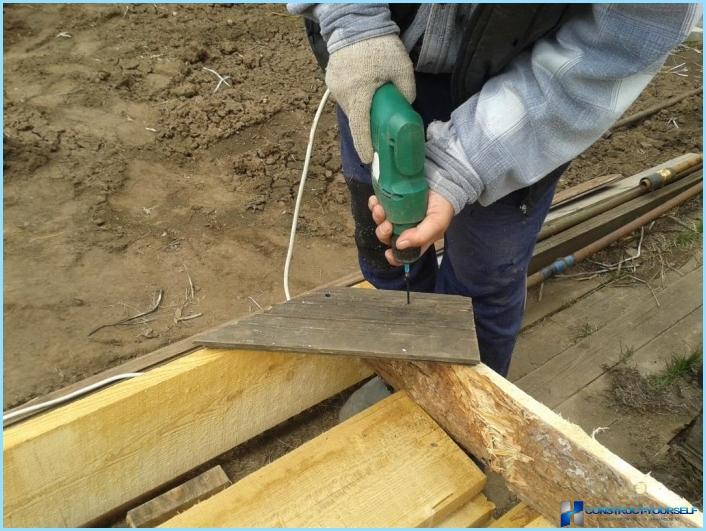
On the second corner as attachable Board
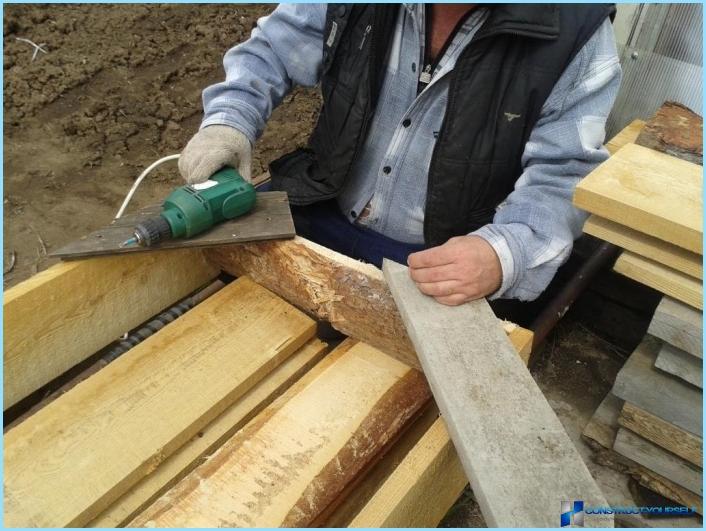
And, of course, screws with the screwdriver
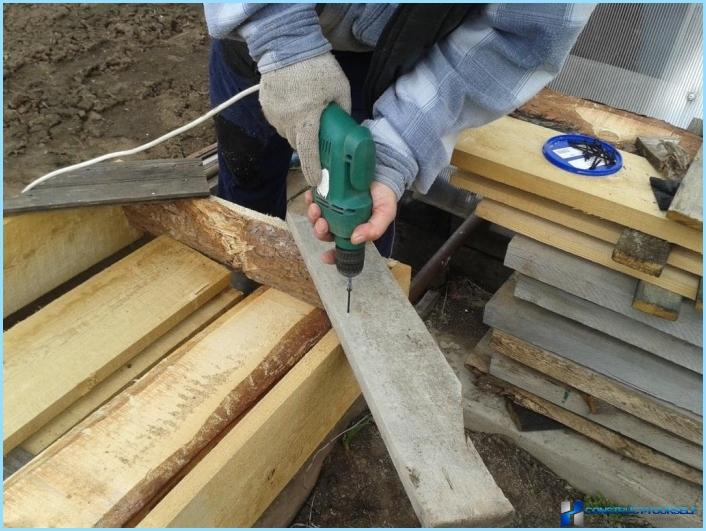
Now, on the second side of the patch attached to the Board, it’s 3 angle turned
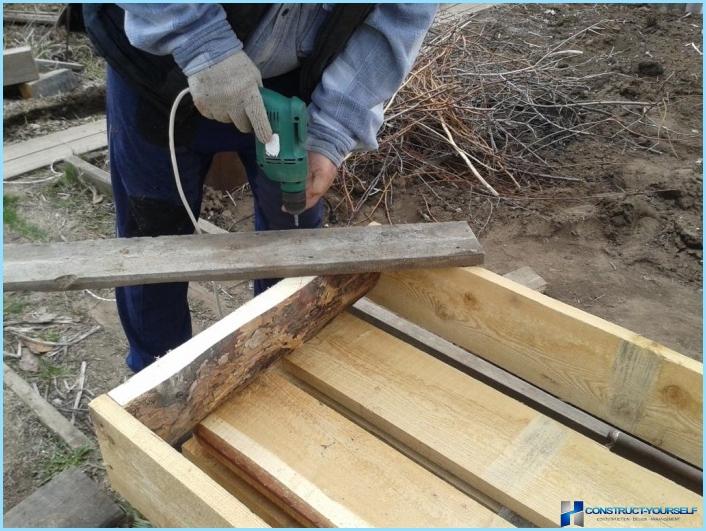
The Bulgarian saw off the excess
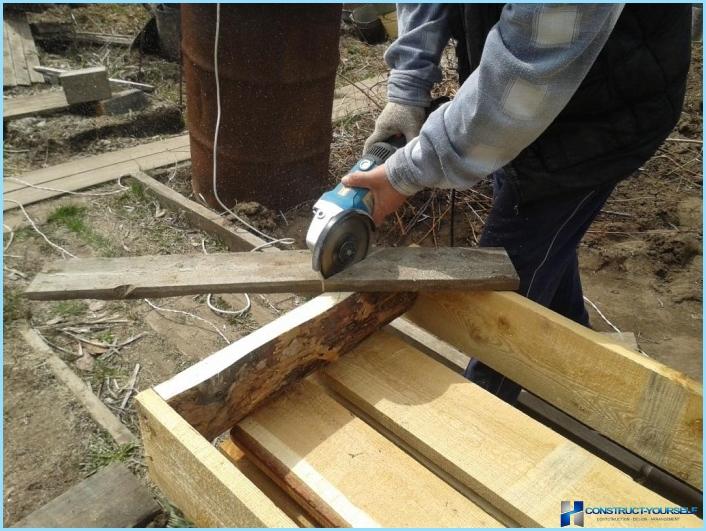
On the other side do the same thing
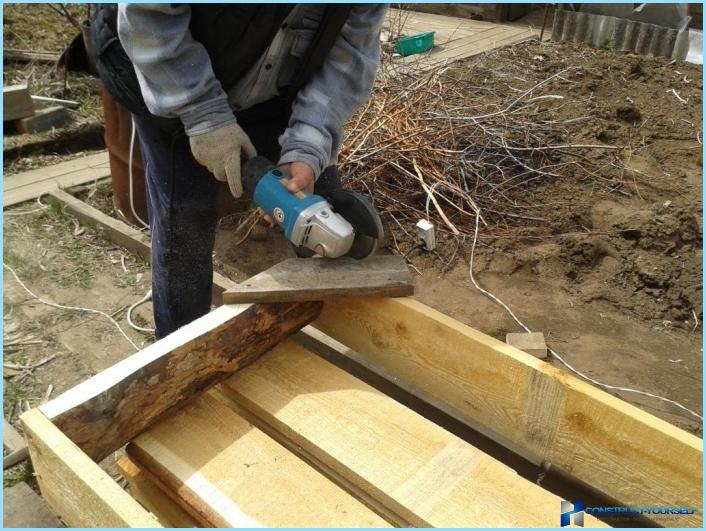
4, the fastening of the angle
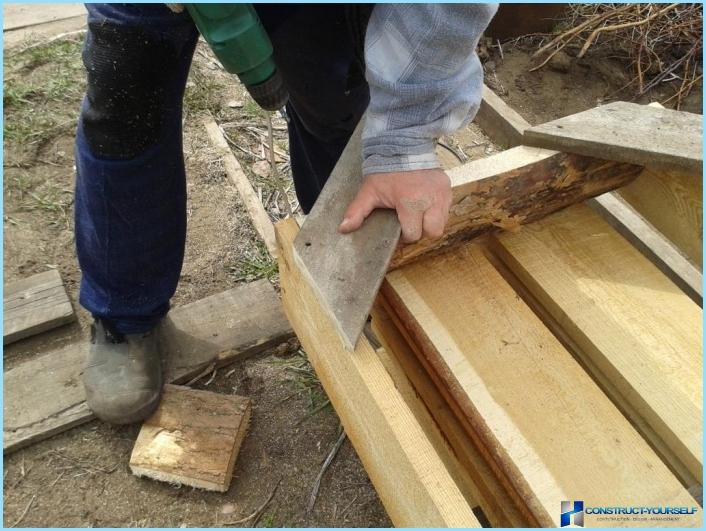
Also on both sides
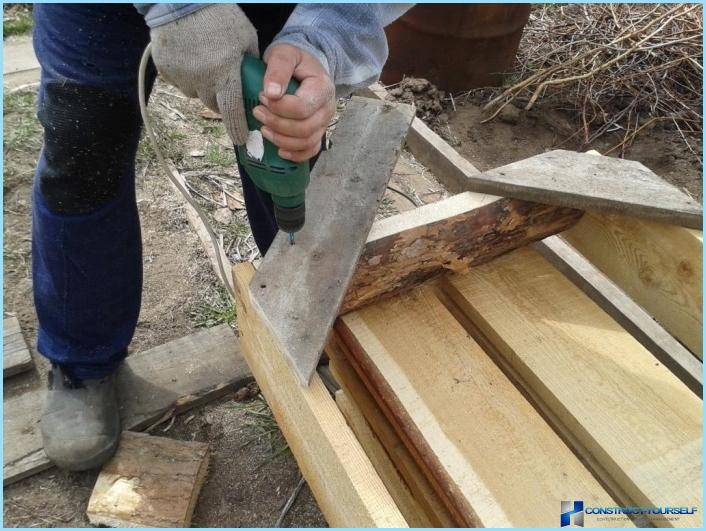
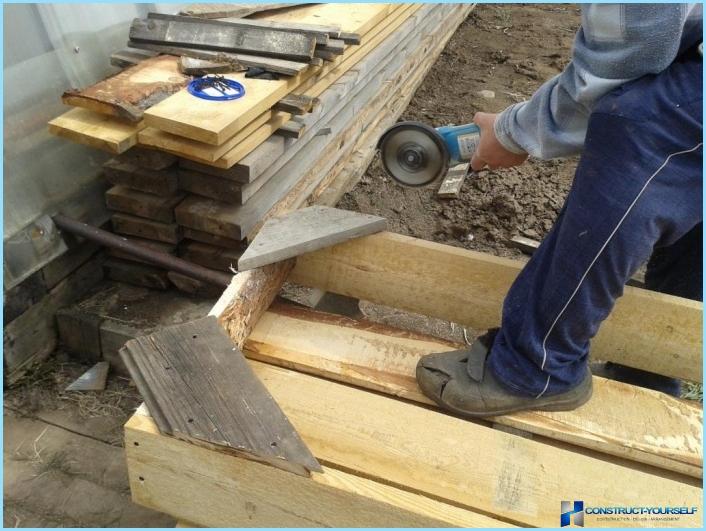
And abolghasem surplus boards
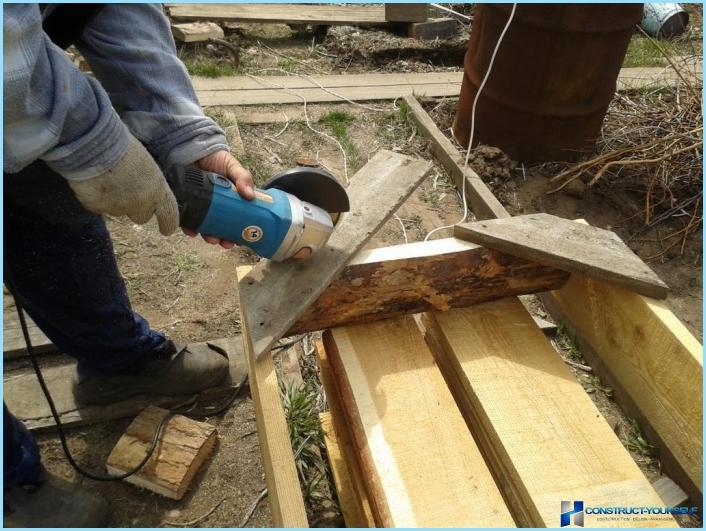
One side is ready
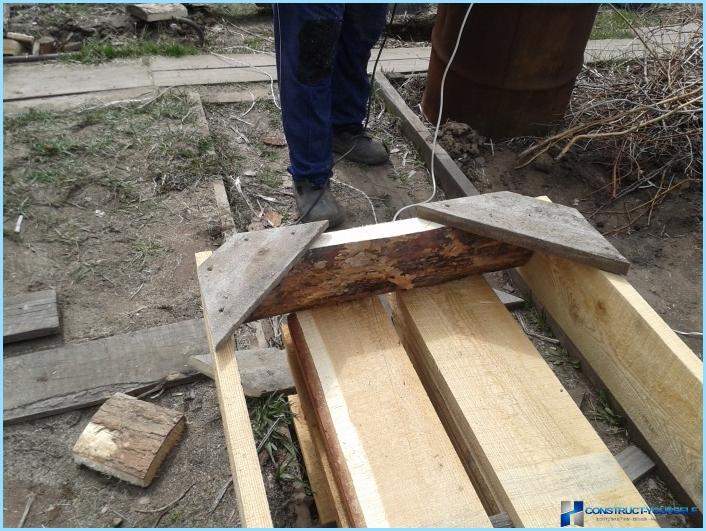
With tools go to the other side of the bed, cut from this side
Ridge is ready, stack it to friends
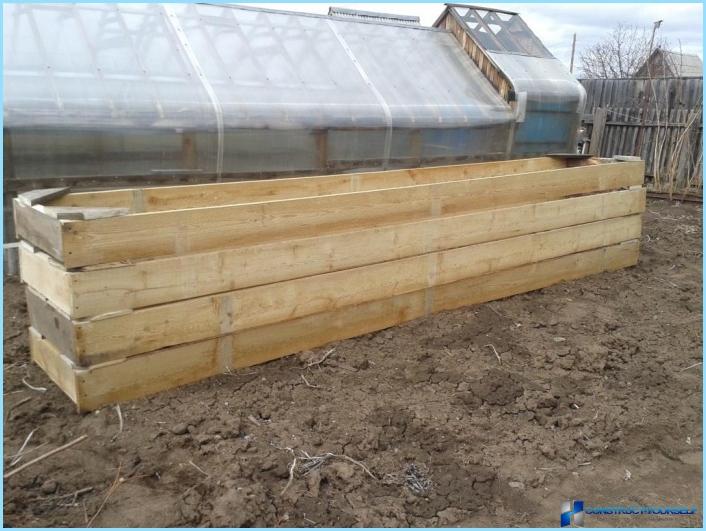
In two hours, so many beds made
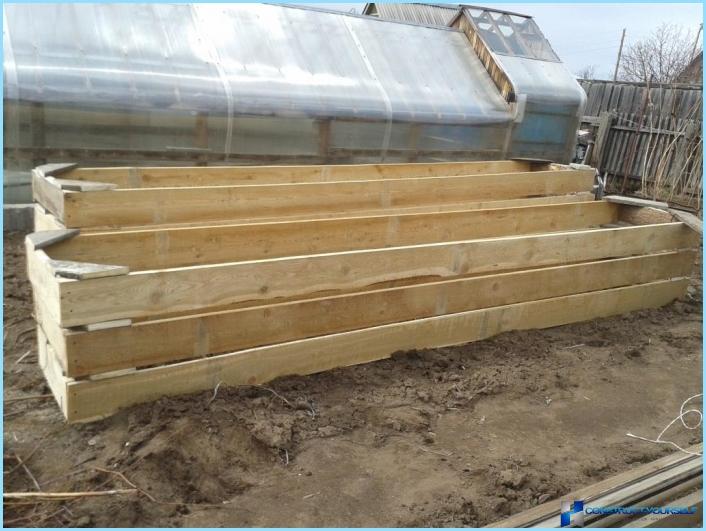
Another hour passed, is already 9 beds ready
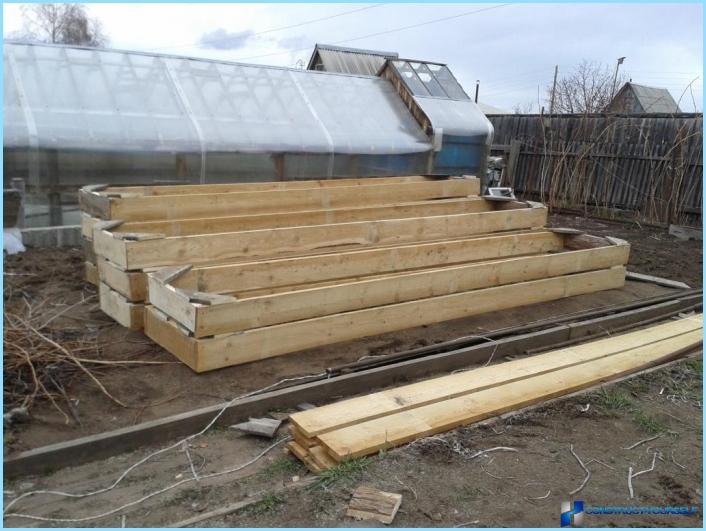
All! Stop the car! Pot never boil! the beds enough
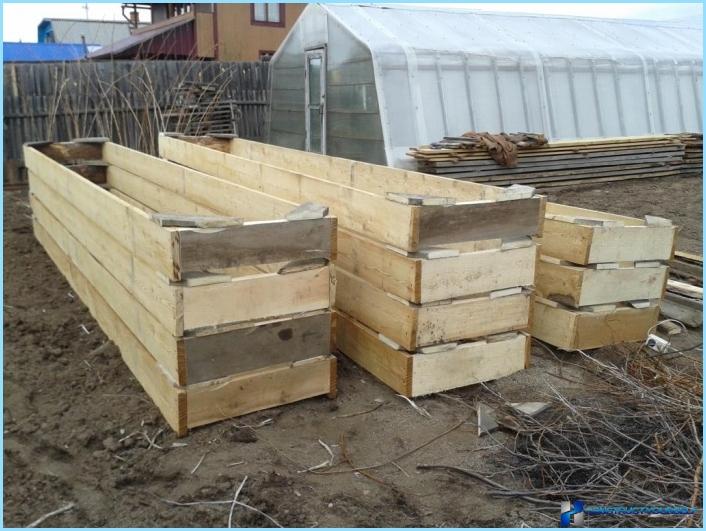
With all the preparatory works for the manufacture of 11 beds left 7 – 8 hours with a break for lunch. We’re tired. So the rest will do tomorrow morning
The placement of garden beds on the site ↑
On this site we post made yesterday in the garden. Its size is 10.5 x 6 meters
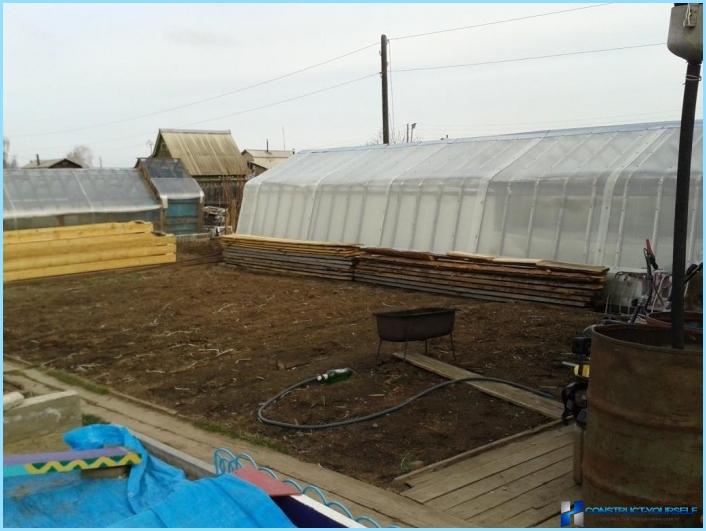
Here’s our mettlesome steed. Brand new. Try to plow for the first time
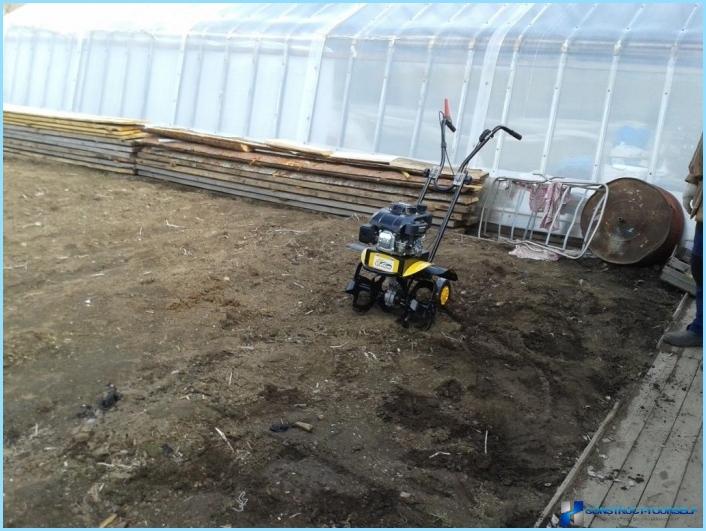
Bad happened
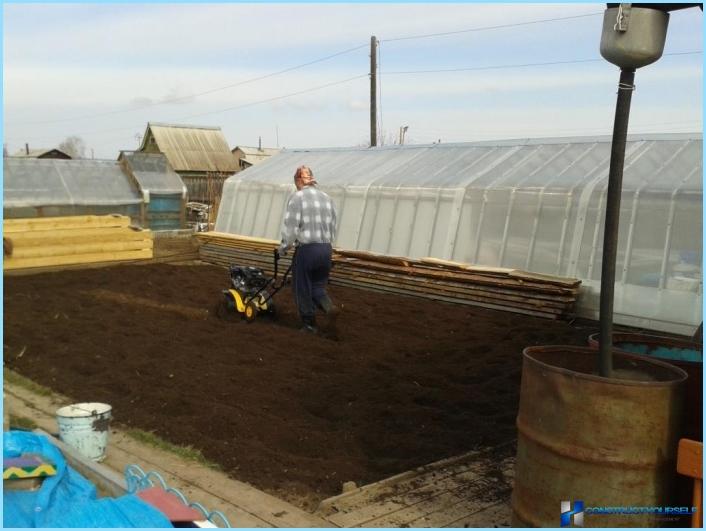
On a plowed field taken away and put in the garden. Of course, pulled the rope and tried to put our ridge
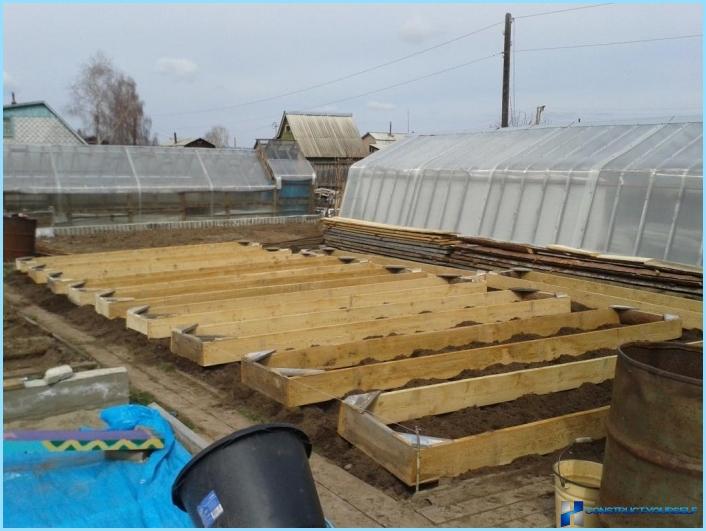
Between the ridges the distance 55 cm.
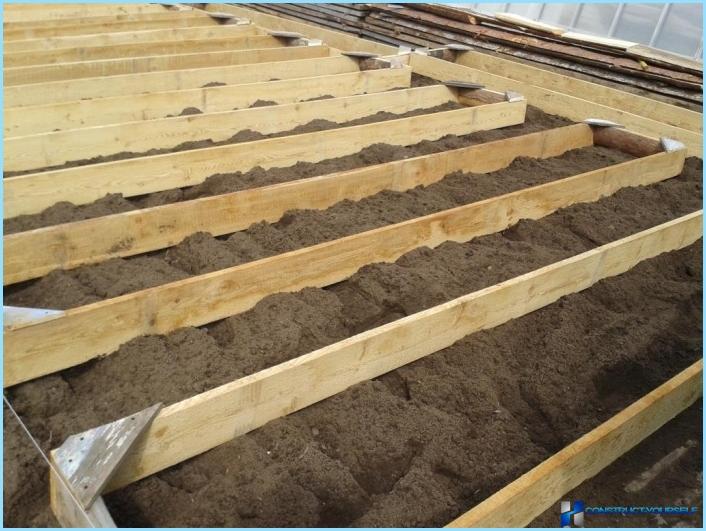
Set 9 ridges along the length of the site and two along the ridge of the greenhouse
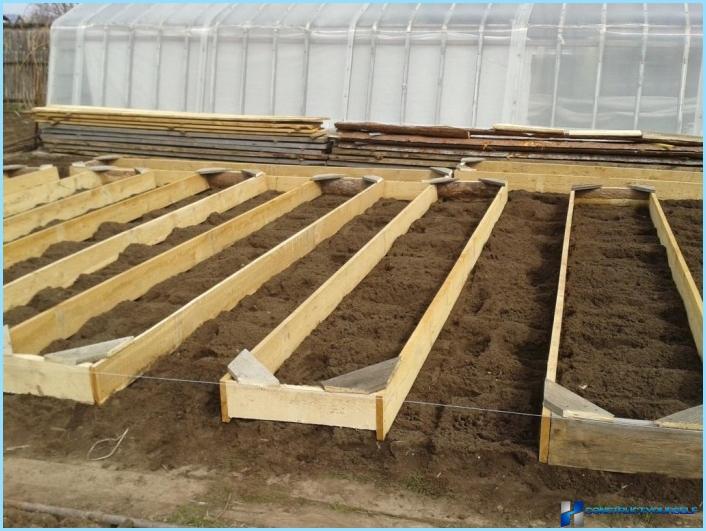
Make paths between the beds ↑
On the tracks we are sorry for the ground stomp, so shovel threw the earth on the ridge
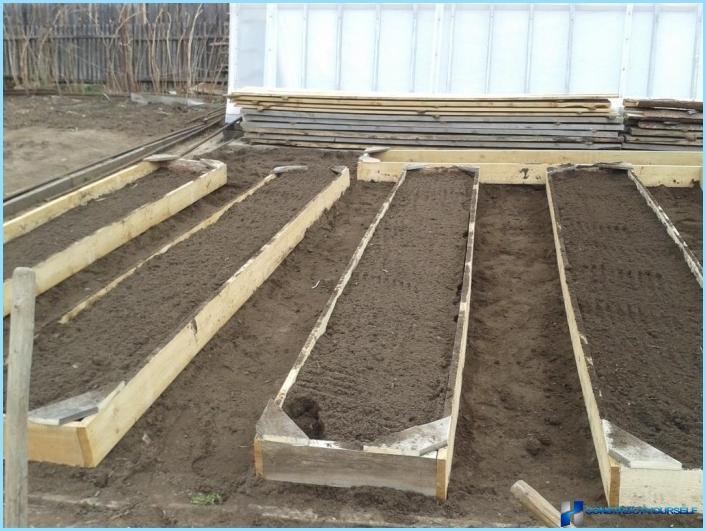
The track was filled with sawdust with a layer of 10-15 cm
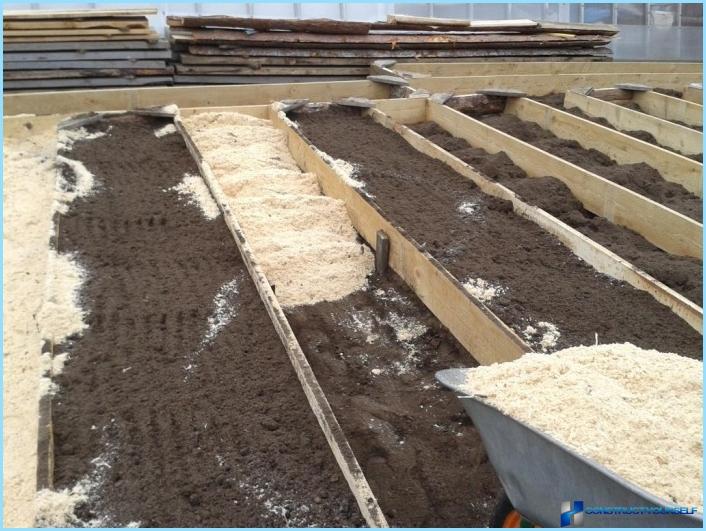
Spared of sawdust, so he bought a dump truck
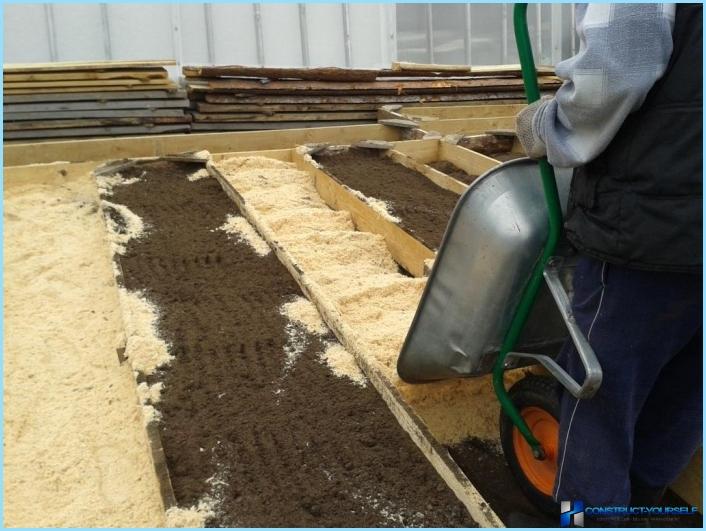
Sawdust has pretotal and put them on the track of a homemade lattice for convenience
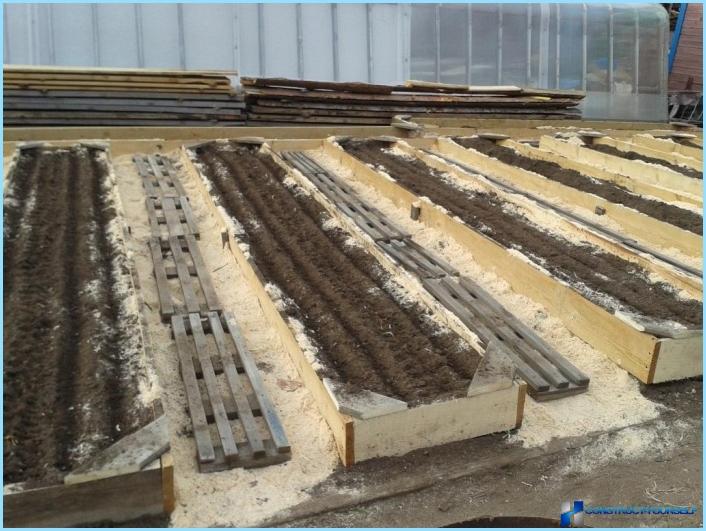
Now and the carrots with the onions planted and closed by covering materials
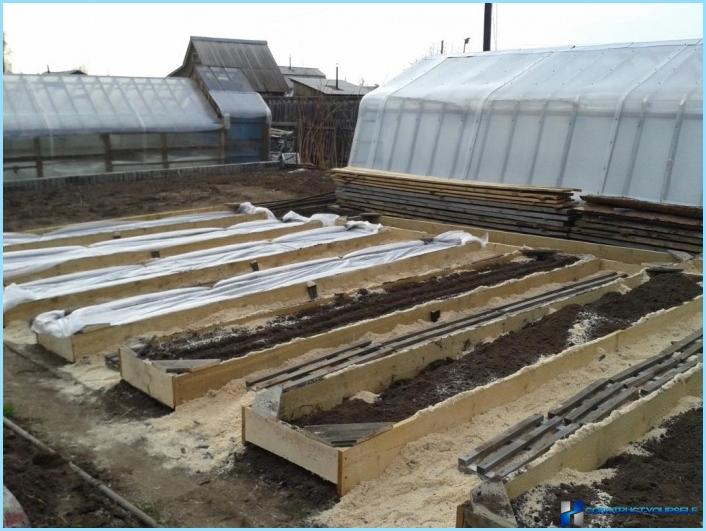
Here are the high ridges of the boards my husband made with his own hands

