The contents
- How to select and prepare a solution for the relief of plaster
- Create your first layer
- The application of the relief plaster
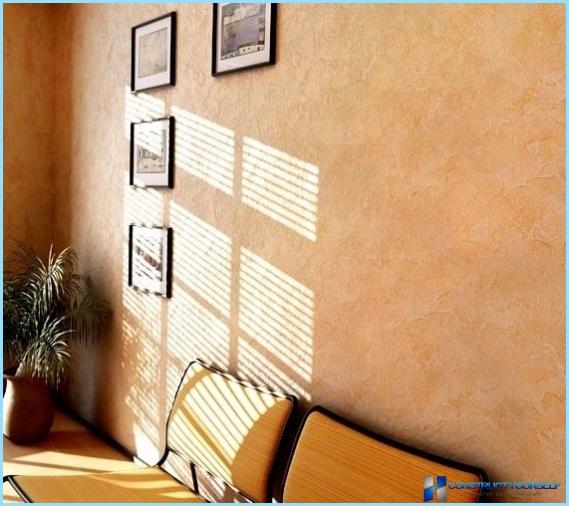
Finishing plastering materials are divided into two types: levelling and decorative. The first are designed to make the walls smooth and warm. Second create art.
Relief plaster allows you to make the interior of the house a unique look. The facade of each room, each wall can be made completely unique. With this material, the decoration of houses with their own hands ceases to be fiction. Despite the compositional complexity of the result, the process of applying the power of each person. It is enough to follow simple rules.
In the video below you can see the raised plaster in more detail. Facing this method will make your wall unique. Moreover, in this case, the process of the plaster is transformed into a real art. Using a variety of methods for applying the mixture to achieve unusual effects that will be a highlight of interior home decor.
Relief plaster belongs to a class of decorative, but unlike the Venetian has a high plasticity and a unique structure. Such opportunities to change the pattern gives no other substance.
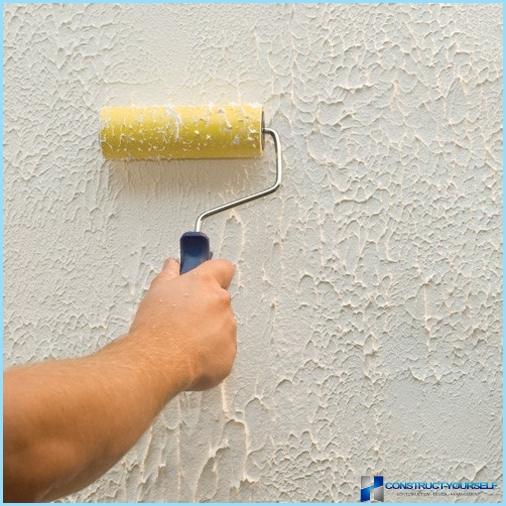
Textured plaster is easy to grinding and polishing. Recognized artists create real masterpieces with the usual cushion and compound. A unique bas-reliefs made from plaster are the main decorations for living rooms, hallways or children’s.
Don’t forget about the practical benefit of the relief plaster. It perfectly protects the wall from mechanical degradation. Increases the level of insulation in the whole house.
This lining not only hides the imperfections of any surface, but also creates a unique atmosphere. It remains popular for many centuries. Thanks to him, the walls acquire not only color, but also volume.
In order to acquired the desired shade enough to buy the right paint and apply it to the relief plaster. It uses a roller or sponge. The atomizer allows you to significantly speed up the painting process.
Relief plaster may extend slightly from the wall. But it is better not to cross a limit of 10-15 mm. Is the optimal parameter, which is recommended to comply with all professional master plasterer.
Textured plaster due to the high plasticity just apply to the surface and create her complex compositions. Especially popular in recent years enjoyed a natural theme. The bark of trees, high grass or natural stone often adorn the homes of people in our country.
Plaster walls ↑
The necessary tools ↑
To textured plaster went according to plan, you need to prepare a set of tools, without which work can not do, these include:
- Sponge. It gives the picture a textured bubble and sets the color tone of the entire relief plaster.
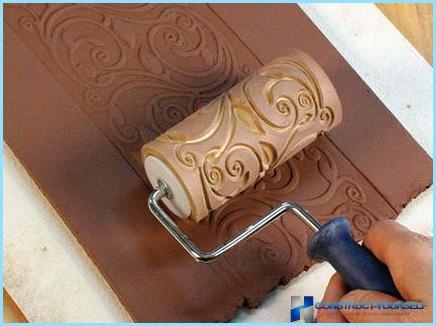
- Cushion with shaped nozzle. If you want to relief the plaster was a print of any drawing. This tool will help you in this.
- Complex to give the image volume. This will fit a simple brush or a plastic film, even a rubber glove will do.
- Spatula.
- Trowel etc.
There are also a lot of additional tools. They are needed in order to create a truly unique textured plaster. For example, a special nozzle on the roller allow you to play imitation leather.
Surface preparation ↑
On the surface you will apply the mixture depends on the end result. To get it you need to remove from the walls of the remnants of the old finish and paint. For this you will need a chisel. In a pinch, use an axe.
Take a chisel and make a wall notches with a depth of about one centimeter. While there should be really a lot. The optimal rate for square meter of one thousand.
When the surface is completely cleaned, apply a primer. You can use «Betokontakt». This material provides good adhesion. The primer should be applied in one pass, using a roller or brush.
Before proceeding to the relief plaster, you need to wait until the primer dries. Time drying each manufacturer sets its own. Therefore, to know when to start the next stage, it is sufficient to read the instructions on the can.
How to select and prepare a solution for the relief of plaster ↑
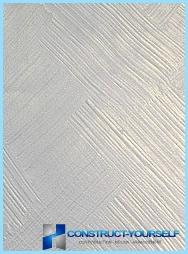
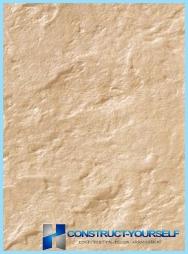
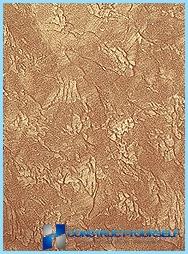
As all kinds of textures and colors mixtures for the relief of plaster on the market more than enough in the first place you need to focus on the samples provided by the consultant.
Ways to create the first layer of plaster relief, there are many. The compositions are distinguished by their practicality and guarantee a good result, even Amateur builders. Often use these substances:
- In the first embodiment, as the initial layer uses a common clay. Such coverage is not extremely strong, but low price fully smoothes out the defect.
- If applied to the walls of the lime, the special strength to fail. But it is a good environmentally friendly material, which is able to provide a reliable base for further work. Most importantly, strictly adhere to the proportions. The solution should be three parts sifted sand and one part lime. Alternatively, you can mix the stucco with the limy test in the ratio of 1/3.
- The biggest strength provides cement. But such coating has a low plasticity. The composition of the solution next: cement to sand is one to three. Before applying it is necessary that the solution collected density. This will need to wait at least an hour after mixing.
- The gypsum composition has a good performance. It dries quickly and, therefore, it is best to mix small portions.
Each of the above compositions are suitable for the base layer. Typically, when choosing people rely on the availability of the necessary materials at hand or their cost.
Create the first layer ↑
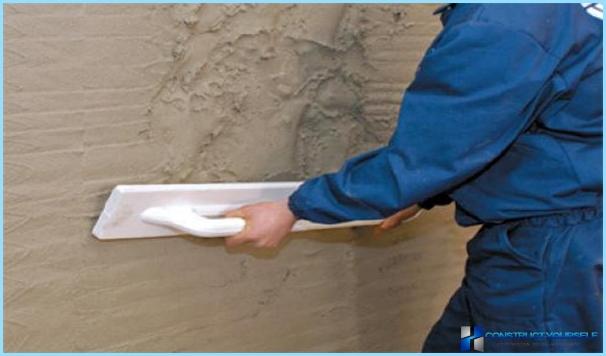
After the solution for the first layer of embossed plaster is selected, it is applied on a previously primed wall. It uses tools such as trowel and trowel.
The thickness of the layer depends on the roughness of the walls. In some places you need more of the solution, in others less. In order to achieve the ideal forms of necessary system mayakova reek.
If in the process, apply mortar, then before you apply the mixture for the relief of plaster, it is recommended to treat the surface with acrylic primer deep penetration.
The application of the relief plaster ↑
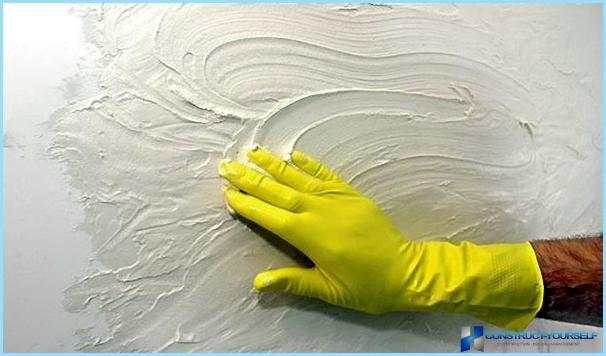
It is best to carry out this operation together. One person will apply the mixture on the part of the wall and shifted to the side. And then second on the freshly applied layer, it will immediately form a plaster relief.
This division of labor would enable the second worker to fully appreciate the overall composition and make the image in relief on the plaster truly holistic. For this purpose, tools such as a roller with special nozzles and a spatula. Also need a wooden or metal float.
Now very popular is the textured plaster type bark. The technology of its application has some special features. Initially, the second layer given time to dry. To then use floats to handle the surface. Mineral grains move, shaping a unique image.
Another method of creating pictures on plaster relief is in the treatment of cement neutralizing solution. On the aligned layer is applied to a five-percent solution of hydrochloric acid. After a while he washed off with water.
Painting ↑
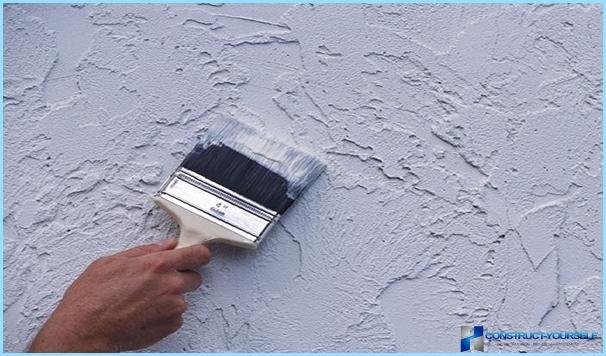
In the process of creating decorative relief plaster this stage plays a very important role. Because the paint sets the right tone for the whole room. The best effect is achieved by the combination of colors.
To paint on embossed plaster was kept for a long time and provide reliable protection, you need a special coating. These coatings give the surface an unusual silvery or Golden hue.
The results ↑
Relief plaster can give any wall a beautiful and unusual look. It is also a chance to show their creativity. After all, the possibilities for creating unique images is more than enough.

