The contents
Increasingly, when discussing the options for wall design preference is given to the plaster. Huge range of finishing material is complemented by the possibility of structuring the surface in its sole discretion. The desire to save money on labour is justified. So get acquainted with the rules of application of decorative plaster will help to cope with this stage of repair their own hands. Learn the intricacies of the process will view the class wizard, which is accompanied by the following information.
Types of plaster and nuances of choice ↑
Before heading to the store to purchase decorative plaster, you should decide what you ultimately want. All variety of finishing material can be divided into 3 types:
- Structural plaster. In this case, the pattern on the surface formed due to inclusions in the form of crushed solids. This material allows you to show the creative talent and, in addition to offered methods to create a decorative plaster with your hands individual the surface of walls or ceilings.
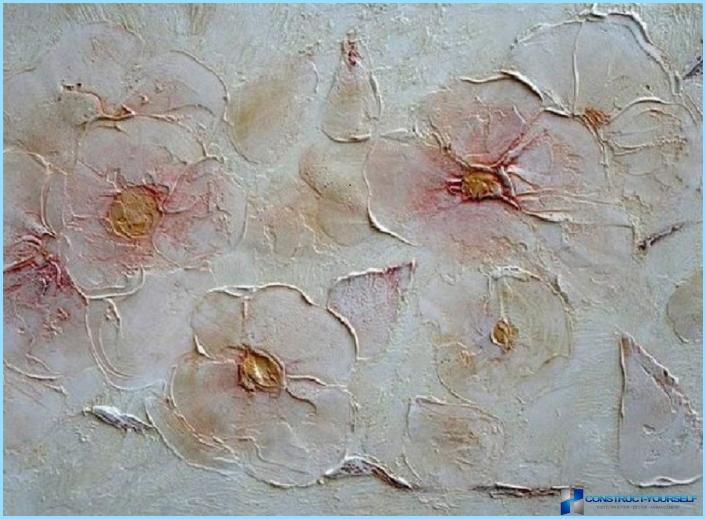
- Textured plaster is designed to create after applying the smooth surface of the walls, the relief of which is accentuated by the play of colours.
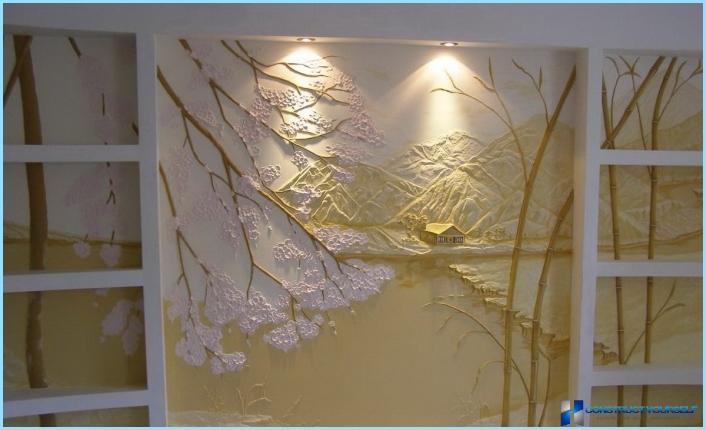
- Venetian plaster creates the effect of a marble surface. This kind of decorative finishing material in the presence of artistic skills allows you to create your own hands a unique mural.
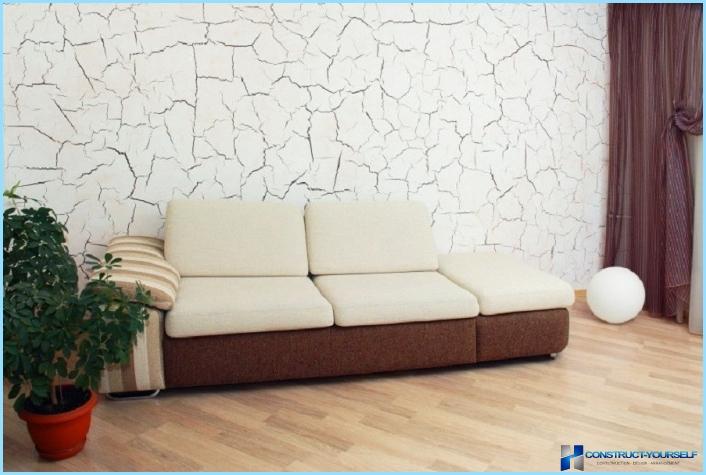
Technology of application of the skin one has a lot of nuances, about which you learn, after reviewing the proposed master classes. At what points to look for when choosing a decorative plaster. First and foremost it is a coloring pigment that gives the finishing composition to a certain color. If necessary, they are sold separately, allowing you to achieve after mixing with the bulk of the desired color.
The formation of structural surfaces provide fillers and firming components. A filler with a large fraction contributes to the establishment after application of decorative plaster, more volume elements of the relief. The main functional elements are the polymer components. They are responsible for the resistance of the decorative coating. Material for finishing works produced with mineral and organic binder components. A short video from the master class on application of textured plaster will form a General picture of the implementation process with your own hands.
Advantages of the product ↑
Decorative plaster has a lot of advantages, among them:
- Excellent ink adhesion with almost any basis (assuming proper training).
- The relief surface cleverly disguises all of the minor flaws of the wall in the form of depressions, bulges, and other changes.
- Resistance to fungus and mould.
- The hydrophobicity and water vapor permeability.
- The plasticity of the material provides coating durability, even in spite of the boarding house.
- Withstands a wide amplitude of temperature fluctuations.
- Resistance to open flame.
- Easy to clean, remove the stain using gentle chemical compounds.
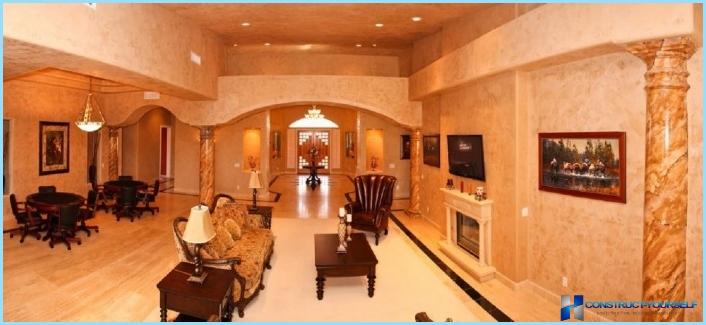
All this provides a decorative plaster wide popularity, and having mastered the stages of application with your hands, you will be able to save on the exclusive design of the room. One of these options is presented in the following master class:
Materials and tools ↑
Planning your own hands to complete the whole process of applying a finishing material in advance to prepare the material basis and the necessary tools. Depending on the selected decorative finishing and method of its application will need different available materials, but the basic kit consists of the following items:
- the primer mixture;
- masking tape;
- directly decorative plaster;
- paint, wax or varnish;
- polyethylene.
Of the tools at hand should be:
- putty knife, trowel;
- capacity for mass finishing and paint.
- roller brush, ceiling brushes;
- stick to stir the solution;
- rubber gloves to protect your hands;
- a piece of cloth and sponge for rubbing.
Depending on the desired texture after application with your own hands plaster decorative sponge are selected from three types:
- for easy grout useful common toilet sponge with a soft texture;
- to obtain a raised pattern will help coral sponge;
- draft basic grout to perform better horse sponge, which contributes to the formation of beautiful terrain.
Looking at the proposed video master class on application of decorative finishes, you can add to your Arsenal of tools other devices for surface Pro.
Surface preparation ↑
The quality and reliability of the plaster layer after application depends on proper surface preparation. The procedure is simple and quite feasible with their hands. This will require:
- The wall surface is freed from residues of the old coating and unstable parts of the detached plaster.
- Removing all spots, the flying dust and dirt, wall or ceiling is treated with primer.
- Significant cracks and notches are eliminated by applying cement mortar. For small defects enough to use putty.
To achieve a perfect result does not make sense, the next layer of plaster skillfully disguising minor deviations from the ideal surface.
The next step is applying a layer of plaster to the content in the composition of exfoliated vermiculite. The dry mixture is diluted with water as specified on the package instructions. After drying, the surface is treated with primer with the properties of deep penetration.
The final step of the preparatory process prior to application of decorative plaster – vacuum the surface.
Work with structural plaster ↑
The thickness of the layer when finishing the walls of decorative material is chosen based on the granularity of the solution and quality database, it can vary from 2 to 20 mm. If it was decided to color the structural plaster before applying, the Foundation also is treated of painted composition. There are many techniques of applying the structural mass, all depends on the final result. The basic principle is first applied a base coat of the required thickness, then use a variety of tools the surface is structured.
We will consider some variants of application, which is workable with your hands.
The structure of traventine. For application apply trowel of stainless steel. Traditionally, the base layer smooth and even. When decorative plaster dries out a bit, the next layer is applied in intermittent strokes. After a quarter of an hour these sites are levelled by a trowel method of stretching. To bring the surface to the appearance of natural stone will help furrows, which drawing is carried out using the stencil. Viewing the master-class will help to resolve issues.
Decorative plaster «Woodworm» especially easy for applying with your hands. The thickness of the layer is equal to the value contained in the solution of solids. After drying of the mixture pattern is formed with a plastic tool. Depending on the direction of motion, it can be classic «the rain» or chaotic grooves, simulating wood beetle. The simplicity of the techniques you can see, after reading master class that you can teach directly from the store.
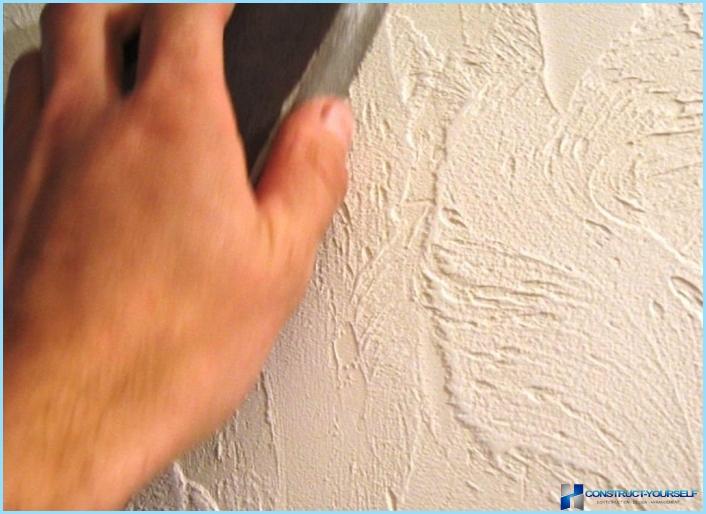
Decorative plaster coat. One of the most popular methods of applying decorative plaster remains the familiar fur coat. The surface has acquired a familiar shape, or use a grater, putting it on a little dried layer and pulling, or polyethylene. If desired, the sharp corners of the plaster smooth.
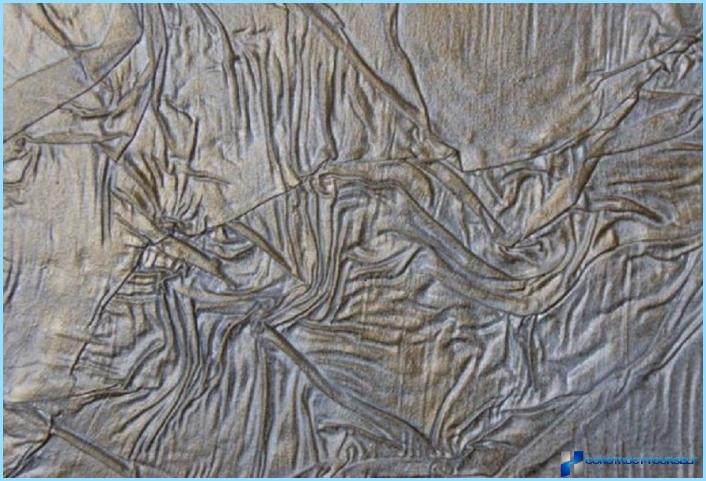
Decorative plaster allows you to draw on the surface of various waves or do-it-yourselfer simulation of folds of fabric. For this you will need brushes with stiff bristles of different widths.
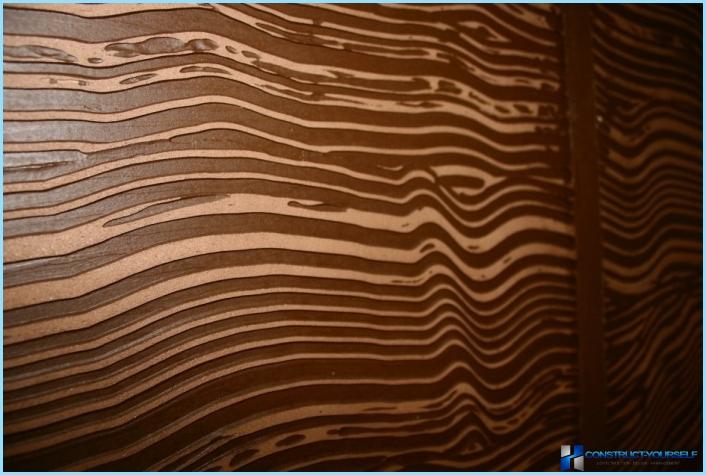
Decorative plaster Rock. To get the structure «Rock» for applying a decorative material will need paint roller with medium pile.
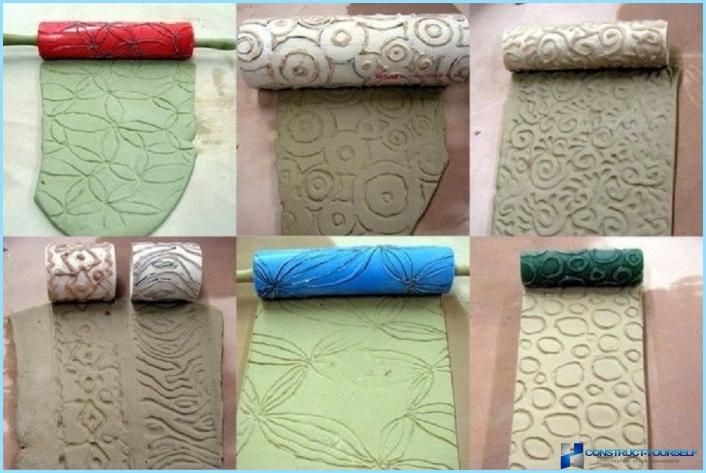
A wide range of structural cushions provides the ability to create with their hands from the decorative plaster of all kinds of ornaments, as plant areas, and abstract. They are not necessarily purchased at the store. Enough with their hands to reel in the tool rope or fabric. Individual pattern after applying a base coat of plaster can be done with the use of stencils, crumpled paper or a porous sponge.
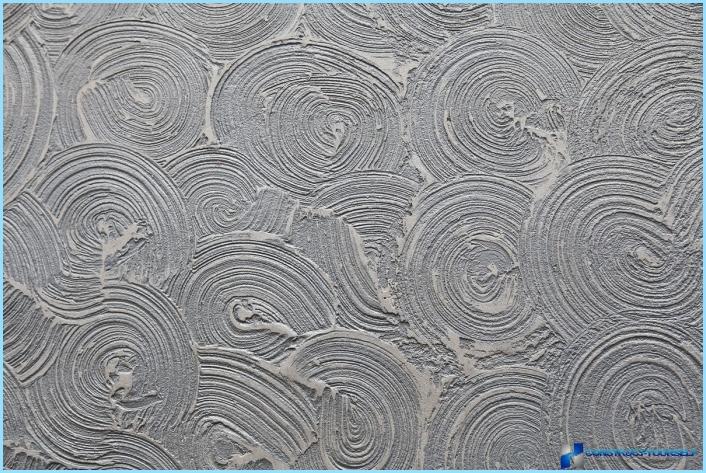
Decorative plaster rarely leave in primary color, usually after application of paint and coated with a protective layer. Various methods of surface treatment presented at the next video with another master class.
The application of the texture layer ↑
Textured decorative plaster contains in its composition of colors, fillers and knitting base, which is 4 types: mineral, acrylic, silicate and silicone. Colors textured material give it a special fillings, among them:
- marble chips;
- granite;
- promotie polymers or fibers.
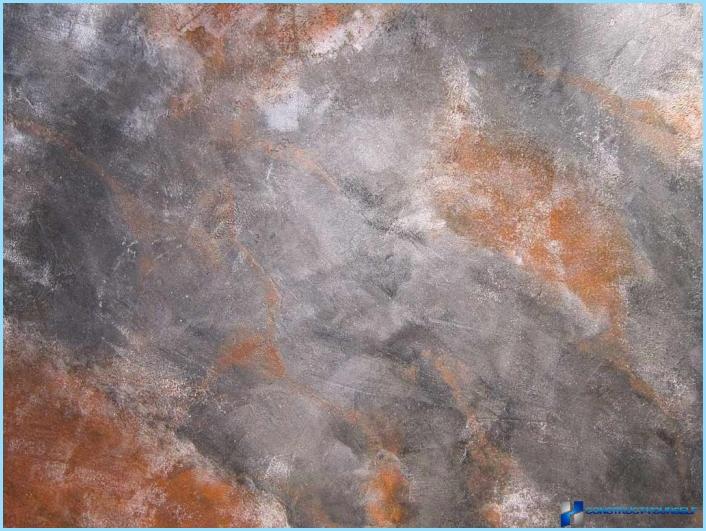
An important advantage of decorative textured plaster is absence of cracks after application due to the high plasticity of the material. Treats the surface with their hands in the following manner:
- Carry out step-by-step surface preparation, in conclusion, the applied paint containing sand. This greatly improves the adhesion of the plaster to the wall after application.
- Textured ground is applied in several layers. Their number depends on the desired end result. Enough for beginners to stay for 1-2 layers, a complex pattern will require a great effort.
- At the final stage to give the original appearance, the surface is treated with special paints and wax.
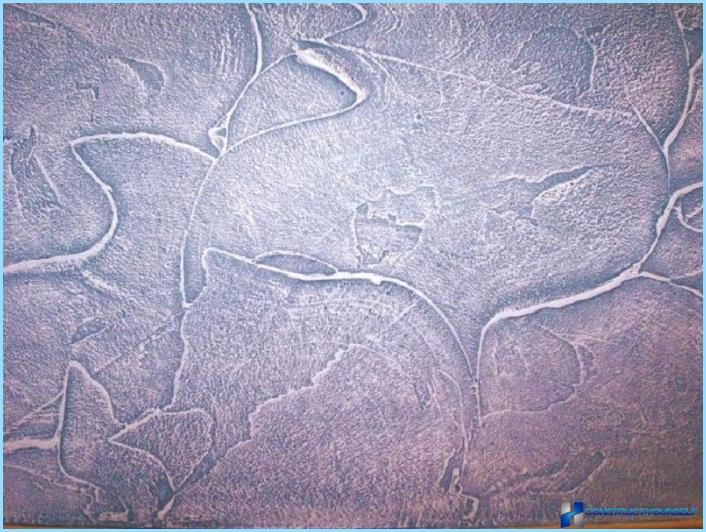
To study the process with all the details you can use the following master class:
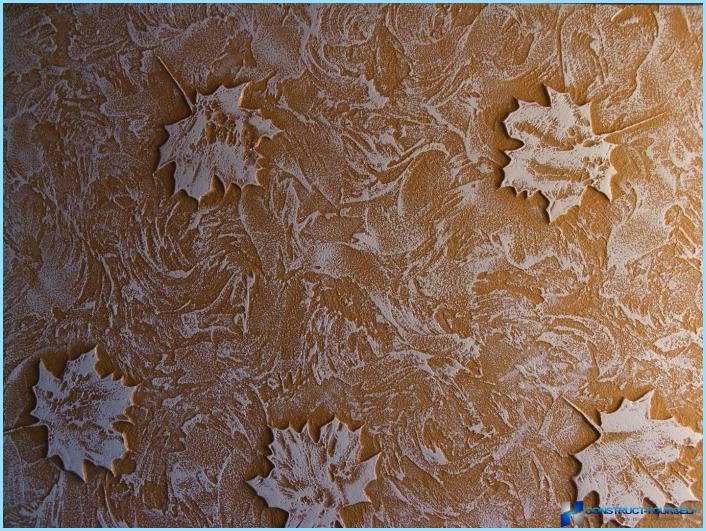
After the acquisition of the skills work on the wall starts with subtle places. Let it be areas closed in the future or curtains cluttered with furniture. The slightest flaws in this case is not so bad. Having got the hand, can move to an open space. Finally we offer a master class on work with Venetian plaster application technique which resembles the work with a textured material.

