The contents
Veranda is an extension to the house, built during the construction of the main building or later. This extension cannot be considered a separate structure, is part of the home. However, the construction of the veranda must obtain permission and after completion of works to carry out new registration of the house. This requirement applies to the covered veranda attached to capital structures, and it is associated with an increase in the area of the house.
There are two rules that should guide the construction of the veranda. First, it is built where is the door to the house. Therefore, they are parked with the front or face side of the main building, but in such a way that the door to the house opened inside of the veranda and into the house was only possible through her. Besides increasing the area, the homeowner receives additional protection the entrance door. Second, the veranda should match the style of the house, make him an ensemble, not not look a beautiful spot in the architecture of the house. Based on this rule, selected materials for the erection of an extension and determined its optimal size. Its length must equal the length of the side of the house to which it is attached, and the width to be not less than 2.5 m. otherwise, the extension will look, or bulky, or disproportionately small. Other rules on the construction of the porches does not exist. They may be G-shaped, having several angles, to be semi-circular.
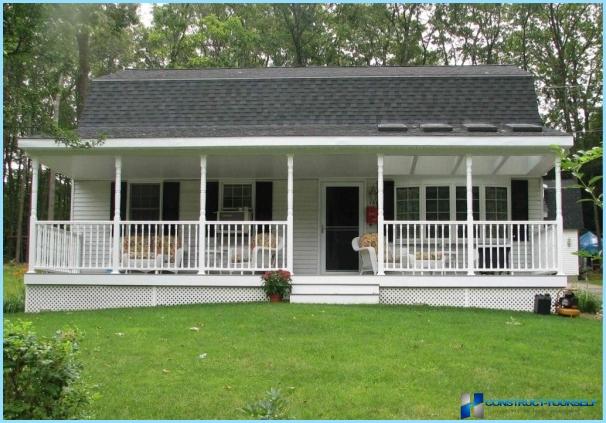
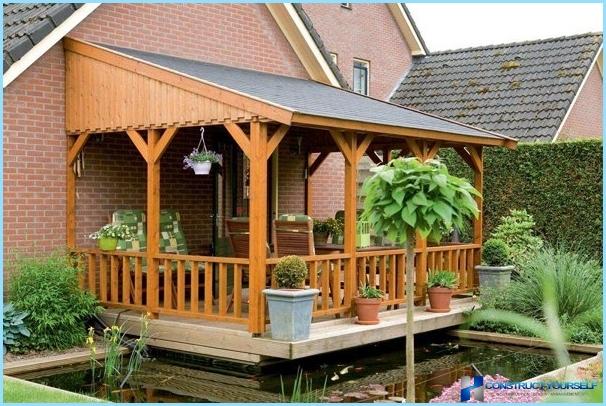
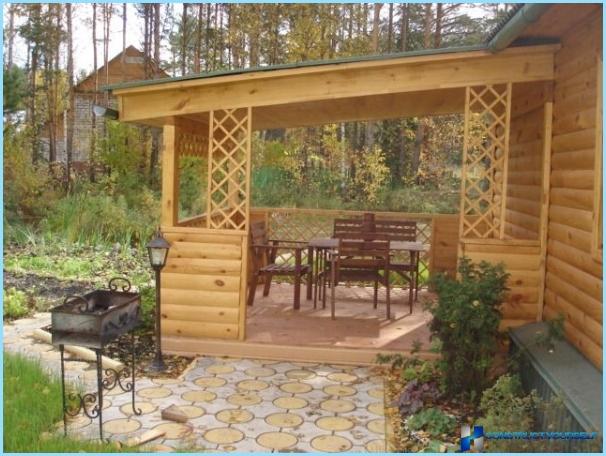
There are verandas open and closed. The extensions of the open type is missing the top part of the wall from the fence to the roof, enclosed porches different glazing space free from walls. Depending on the design of the glassed-in space in the annexe can prevail. The varieties covered porch French Windows solid, is a kind extension with all-glass walls.
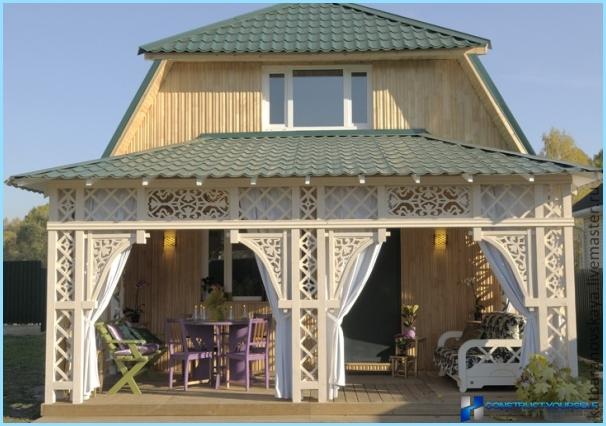
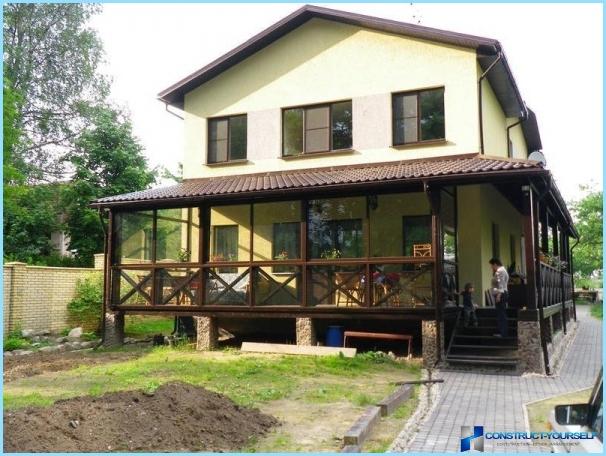
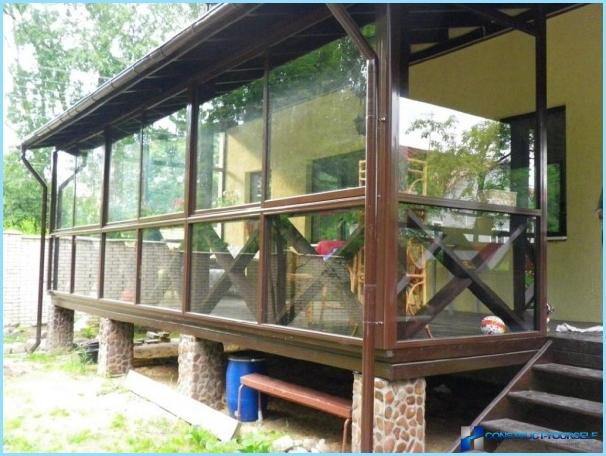
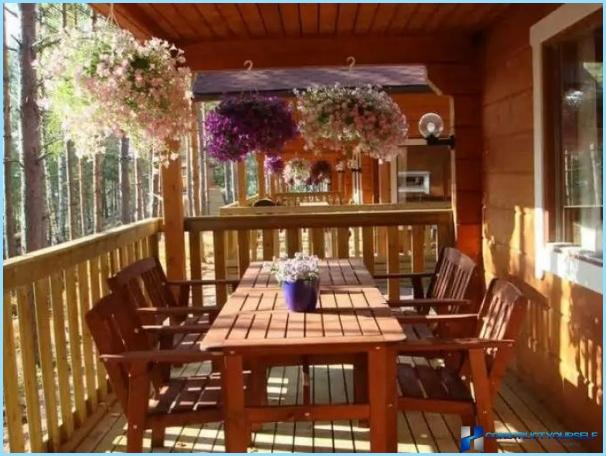
Open terraces are a connection place to stay and a wide porch, closed – summer dining area and additional hallway.
Let’s consider the stages of an extension enclosed frame porch to the house from a bar.
The Foundation of the veranda ↑
The Foundation constructed porches must not touch the Foundation of the house even if their simultaneous construction. The distance between the bases should be about 10-15mm. The weight of the extension is much less than the weight of the house and behave under load the bases will be different. This technical gap you need to fill elastic gasket to compensate for the shrinkage and movement of foundations. As strip you can use mineral wool or foam.
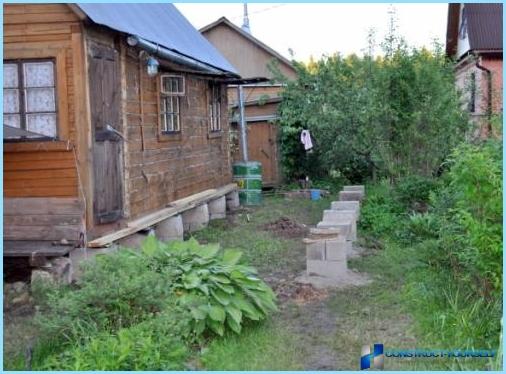
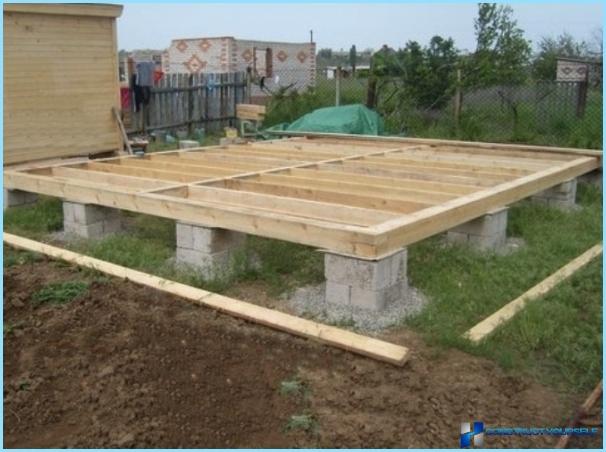
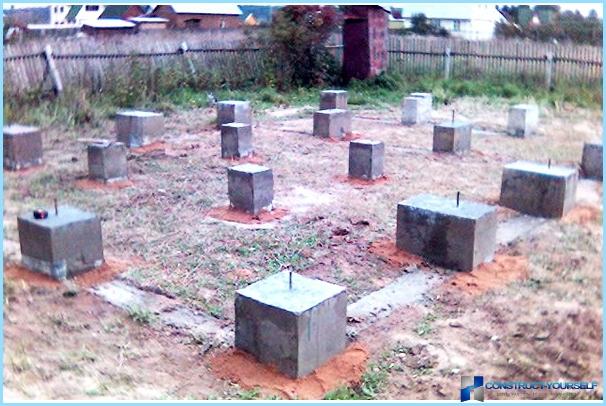
For the construction of a timber frame enclosed porch is enough pier Foundation:
- In the corners of the future deck to dig holes under the posts. For a considerable length of the veranda should dig some holes in addition to angular. The depth of pits of the order of 1 meter. The bottom of each pit is showered with a layer of crushed stone with a height of about 100 mm, this layer is compacted, poured the same height of the layer of sand, also compacted.
- In the pit set the simple wooden formwork, downed from the remnants of the Board, it is filled with concrete. You can use two method of constructing the columns of the Foundation: to raise the formwork to a height of 200-250 mm above ground level and completely pour concrete or pour concrete only to ground level (formwork in this case must not protrude above the ground). In both cases, the concrete base is carefully aligned horizontally and the height between the pillars.
- When the device of the concrete Foundation to ground level, after alignment and hardening of the laid brick columns to the desired height.
- Posts are treated for waterproofing with hot bitumen.
- For withdrawal of groundwater along the concrete columns digs drainage channel with a slope from the porch. The soil is at a depth of about 25 mm with the channel width of the order of 1000mm. The channel is filled with expanded clay or fine gravel, the top is closed by a layer of geotextile as protection from particles of clay and debris and covered with soil. Another inexpensive option drainage channel – laying in a trench, perforated plastic pipe with geotextile wrapping.
- The height of the bars of the Foundation is calculated in such a way that the porch floor was approximately 250mm below floor level in the house. This is to ensure that the height of the veranda was equal to the height of the rooms in the house, and its roof came under the eaves of the house.
The construction of the frame ↑
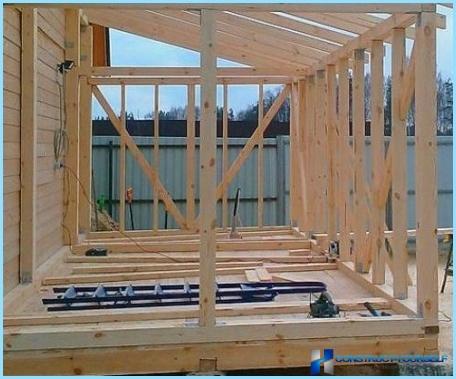
Proceed to build the frame from timber. Use beams 120x120mm, before the work is processed with antiseptic and fire impregnation for wood. Protivokariesnoe waterproofing will provide the wrapping of the timber immediately before laying sheets of roofing material.
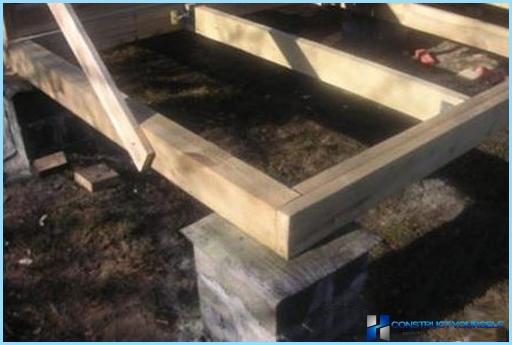
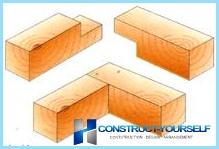
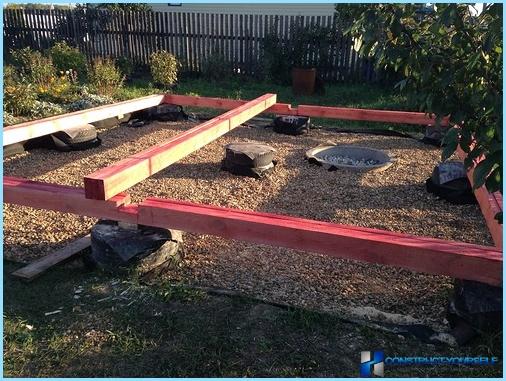
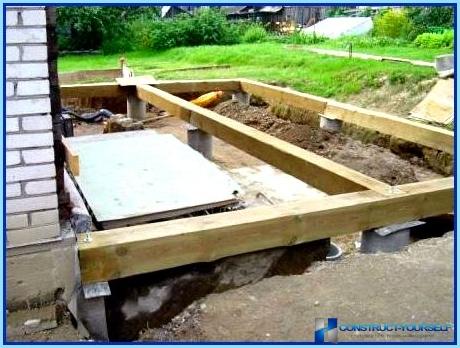
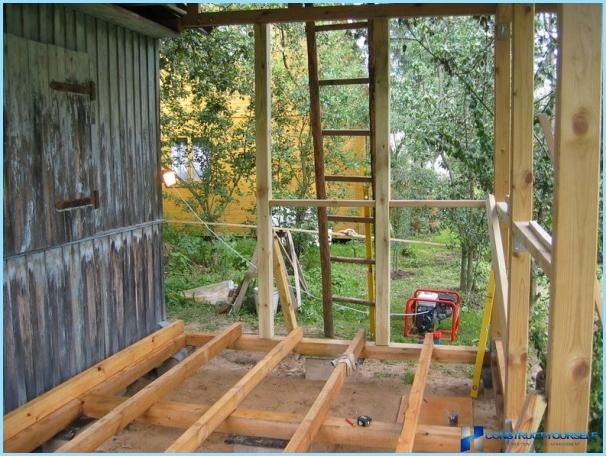
The lower harness make double, for reliability. In the corners of the beam connected «vpoldereva». In the upper part of the waist embedding also «vpoldereva» the logs are going to lay the floor. Mount the bottom strapping to column Foundation depends on the material of the columns. In concrete columns can be pre-embedded studs О14мм on studs to put on the timber strapping and locking nuts. To the brick column harness can be fastened with anchor bolts or studs. The attachment must be processed with anti-corrosive composition, but it will not protect timber from education in places of fastening of the condensate and gradually rotting wood.
The next step is to install a girder – a horizontal beam on which to build the rafters. The slope of a veranda should come under the main roof, therefore expect a height of the girder based on the thickness of the roof (roofing) additions, and half the thickness of the rafters in the case of fastening «vpoldereva». The girder could be fixed to the wall with anchor bolts.
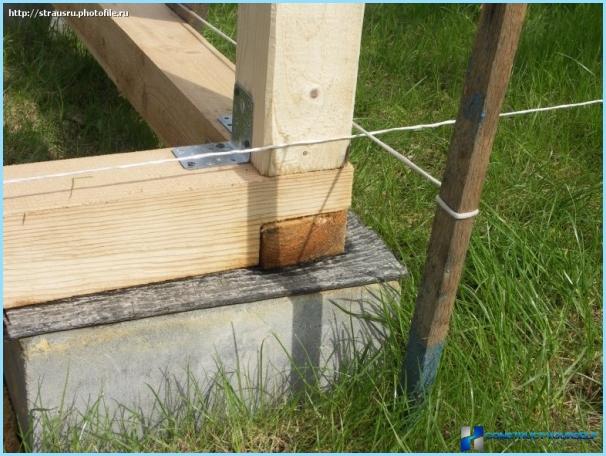
There are several ways to install the vertical posts of the frame structure. It can be cutting down «vpoldereva», full cutting ½ the thickness of the top timber at the bottom or the piping method «groove-joint» with a side of 50mm. Additionally, uprights are mounted two-millimeter galvanized steel corners, staples or nails. The distance between the racks is calculated based on the width bought frames for the glazing of the veranda.
The height of the stands is determined by their location in the design of the extension rack to the wall above the home (reference point height of the girder), it is necessary for the device of the roof. When calculating the height of the stands do not forget about the depth of the groove made or deforestation. We need a roof slope of 12%, the requirement for a correct installation of the soft tile.
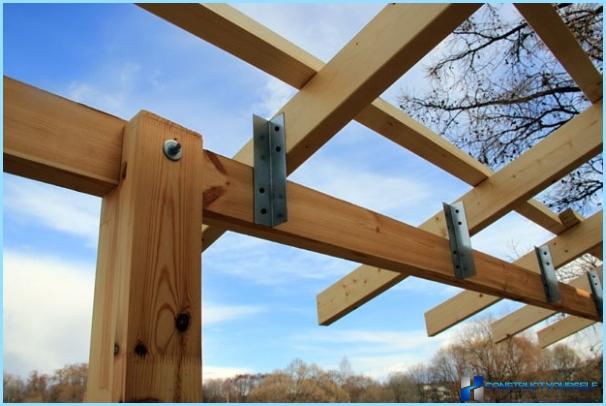
This way is done upper rail. The rafters of one end resting on the batten fixed along the walls of the house, and the other on the top rail.
The stiffness of the Assembly is provided with alosinae that we nailed to the bottom and the top of all stands. The crossmember between the uprights that we need to install the RAM and fastening the trim is installed with corners.
Roof ↑
According to tradition, the porch roof is lean-to and flatter than the roof of the house. Remember that the extension should be in harmony with the house and use for its roof the same materials that were used in roofing the house.
The lathing under the soft tile do solid from edging boards. Check the moisture content of the Board it should not exceed 20%. Please fasten the cornice Board, carefully align it horizontally. On the cornice Board having the slots for fixing the holders of the gully. Board sheathing will be 150 mm for the side stand. Treated with antiseptic and fire retardant all wooden parts of the roof.
On the crate in the direction of bottom-up stacked waterproofing canvas. Do laps in the longitudinal and transverse direction. The canvas is nailed with galvanized nails, they feature a wide hat. Bitumen mastic pass the place where the canvas overlap.
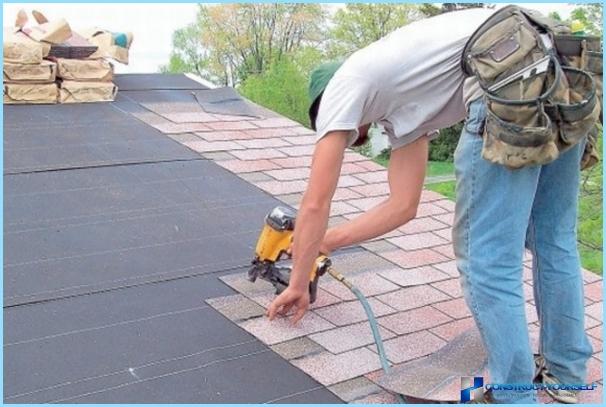
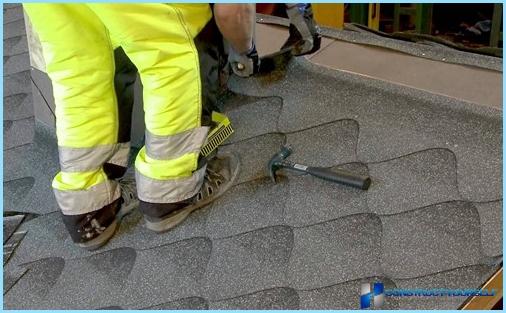
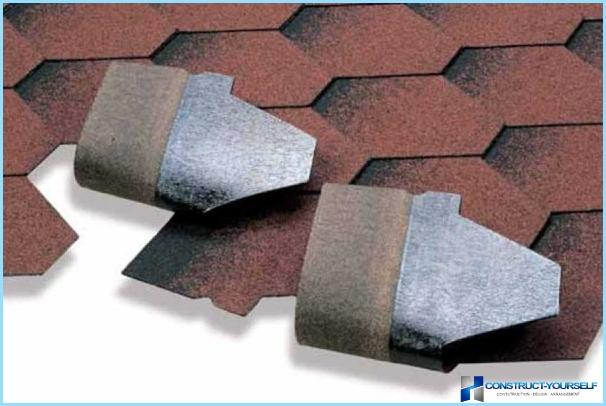
According to the instructions, the eaves of the roof eaves and reinforcing the end with metal bars. Nail them with roofing nails. Laying soft tiles are from run down. Start in the center of the roof is shifted to the right and left side. Take the shingles from different bundles, our task is to obtain on the roof abstract pattern. The protective film of each shingle before installation remove. Fasten the shingles with galvanized nails, thus see to it that the nail head is not damaged tile. In places where the adhesive layer is missing, we coat this place bitumen mastic.
Flooring, finishing and glazing ↑
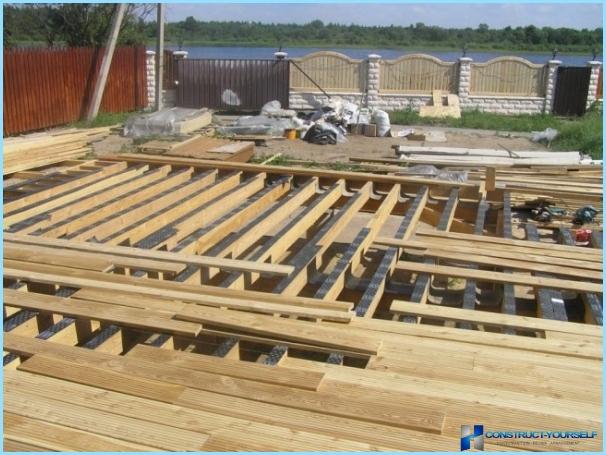
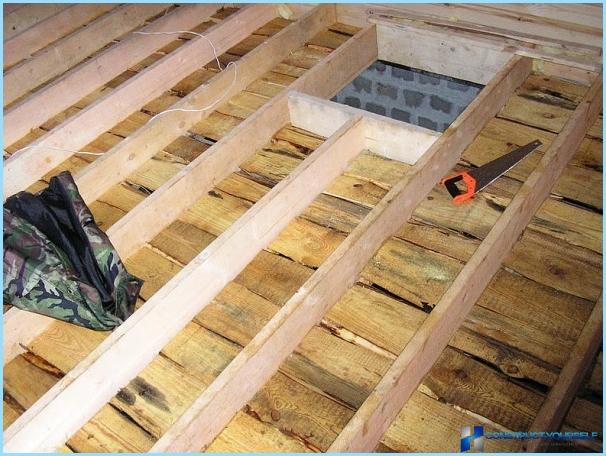
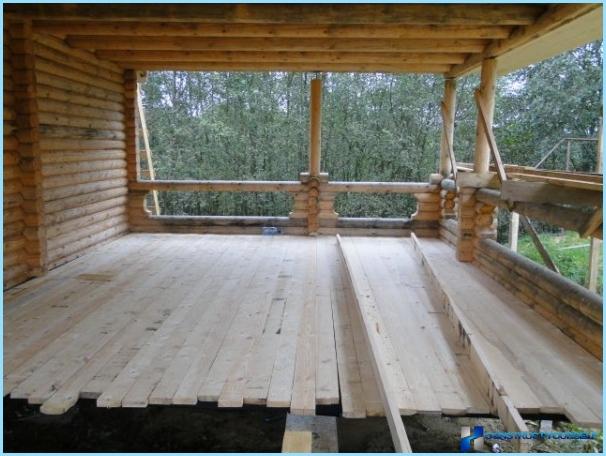
We want to lay on the veranda floor heating. For this plank of the unedged Board subfloor, it fasten timber 50x50mm and a step of 500mm. The resulting cells stacked polystyrene, supenaam foam those gaps that are left. Polystyrene is laid so that finished floor until there is a gap in 10mm. So we decide the issue of natural ventilation. To flooring finished floor concealed timber and polystyrene is a water-repellent film and use metallic tape to fasten it. The top is covered with the floor finish of the floor Board and cover it with colored polyurethane varnish in two layers.
Verandah walls to be lined with clapboard exterior. Securing the lining on the inside puts a waterproof film. Then lay the foam polystyrene, the remaining gaps supenaam foam. Inside the porch wall is also coated lining, don’t forget to lay plastic film.
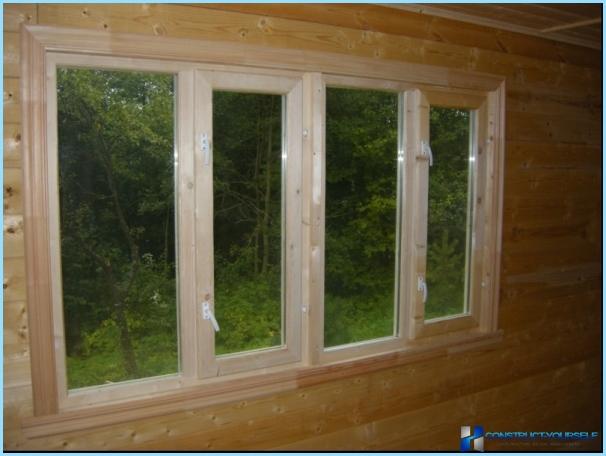
Mounted in prepared openings of Windows, fasten them with nails. Supenaam all the remaining gaps, after curing foam, cut and decorate the window frames. Use window units with triple glazing.
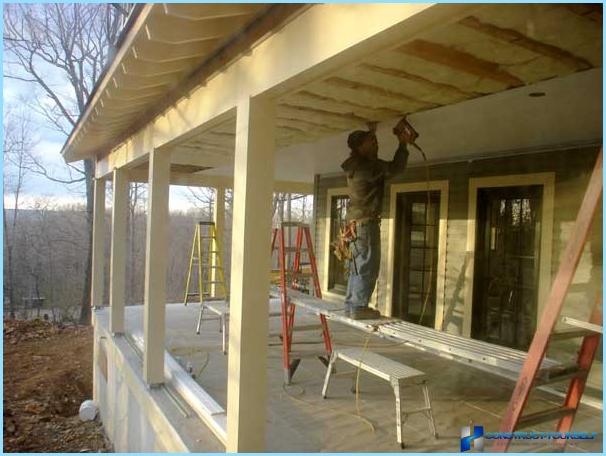
Don’t forget to hem the ceiling and hang the front door on the porch.
Interior verandas ↑
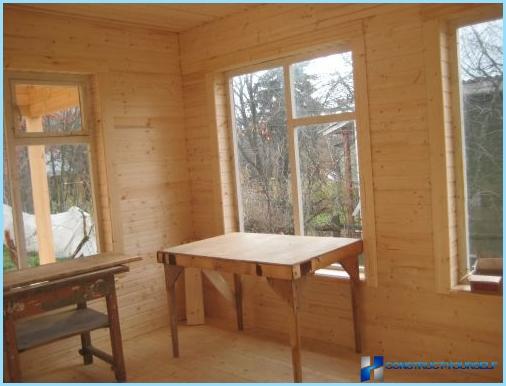
The paneling on the walls covered with colored polyurethane Matt lacquer in the same color scheme as the floor, but lighter. Trim paint in a contrasting color, ceiling paint with white paint. Furniture and fixtures pick up on existing capacities.
How to build a deck at the cottage with your hands, you now know that is something that almost anyone. Its construction does not require a special tool, it will need common materials and ordinary tools. Drafting also is not difficult. Just do not forget that you will need to coordinate this project from the district architect.
