The contents
Warm water floor in our homes long ago has become a convenient Supplement to the main heating and usual attribute of comfort of housing. The advantage of a warm water floor is the possibility of uniform heating of the floor covering to the selected temperature in the absence of additional energy consumption Underfloor heating connected to the heating system at home and working from the same boiler as the radiators.
Existing restrictions ↑
A ban on the device of water warm floors in apartment buildings is associated with the deterioration of the heating system in other apartments in the case of such connection. In the capital of the ban imposed by the decree of the city government № 73-PP dated 08.02.2005 g.
While technically such a connection is possible – it is necessary to install a separate pump and mixing unit. This additional node will maintain the system pressure at the exit, because this problem was the reason for the ban. But to coordinate such a project with the utilities is impossible. Unauthorized «box» the heating system is fraught with fines and a forced shutdown of a warm floor with the dismantling of the laid pipes.
In private houses warm water floor connected to the heating system in accordance with the project.
The methods of installation and kinds of pipes for water floor ↑
For the installation of warm water floor can be used different ways:
- The device of water floor in a concrete screed. This method is considered the most reliable and popular. The thickness of the screed over the laid pipes must be at least 20 mm.
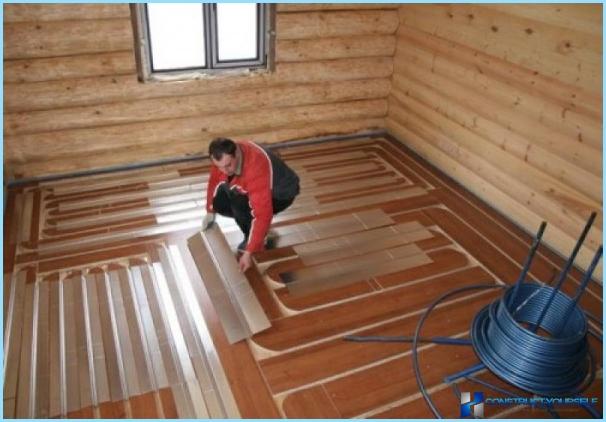
- Laying pipe in the grooves, made of wooden planks. This method is used for installation of floor heating in buildings with wood floors. Board stuffed and satisfied from their grooves into which the pipe is routed.
- Laying pipe in the grooves cut in the polystyrene with subsequent screed.
The most popular pipe for the device of water warm floor – metal. Their popularity is determined by its affordable price, ease of installation, ability to keep good form.
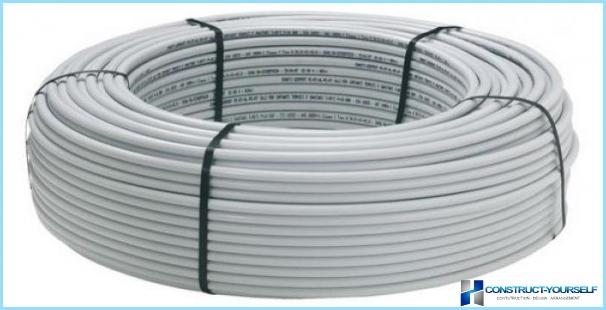
To perform work on the device warm floor is also used pipes made of polyethylene (they are less easy to install) and copper pipes. The first are repairable and freezing media in the system does not pose serious risk.
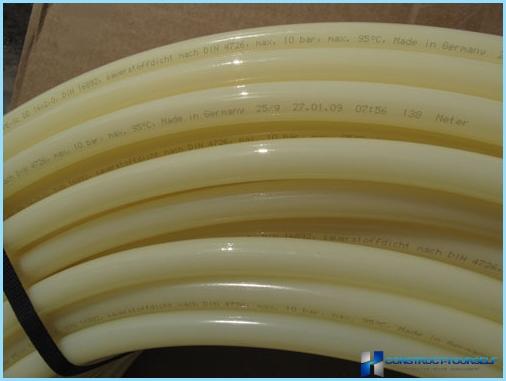
Copper – better performance. However, they are very expensive and need extra protection from possible alkali exposure.
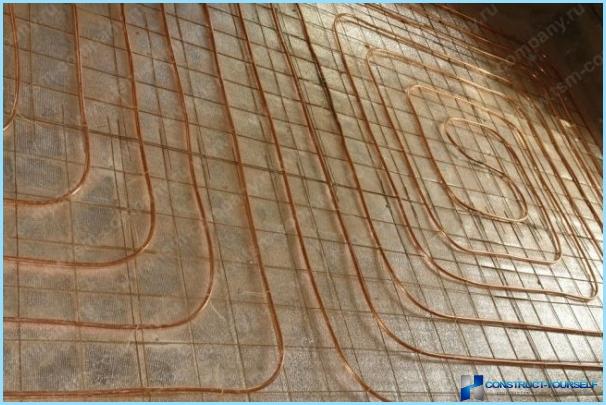
How to make a calculation of the floor ↑
Before you buy materials and start the device of water floor, you want to make his calculation. It’s not as difficult as it might seem at first glance. First, the drawn diagram of the room with the contour. The scheme takes into account the following:
- For tube diameter 16 mm length of loop (length of pipes laid for heating) should not exceed 100 m, which corresponds to approximately 15 m?. The room measures 30 m? I have to put 2 loops, etc. In the greater length of the contour system pressure will be insufficient.
- The difference in the length of pipes between the circuits should not exceed 15 m. This is done in order to make the contours more or less equal.
- In compliance with the requirements for thermal insulation of the floor is the way to go when laying is 150 mm To 100 mm pitch is reduced in regions with cold winters.
- At step 150 mm flow tube will be approximately 6.7 p m one m? square.
- In the place of installation of furniture and plumbing pipes do not fit.
This is an example of the approximate calculation of the floor. In the design considered power, heat loss and other data.
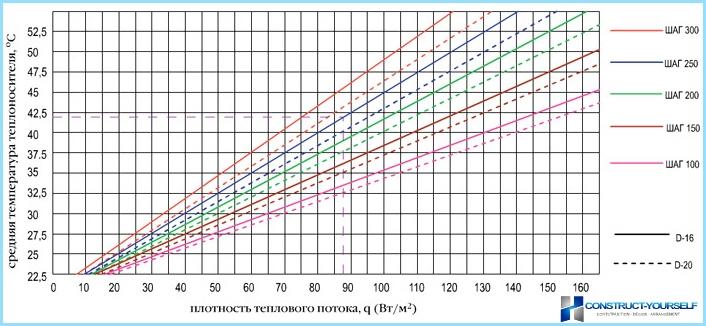
The chart shows the dependence of the flux on the average temperature of the coolant for tubes with a diameter 16 and 20 mm. This dependence is calculated for warm water floor, laid in the screed 70 mm thick and with tiles as the flooring. The increase in the thickness of the screed leads to a decrease of the flux density. In a properly installed system of floor heating temperature difference between the media input and the output should be from 5° to 10°C. There is a maximum media temperature of – 55°C.

Technology of laying of water floor ↑
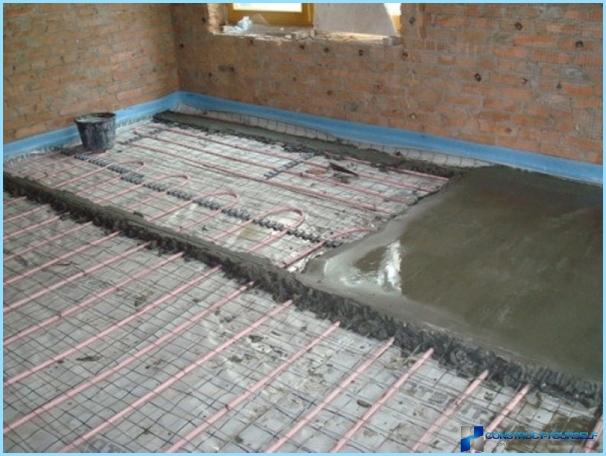
«Pie» warm floor consists of several layers. Thickness «pie» depends on the materials used, the thickness of the screed and can reach 140 mm, which corresponds to the load on the floor 300 kg/m?.
For laying water floor on a concrete slab is first made waterproofing the Foundation, fit the insulation with heat-reflecting screen (for example, energoflex Super TP) is placed on contour and filled with screed. Concrete slab before laying the contour is checked for the presence of elevation changes, which should be within 7 mm when checking the 2-meter rack. After checking the base is thoroughly cleaned.
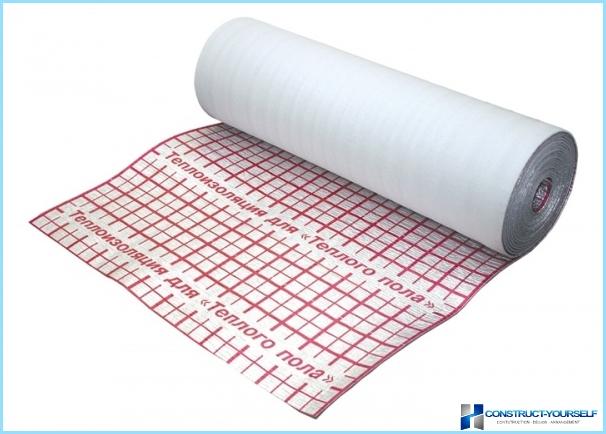
The choice of insulation determines the properties of the base, which fits on the contour, climatic characteristics of the region and other factors. The insulation will protect against heat loss and due to the heat reflective layer will direct heat into the room.
Laying water floor ↑
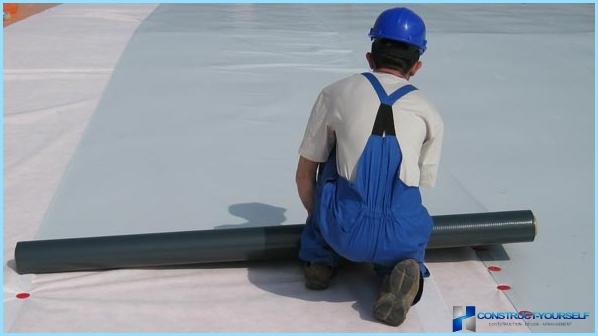
The work begins with laying of the waterproofing with an overlap between sheets and walls to a height of about 200 mm. the Joints are fixed with adhesive tape to seal.
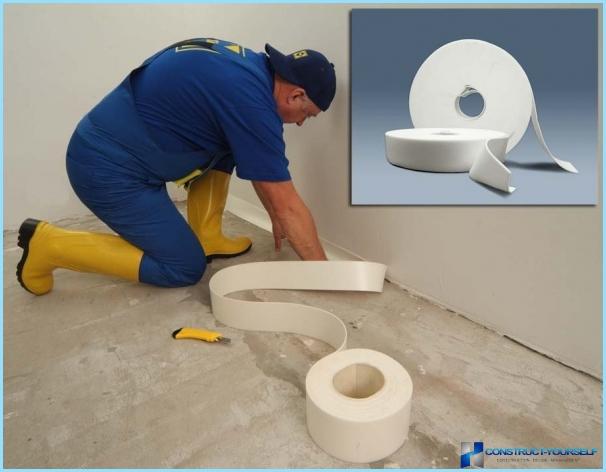
Damping tape attached around the perimeter of the room. The height of the damping tape is 100-150 mm in width and 5-8 mm. Ribbon is attached so that its upper edge was above the level of the screed. Then the tape is cut flush with the coupler after curing. The tape cut from the insulation, glued or bolted with screws.
Insulation energoflex laid out in strips, combining squares marked on the surface of the insulation layout. Such markings in the form of a grid of squares facilitates the work of the installation. The seams between the strips are fixed with tape.
There are various ways of fixing the pipe when laying the loop. We use clip (a harpoon-staples), which fills in accordance with the scheme.
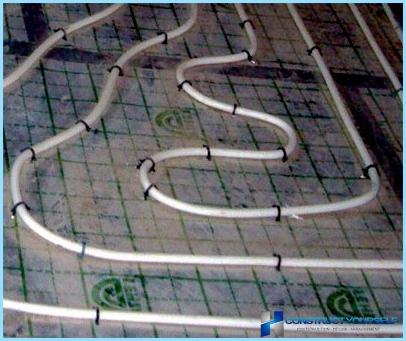
There are other ways of fixing.
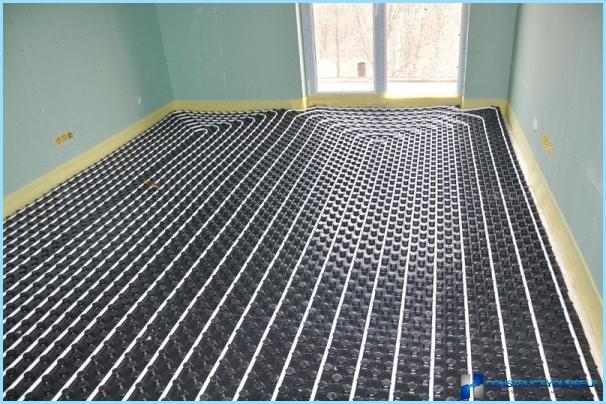
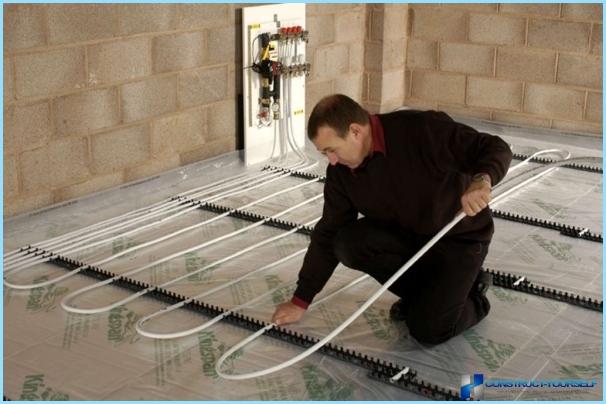
Make the indent from the wall of 150 mm and begin to lay the path. Recall that the length of the pipe loop must not exceed 100 m, respectively, for large rooms fit several circuits with approximately the same length of tubing.
Usually the contours are stacked «snail» (spiral) or «snake».
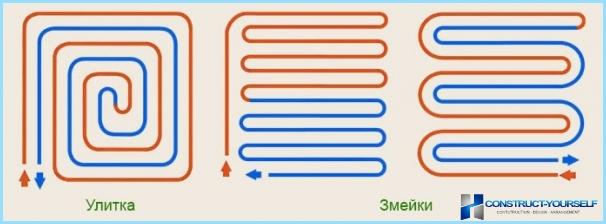
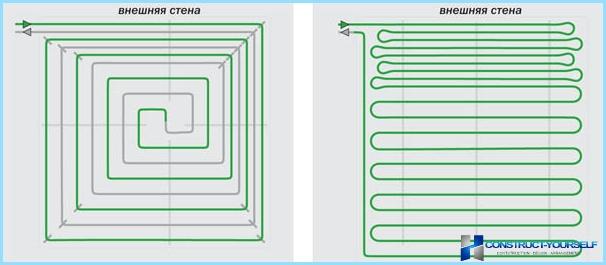
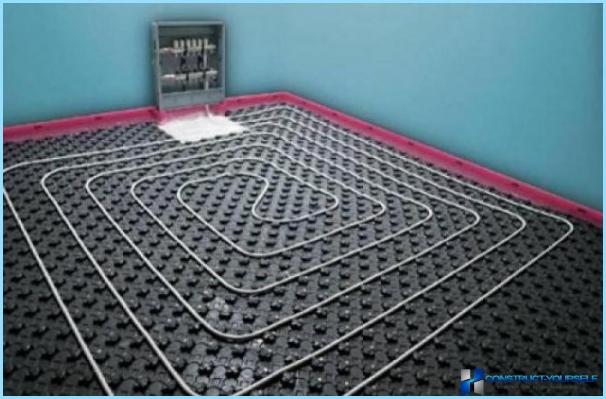
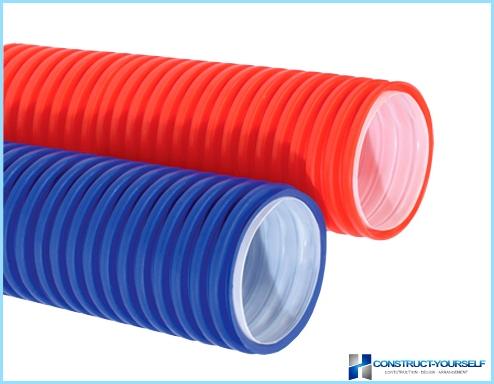
A more versatile option is the styling «snail». In places where pipe is laid close to each other, to avoid overheating the floor covering on the part of the pipes put insulating tube.
The advantage of plastic pipes – ease of installation. These pipes are bend by hand. Folded plastic pipe to the desired angle when laying hands several times. In order to get the right angle, you will need up to 6 visits. First, using the thumbs is a small bend, then the fingers shifted in the direction of bending and the motion is repeated.
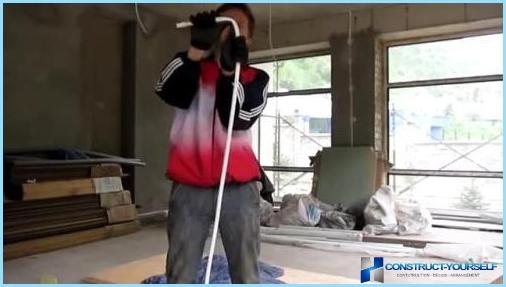
Start laying the circuit by connecting one end to the distribution manifold. After the complete laying of the circuit to the manifold connect the other end («the return»).
Switching circuits and crimping ↑
Commonly practiced connecting circuits through a distribution node. Mounted manifold Cabinet and the pumping-mixing unit with a collector unit. The mixing unit creates a separate circulation loop. The temperature of the coolant drops to the adjustment value. The site provides maintenance of the set temperature and flow in the secondary circuit.
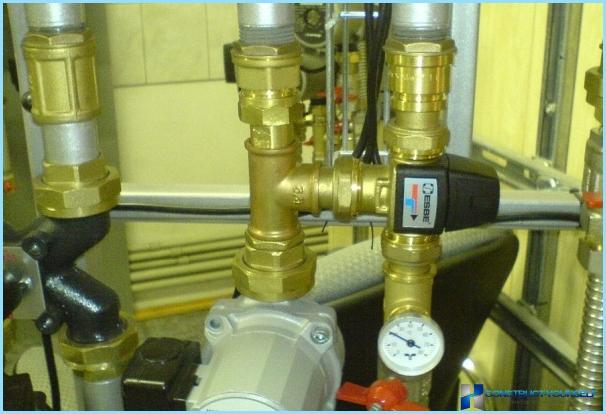
Manifold block is designed to distribute coolant at different contours of the water floor. It consists of the supply and return manifolds with flow meters, shut-off valves.
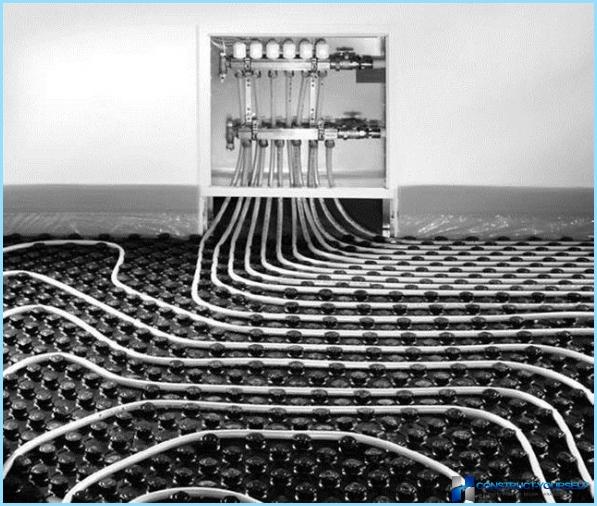
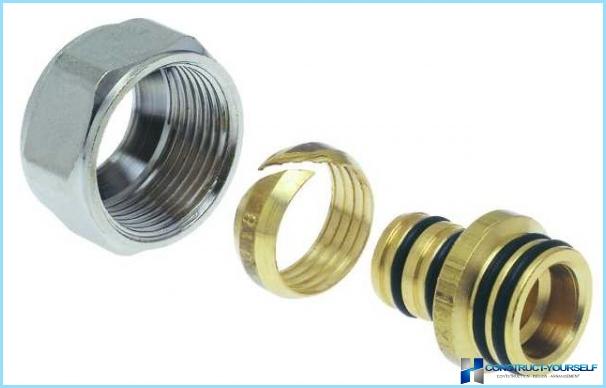
The entire design Assembly is installed in the manifold Cabinet and is connected to the high temperature circuit via ball valves. The pipes connect to the manifolds with fittings «the cone».
Crimping called pneumatic tests installed systems for leaks. Conducted pressure testing with a compressor, which can create pressure over 6 bar.
Screed ↑
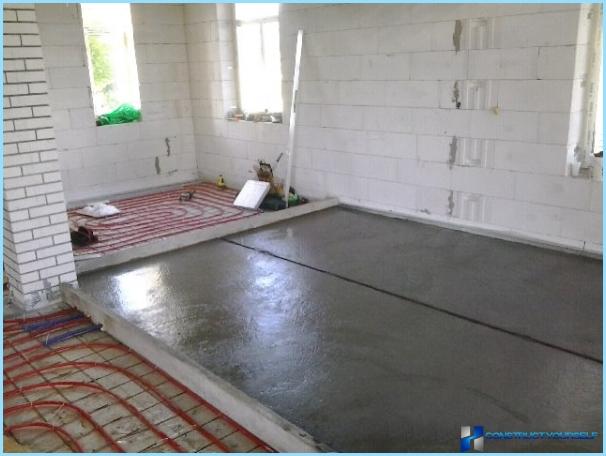
After installation, the manifold block and pump and mixing unit, connecting pipes of the circuits and carrying out crimping the turn of the screed. For tightening, it is recommended to use concrete M300 and above. The thickness of the screed over the path should not be less than 20 mm is the minimum allowable value. Such a thickness of the screed provides uniform distribution of heat over the surface.
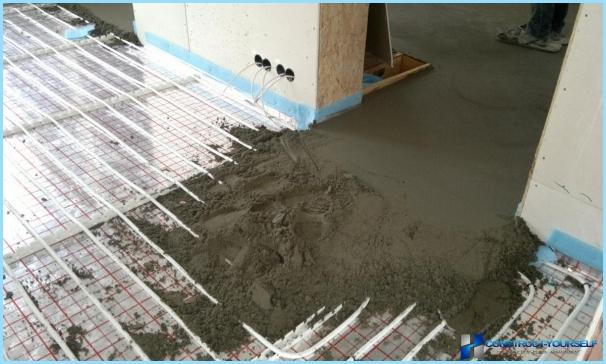
To avoid the appearance of cracks in the concrete add a plasticizer. Expansion joints definitely should be done in the premises with an area of more than 30 m? or in areas with complex non-standard layout. The absence in the screed expansion joints – one of the main reasons of its destruction. In a relatively small premises it is possible to do expansion joints incomplete profile. A trowel is the joint in the screed to 1/3 its depth, and after hardening of concrete this seam is treated with sealant. Pipe that runs this place, protect gofrey.
Styling features water floor for other types of flooring ↑
Warm water floor can be laid under laminate, parquet, carpet, linoleum. For laying carpet and linoleum on the first loop of pipes made of a levelling layer of plywood or gypsum fiber Board.
For installation warm floor on wooden base use aluminum distribution plate, and the pipe laid in the grooves between the nailed boards.
In the presence of certain abilities and skills to mount warm water floor with their hands is possible. Pay attention to the quality of the materials used and do not try to buy the cheapest – this kind «savings» will lead to very serious consequences.

