The contents
Floor screed called the application a well blended mixture of ordinary Portland cement with graded composite mixtures and water to create a base on the floor. This smooth horizontal formed the basis of doing the final finish, or lay the flooring. The process may seem simple, but there are many more operations on screed than grout, cement-sand mixture. This is one of the most important moments in the flooring which plays a special role in ensuring quality finishes.
When applying levelling compound?
- The alignment used for the formation of a flat and level surface with sufficient strength and stability, which allowed more coverage.
- Provide enough depth to enable the channels for power and telephone cables, floor heating systems.
- The thickness also allows you to get a normal horizontal plane of the base, on which are mounted above the leveling layer of the floor covering, including carpet tiles, linoleum, vinyl floor coverings and tiles, wooden blocks, ceramic tiles.

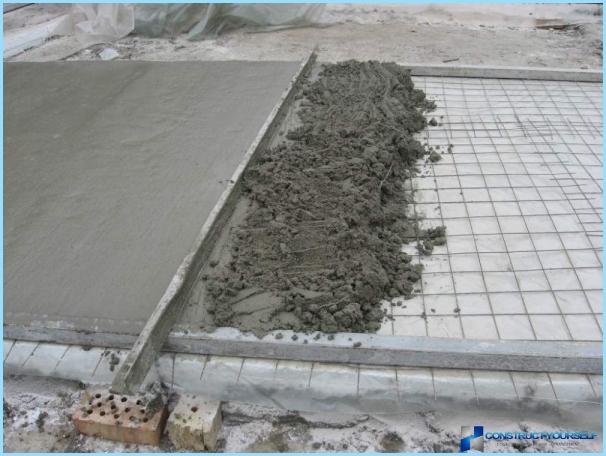
The type and design of laying should be chosen depending on the underlying plates, with the need to incorporate acoustic or thermal insulation and the final surface finish. By pouring and leveling the floor, apply such types of alignment:
- Solid: one layer stacked both across the thickness.
- Multilayer solid ties create a consistent, interlocking the layers together.
- For teams used ready-made elements, which are sequentially stacked in accordance with the technology.
The key to a successful laying of leveling compounds, achieving good adhesion between the substrate and the bonding layer is proper preparation, which is the most important factor when installing. Therefore, it is recommended to make sure that the surface is in perfect condition, it is clean and free from oil, grease, wax, dirt, dust, asphalt, adhesive compounds, paint, plaster and other contaminants that can lead to undesirable effects. The adhesion of the screed with the frame divided into:
- Separation.
- Related.
- Floating.
- For the organization of floor heating.
How to choose the appropriate alignment option? ↑
The choice of different available types, brands and designs can be a time consuming task. It is important to consider how well it fits into the requirements for concrete surface.
- Traditional standard mix of cement and sand in the ratio 1:3-5, is applied directly to the substrate, an intermediate layer or insulation layer, in order to equalize the surface levels as a basis or used to create a smooth layer before laying of floor covering – tile, wood, linoleum, and vinyl coverings. Traditional screeds are generally suitable for use in public and residential buildings.
- Bulk – anhydrite free-flowing, self-leveling and self-sealing couplers currently have the greatest advantage of easy placement and provide reliable results. However, not suitable in areas of high humidity.
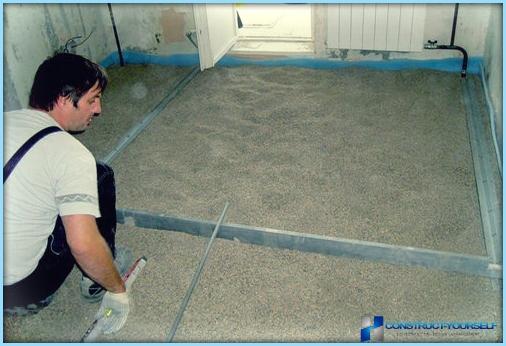
- Self-leveling compounds for sex differ from the total range, as they are used for alignment or as the final layer to increase compatibility of the screed and floor finishes such as tiles, vinyl and others. They are usually expensive and are used as final layer for installation on concrete and in areas that require a very high level of regularity of the surface without extremes.
- Structural suitable for installation of modular floor coverings. It is important to find the exact specifications and engineering calculations prior to installation of structural ties, to know exactly the requirements of the load, bending strength, point load and other mechanical properties.
- The mixture of fast and rapid drying floor is used when the work in strict time frames.
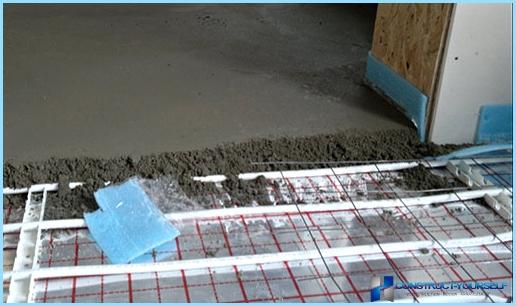
If you use quick-drying substances, you can proceed to installing the final floor covering after 3 days after laying.
Some concepts that will help you work:
- Prior to installing a disjointed screeds always need to check the evenness of the base substrate. In addition, they are used with a minimum thickness of 50 mm, plus a recommended 10 mm plastic strip, which is laid around the perimeter and aisles.
- The dividing coupler is a special type where it is intentionally separated from the base, with the use of polyethylene membranes. The separation layer is injected in the mixture to give the possibility of independent movement in the system of floor covering relative to the base. The concrete base must be smooth and free from irregularities.
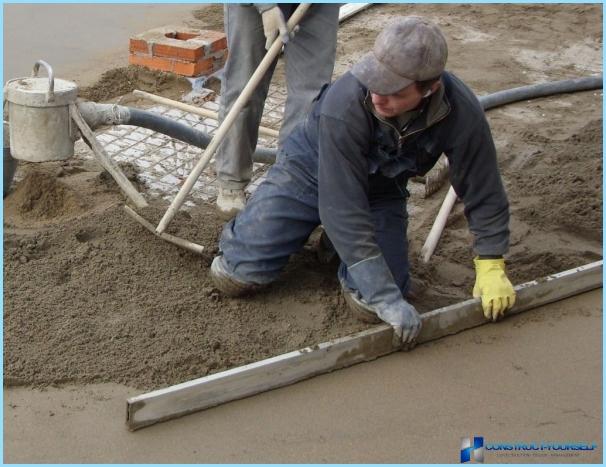
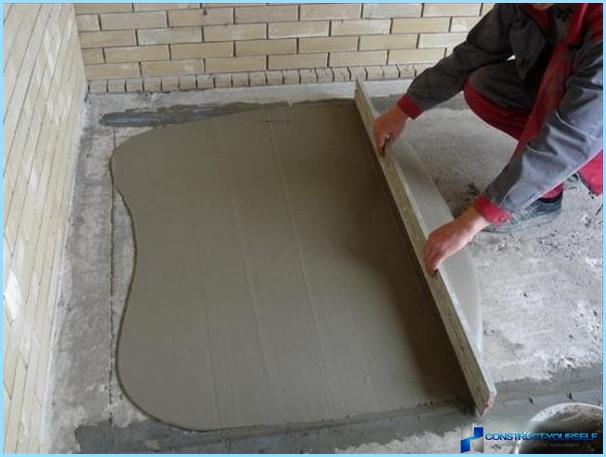
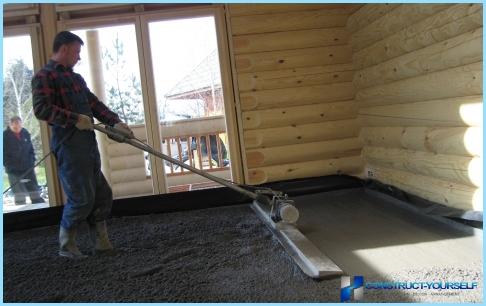
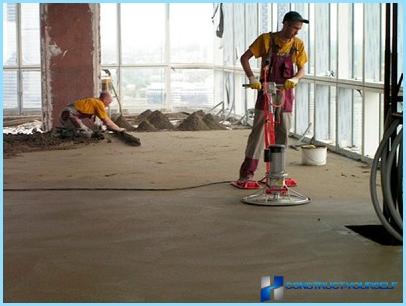
- Grout is used to smooth the surface on newly laid surfaces manually or mechanically.
- Granolithic topping is used as the final layer, no additional floor coverings.
Please note the following points during preparation of the surface:
- Short cuts and insufficient training will cause failures in the alignment of the upper layers.
- Failure training causes problems for horizontal lines.
- There are methods such as blast planning, floor scabbling, grinding and others that are used depending on the size of the area and surface conditions.
Filling and leveling the floor with a mixture of ↑
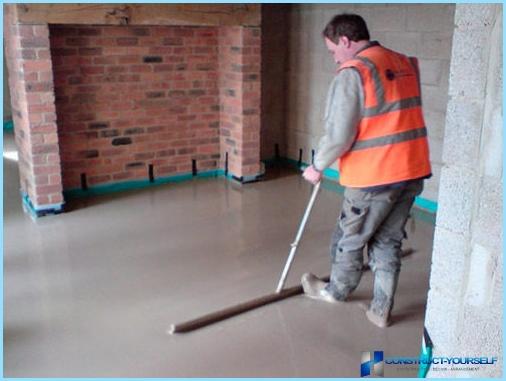
Prepared mixture is uniformly mixed in the right proportion and accordance with the agreed composition. When you have the option to choose between ready mix and self-preparation, it is important to consider the viability of each option depending on the location and space in the workplace.
Training is a very effective and cost-effective way and suitable for most projects, provided that for the preparation of a sufficient force, and the work is done with the help of skilled labor. Usually for mixing using three methods:
- Manually is only suitable for very small areas and is not recommended for large areas because the work is intense, and the estimated volume and insufficient effort when mixing can seriously affect the quality.
- The use of building mixers for mixing large quantities are used when their power is sufficient to prepare concrete mixtures and mortar required liquid consistency, but such mixers are poor quality, weak and break easily.
- Construction mixers of forced action of the most effective and economical way to produce high quality mixtures. Forced mixing mixture of cement obtained uniform and perfect, when necessary, various additives.
The correct installation process ↑
It is important to conduct the installation process on a systematic basis to achieve the best results. There are several steps to be performed when preparing to install:
- To check the suitability of staff to work;
- To prepare the surface, equipment and materials;
- To eliminate possible drafts and the free ingress of water;
- To measure the baseline, record measurement and determine the thickness of the finished screed to ensure a minimum and maximum depth when aligned;
- The mixing unit must be safe and suitable for use;
- To prepare the composition in the correct proportion;
- Apply layers in sequential order;
- Apply trowel cuts where necessary to control cracking.
Styling features:
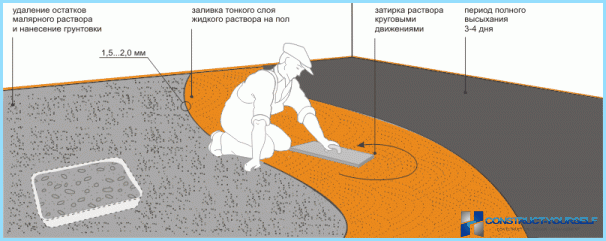
- Perfect proportion for a normal mix of cement and sand is 1:3 to 1:5 – this means that one part of Portland cement mixed with 3 to 5 parts sand that will pass through a 150 mm sieve and mixed with water of drinking quality.
- When used in a concrete mixer or with a mixer, the compositions should be suitable for pumping. To check the efficiency of composition can «antiquated» method squeeze a handful with a gloved hand, if it forms a moist roundness and crumbles – too dry, if it allocates water droplets – too wet.
- If you use cement, adhesive mortar, placed on a base is not hardened, you need to make sure that the mixture is thoroughly strengthened and reached its maximum seal.
- Special attention should be paid to Bay edges and corners. The thickness of more than 50-60 mm are pressed in the form of two separate layers, with a minimum time delay between the pilings. For thickness more than 75 mm below the first stacking up to 50 mm was sufficiently sealed, then bring to the required level.
- When using the valve it lay approximately in the middle of the depth.
- Method of finishing shall be applicable to final floor finish to be used: the tree prefers floating the grout with a smooth surface that will be satisfactory for most floor finishes.
- For homemade ties necessary hardeners to prevent premature drying. Many corporate ties they do not require.
- Traditional levelling compounds must be closely covered with plastic sheets immediately after installation and held in place for a minimum of 7 days.
- In extremely low temperatures, make sure that the surface is protected with insulating material for 2 – 3 days.
How to protect the floor immediately after installation? ↑
The last step in the installation, but not the least important is the appropriate protection of the floor immediately after installation before laying the final floor covering to achieve the high quality and durability.
Recommendations for successful drying without marriage:
- New Packed surface is dried for at least six weeks to avoid shrinkage cracks and failures. Cracks in concrete should be repaired using an appropriate method after drying.
- The final finish is applied to a completely dry surface to assure proper communication.
- You should take into account the moisture content of the slab, which can migrate to the surface because of the topping or lead to uneven drying areas. If moisture content exceeds recommendations, you can be applied waterproofing of the surface.
- In the case of accelerated drying of the concrete slab you must use the carbonation. Carbonation is the combination of carbon dioxide mixed with calcium hydroxide that are added to fresh concrete to obtain a thin layer of calcium carbonate on the surface. Later, this layer is removed by treatment, planing or blasting.
- The hardeners that are applied to concrete surfaces, harm the successful screed and should be removed completely.
The surface of the screed close by protective materials such as corrugated plastic, cardboard. This keeps the surface completely dry and ready for the final floor finish.
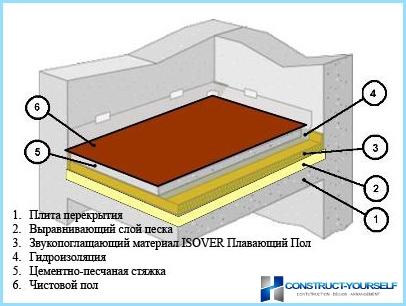
Proper installation of plastic waterproofing, rigid insulation and separating layers are very important not only for the overall integrity of the system, but also for the quality of the whole floor.
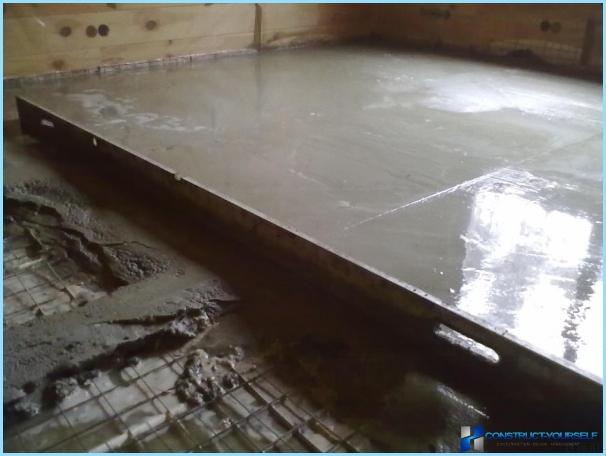
What should be done to produce high quality multilayer screed? ↑
- Step 1. To check the condition of concrete slab floor. Important points to consider:
For concrete Foundation – a reasonable level and clean of dust and debris. This will require multiple checks of the level, presence of voids to smooth out sharp bumps and to find the alignment system. The most effective method is the use of sand. Insulation should not go on the main surface, as it acts as anchor points and can lead to cracking with movement and to show the weaknesses in the void.
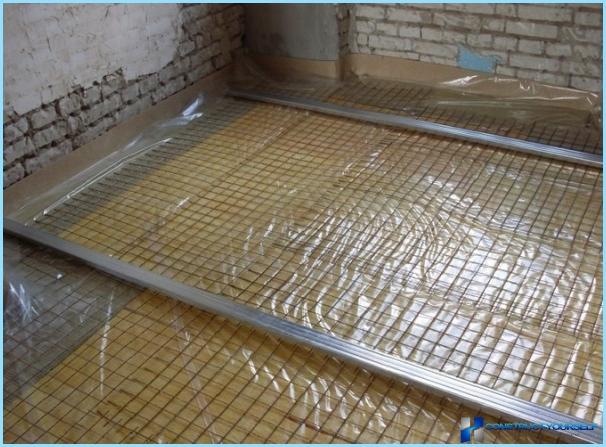
Polyethylene waterproofing (DPM) – usually calibration can now be deployed in place of providing end stops on the perimeter adequate coverage. It is important to provide sufficient overlap to cover the entire floor and create a small surplus. All seams shall be not less than 150 mm, to avoid drift.
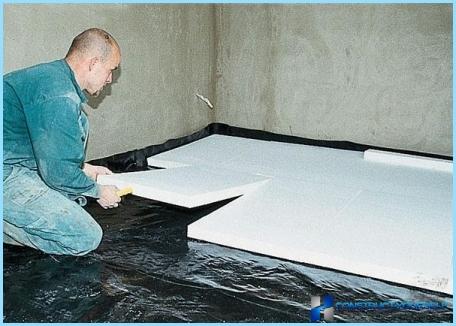
Now you can install rigid insulation.
- Step 2. Set to the full depth, 25mm thick perimeter strip of the same insulation, as well as along the outer walls. This helps to prevent a cold bridge.
Before installing the rigid insulation it is necessary to follow the styling and cut out the insulation in accordance with the shape of the room. Joints should be staggered as in brick laying to ensure the blocking insulation and glue with duct tape or foil that forms a system. Some insulation comes with pre-laminated separating layer flap. They can be taped down to provide a ready system.
- Step 3. The perimeter strip is applied along the inner walls, pillars, columns, pipes, vents, electrical outlets, channels. Typically used strip 10mm soft polyethylene, which is simply roll out on the perimeter. Special attention should be paid to the absence of gaps, the density on the inner and accuracy on the outer corners.
Rigid insulation without pre-laminated membrane will require the separation of the polyethylene layer. Installation is the same as the sealed membrane.
When well thought out system of ties, the life of the floor can last for many years.

