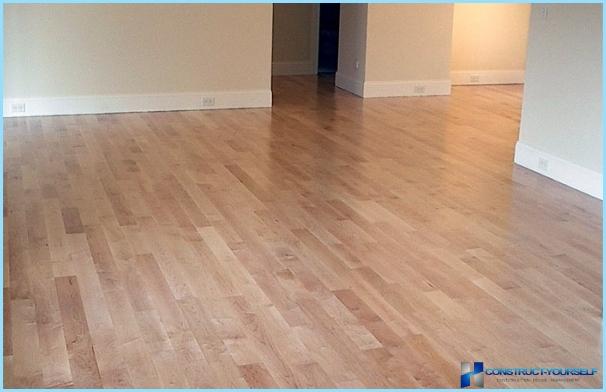
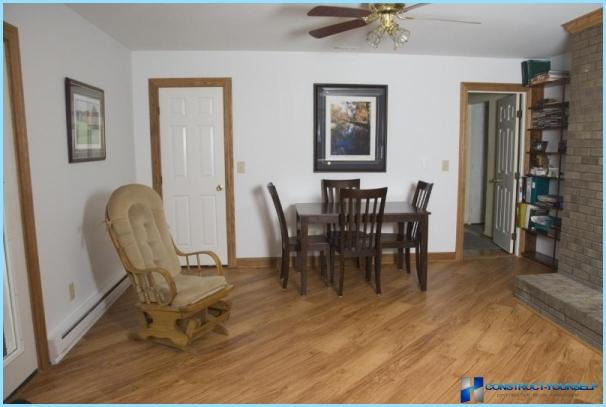
The popularity of laminate flooring is a good combination of price and quality. Cost makes laminate flooring competitive with virtually any other flooring. Practicality, durability, wear resistance, ease of installation, easy maintenance flooring in the operation of doing laminate «welcome» for any repair. Add to this the huge range of texture laminate up to simulate a natural wood, stone and ceramic tiles, and colors that manufacturers offer. Improving the laminate as a floor covering, and improved interlock panels. Reliable adhesive bonding today it has become almost archaic, for it was replaced by a system Lock-lock, then the Click-lock, locks 5g and Megalock aluminum locks. All this, by and large, for the sake of one purpose – to support the demand for the most popular flooring.
Despite the simplicity (in fact, seemingly) laying laminate with a locking connection, there remains the issue of training base under the paving. The base under the laminate must meet the following requirements:
- To be smooth.
- To be durable and stable.
- To be dry.
The concept «smooth base» under the laminate gives a set of rules SP 29.13330.2011, according to which the difference in height should not exceed 2 mm along the entire length level length 2 meters.
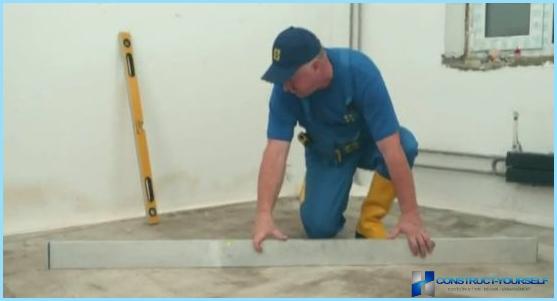
Another important indicator is the slope of the base. On the set of rules (this clause 5.19) the slope shall be within 0.2% of the appropriate size, not to exceed the value of 20 mm for the length of the room.
These requirements are related to the fact that when there are greater differences in elevation, during operation, the joints of the panels will experience severe stress and, therefore, will quickly deteriorate. There will be cracks between the panels, and repair laminate flooring will not work.
Choice of plywood as the base under the laminate ↑
Plywood has all the characteristics to be the perfect base under the laminate
- Plywood is no problem to level a wooden floor.
- Plywood is characterized by low weight and great stiffness.
- Plywood is characterized by the ability to withstand heavy loads.
- The cost of plywood makes it a very affordable material.
- Plywood allows to produce preparatory work in the shortest time.
- Plywood is not demanding to the conditions in which it is operated.
The choice of brand of plywood ↑
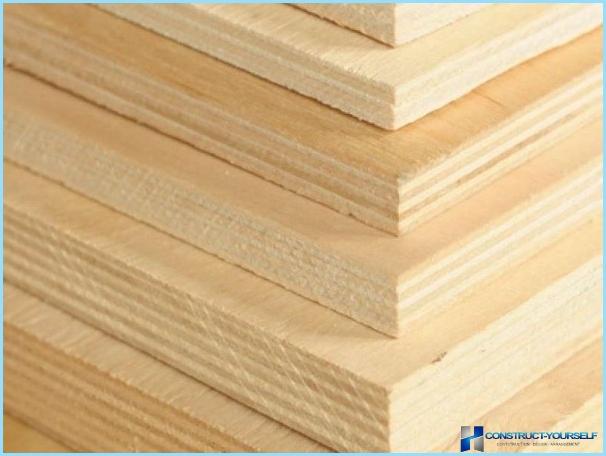
Plywood is produced as a multilayer material of several compressed layers of different types and thickness. The number of layers is odd. In terms of water resistance plywood is:
- FOF – suitable for use in residential areas, the low level of water resistance.
- FK – suitable for use in residential premises, the average level of water resistance.
- FSF – mark with improved moisture resistance. For use in homes unsuitable because of toxicity used in the composition of the material of the adhesive.
Material made of coniferous trees and birch. Plywood of coniferous wood, resistant to mould and fungus.
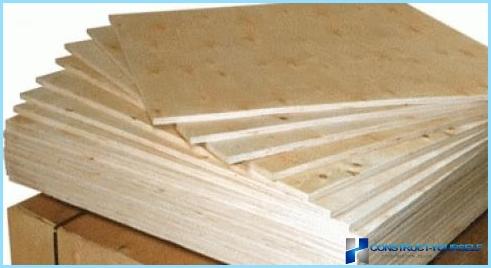

To align the wooden floor you can use the plywood thickness from 12 to 16 mm. If the old wood floor in good condition, can be limited to a material thickness of 10 mm, but only knowing exactly what the load in the room will experience the flooring. If you expect a very high load plywood can be spread in two layers: the first a thickness of 12 mm, the second – 10 mm. Sheets of material for each layer should be cut differently and the configuration does not have to match.
Cutting leaves and laying plywood ↑
A sheet of plywood FC, 12 mm thick, has dimensions of mm. 1525х1525 Such a sheet is inconvenient to use in alignment of the floor. In addition, the styling of entire worksheets really should be abandoned.
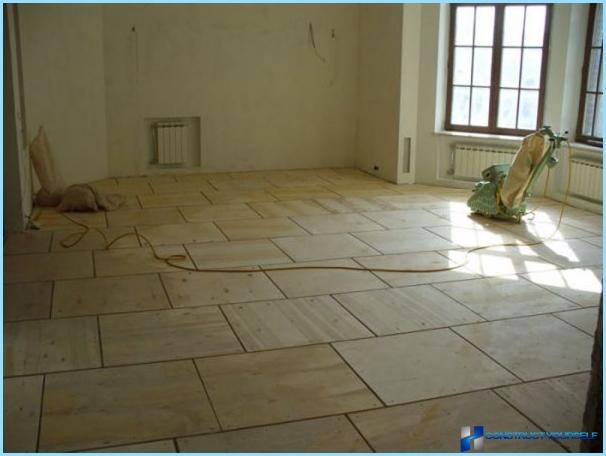
Sheet sawn into several parts, usually equal squares. However, the shape of the pieces will depend on the configuration of the room. Saws should be done neatly, edge smooth, without delamination.
The cut pieces «going» on the floor. Between the pieces must be of a temperature gap in the range of 10 mm. the same gap should separate the sheets of material from the walls in the room.
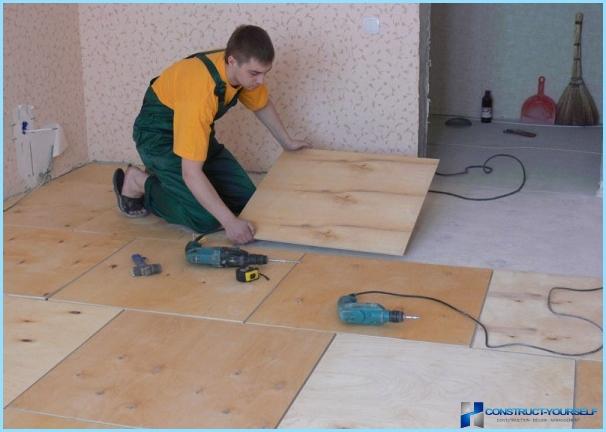
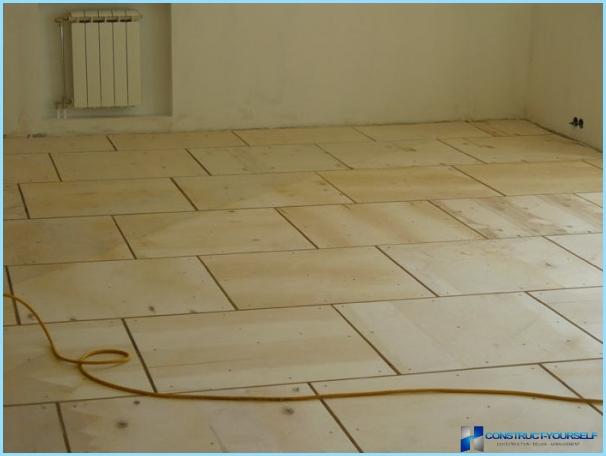
After the layout and fit all sheets are numbered and then stacked on «his» place in accordance with the scheme.
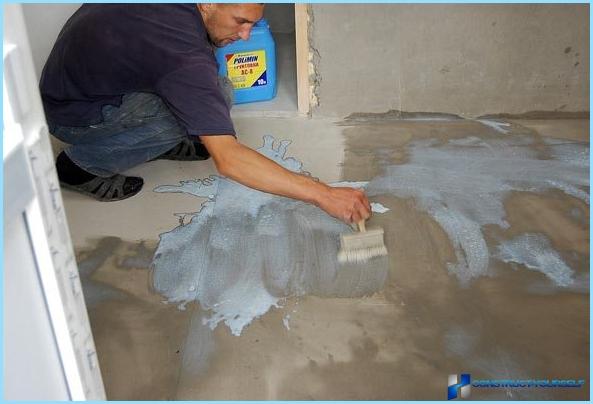
The floor under the plywood is cleaned from debris and dust, then primed. To increase the degree of adhesion of the soil to take the glue for the plywood and raise it to liquid solvent. Such a primer (primer) penetrates deeper into the base.
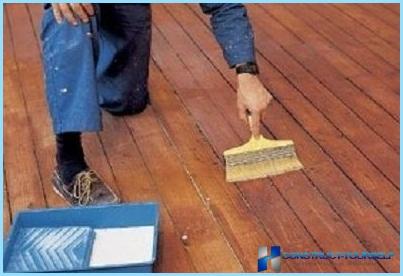
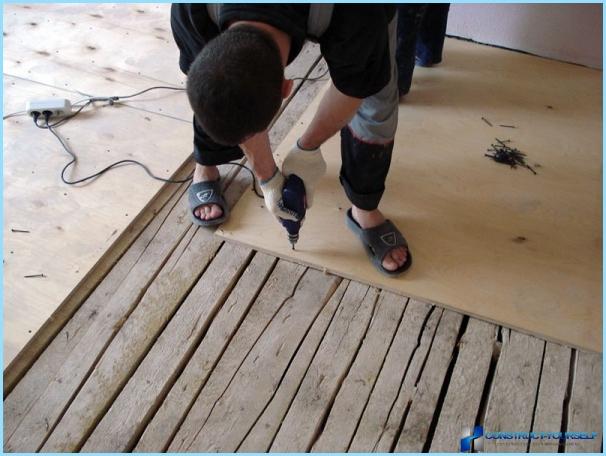
For fastening sheets of material to a wooden floor or joists are used, the screws that are threaded with a pitch of 200 mm. the Ratio of the length of the screw to the thickness of the plywood is 3:1. When screwing of the screws you need to retreat from the edge at least 20 mm.
Cement material is fixed with a special adhesive pre primed.
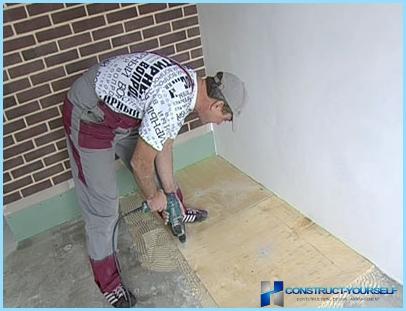
After installation, verify the evenness of the base and, if necessary, cleaned all roughnesses and defects.
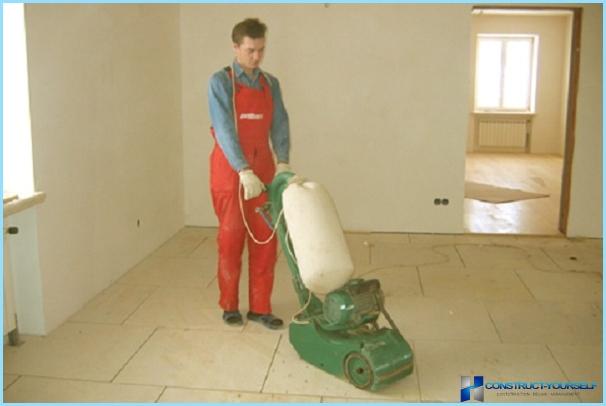
Laying laminate on the plywood ↑
Further the plywood to fit the selected substrate, the seams between the sheets are fixed with tape.
Styling methods:
-
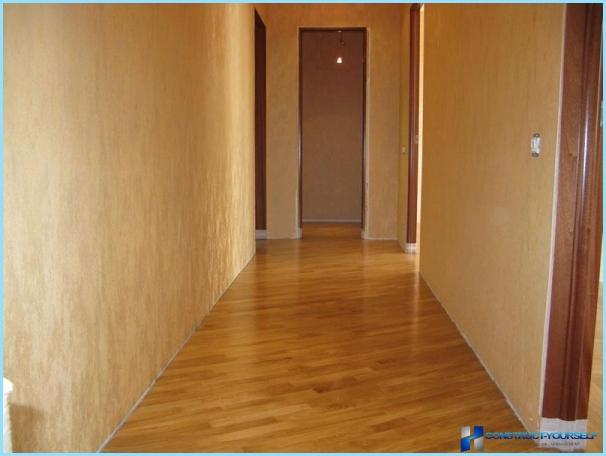
Perpendicular to light source (long side panel is located along the light flux). In this way, the seams between the panels less noticeable.
-
Parallel to the light source.
-
Diagonally.
-
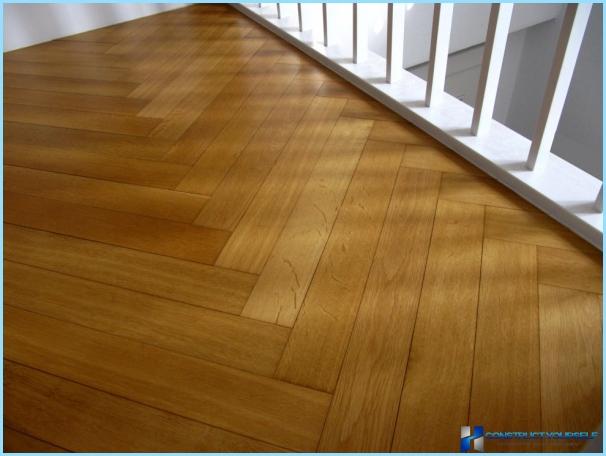
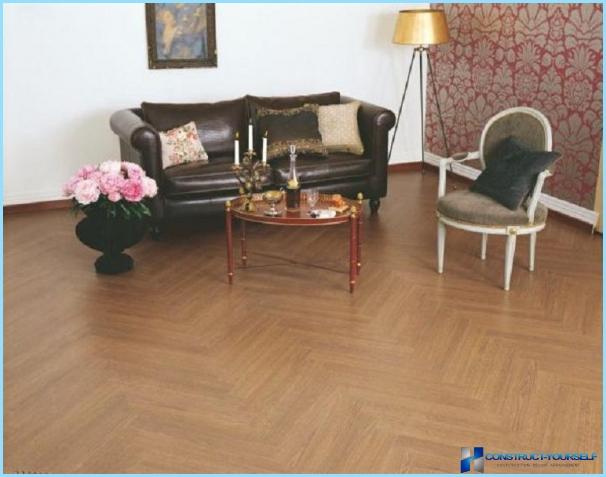
Christmas tree.
To count the number of the required laminate to the area of the room is added 7% when laying the flooring perpendicular to the light source (the window) and the 15% for a diagonal installation. Diagonal laying and laying across used in small spaces with the aim to visually expand the room. On the packaging specified number of square feet of laminate in the package.
Packaging entered into the room, where it will undergo installation and kept for two days. The packaging is not opened. It is necessary that the flooring adapt to the moisture and temperature in the room.
For the laying you need:
- A jigsaw or handsaw.
- Knife for opening packages.
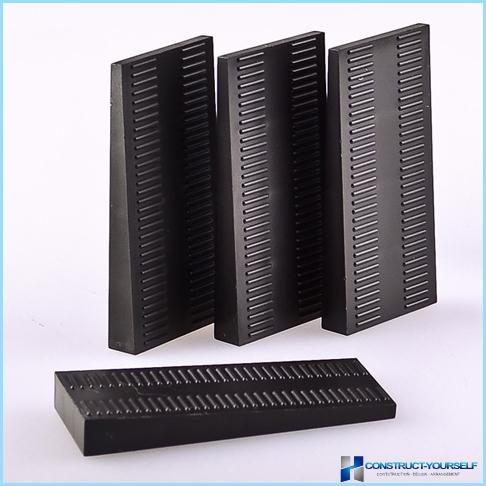
- Plastic wedges.
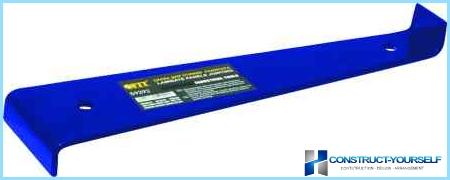
- Steel bracket with which you will be able to fit the end of the last panel in the row. Without brackets it will be very difficult.
- Roulette.
- Gon.
- Mallet and die (for lock Lock).
- Pencil.
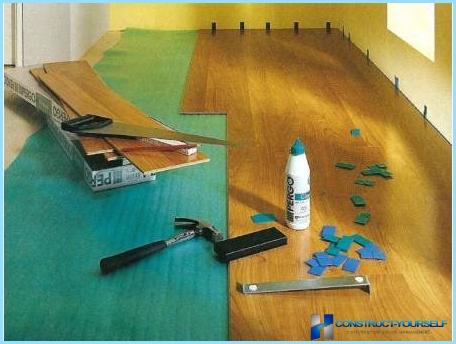
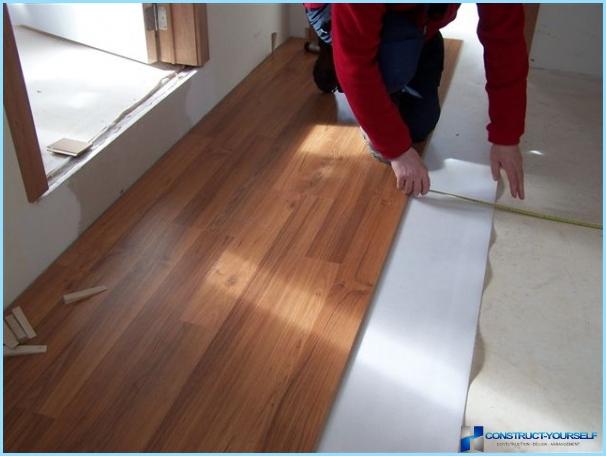
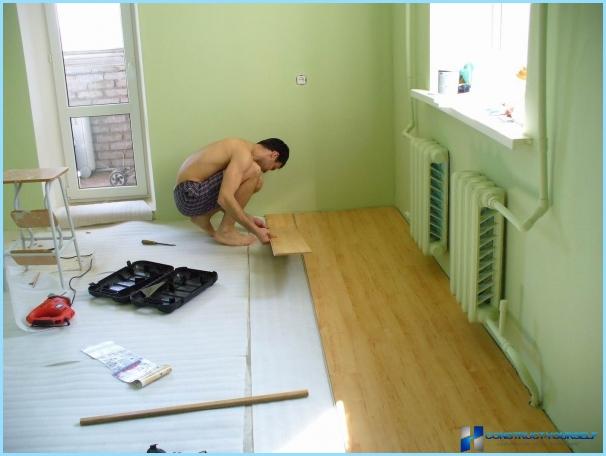
First set of plastic wedges. They will help to provide the necessary gap of 10 mm between the laminate and the wall. From the corner of the room from left to right is placed horizontally the first row. The comb panels of the first row are directed towards the wall. The panels are connected end sides. Latest in a series of panel trimmed with a jigsaw or handsaw and placed in a row. Starting the next row can be the remaining piece of the panel (provided that its length is greater than 300 mm). It is important that the seams in adjacent rows do not coincide.
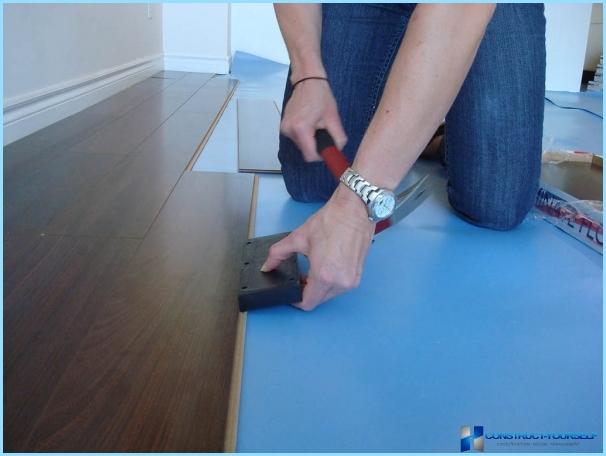
The first and second rows are joined. When using panels with Lock-lock, you will need to tamp them with a mallet (through the die) for fixing of the ridge in the groove of the next panel.
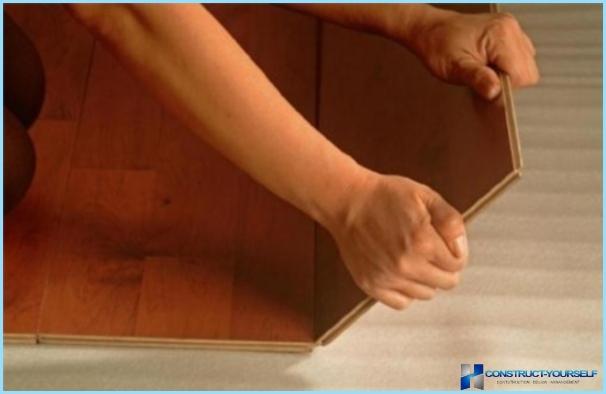
Panel system Click are stacked under an angle of 45° until it clicks into place. This coating can be removed if necessary.
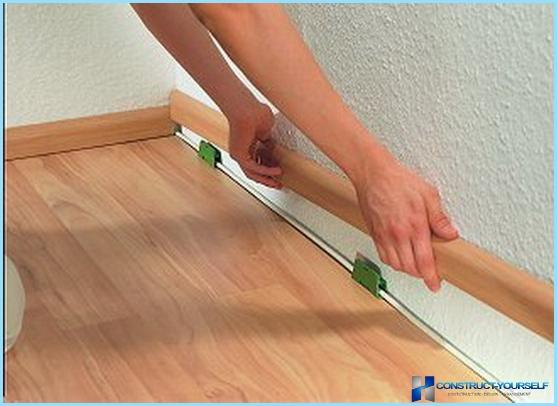
Panel, the last row will most likely need to be cut to width in size. Remember that a cut line will cover the plinth, so that small irregularities in the location of the cut is not terrible. After laying laminate on the wooden floor, the wedges are taken out and mounted the plinth. Pre-view as I need to cut the panels of the last row. The floor will not look good if the width of the panels of the first and last rows will be very different. In this case it is better to trim panels and the first and last rows.
Conclusion ↑
Plywood is a great material as a basis for laying laminate. This material can be used for alignment of wooden floors and can be laid on concrete screed. Installing laminate plywood special difficulties will not create.
But laying laminate on hardboard should be abandoned. If you are sure that with MDF as base under the laminate in the course of operation nothing will happen, and there is no way to repair the Foundation under the MDF, then you can go for laying laminate on hardboard. However, be aware that MDF does «not friendly» with moisture and will «broadcast» these problems the laminate. It is better to use other material or to lay on top of the MDF plywood.

