The contents
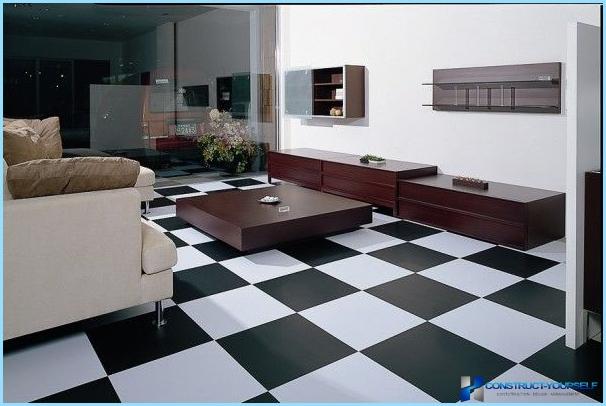
Modern technology allows much faster and more efficient to work with outdoor material. Many thanks to the recommendation of the professionals make laying floor tiles correctly feasible for everyone, it is important to know some basic rules and characteristics of each stage of work.
You also want to make a surprise for the family with his own hands? Then do not waste time and begin laying floor tiles yourself!
First step: surface preparation ↑
The base tile can be wood, concrete or reinforced concrete. According to the last two options will definitely need a cement-sand screed.
To do this:
- The surface to be cleaned from debris and dust;
- Seals cracks and crevices with a special solution;
- Remove excess cement shlifovannoj machine;
- When the screed is completely dry surface primed with a layer of tile adhesive.
As gidroizolyator you can use Brushable pastes, which are applied on concrete base.
If we talk about wood floors, then it is prepared wet or dry methods (traditional screed or laying a plywood sheet). Design should be durable, moisture resistant, smooth and seal.
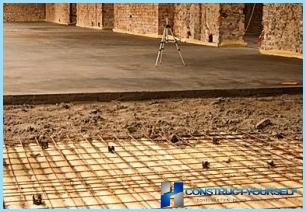
The basis for the tiles can serve as a metal mesh, the adhesive from liquid glass and polyurethane, moisture-resistant drywall or a few sheets of plywood covered with a special construction structure – a primer.
Choose quality tool for tile ↑
Here’s a list of everything you’ll need for quality installation of floor tiles. Picture bright detail all construction accessories that can simplify and help to more effectively cope with the labour-intensive construction work.
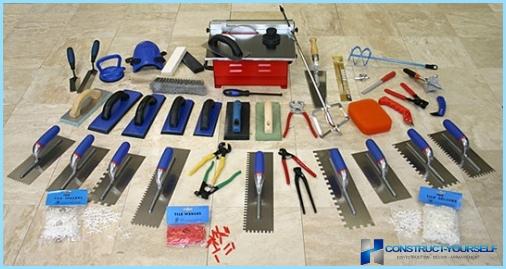
It is important to have on hand the nozzle to drill for high quality mixing of the composition of the adhesive and notched trowel.
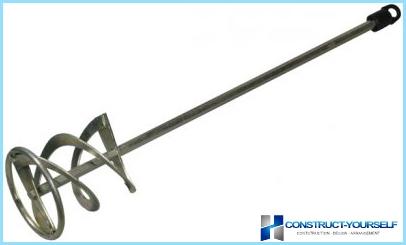

Will also need the following tools:
- Tile – for smooth and quality of cut tiles;
- Smooth trowel for adhesive;
- Rubber fixture for grouting;
- Level for proper laying of floor material.
The second stage – preparation of material ↑
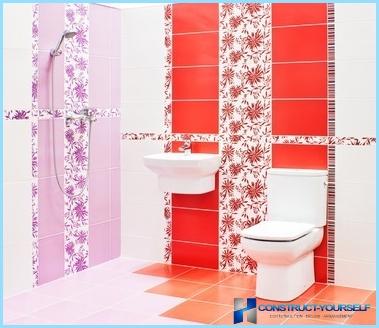
Choose ceramic tile you need to carefully, given the conditions of its use in the home, the degree of abrasion, mechanical stress, water absorption level of chemical resistance, as well as the color, shape, pattern products, etc. please check rules for correct choice of building material that You would not «slipped» defective goods. Examine the operating characteristics of each type of tile product, carefully inspect the acquired party in avoidance of nadala, deformation pattern, uneven surfaces, and much more. Ask for a warranty on your purchase.
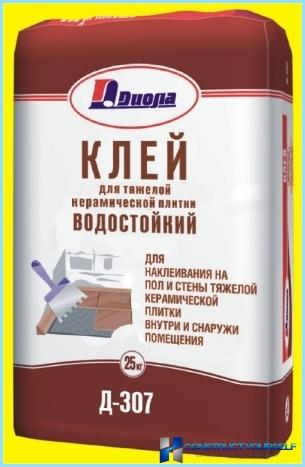
The mixture is diluted with water at a ratio of two parts liquid and one – adhesive composition.
Solution it is desirable to use for half an hour until it has hardened. All the glue dries in a day after application.
Common ways of laying the flooring ↑
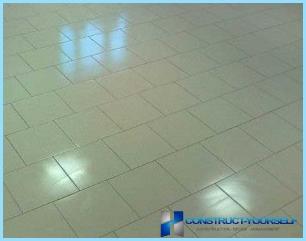
A seam in a seam – horizontally, on the level.
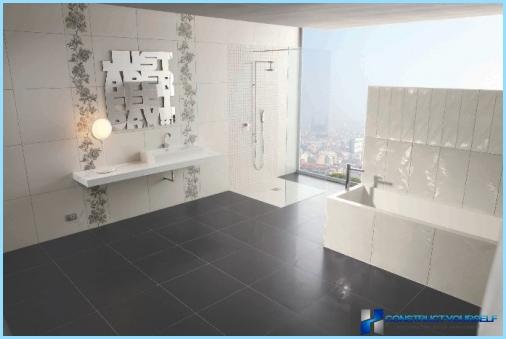
In the dressing – tile is placed so that its middle was over the seam between the tile of the bottom row. Here is an example.
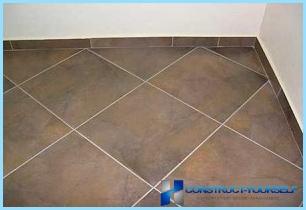
Diagonally – a common way for large areas.
The third stage is the layout of a floor before tiling ↑
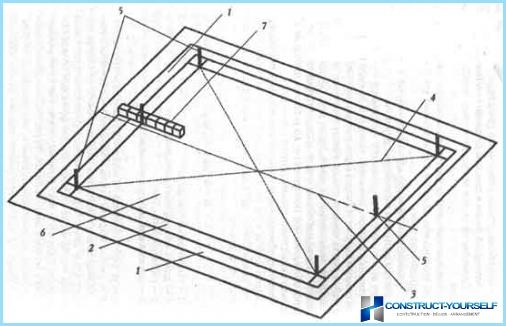
You can draw a diagram on paper or use a computer program that will allow You to accurately determine how much building material.
So, start the measurement:
- Mark the middle of the length of the walls;
- Fix the longitudinal and transverse lines for laying the first row;
- The markup is correct, when all lines are axial and diagonal converge.
For the final correct measurement first laid the tile on a dry surface, noting the error of measurement. If everything is correct – begin full operation «laying of floor tiles».
The fourth stage is the technology of creating the tile surface ↑
- Preparing a glue or a special nozzle construction mixer.
- Work on laying the tile if it allows a drawing, start with the opposite of the entrance angle.
- The adhesive is applied to a small area and spread with a notched trowel.
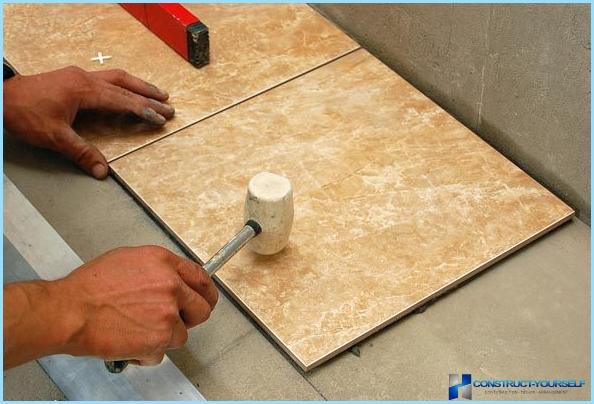
- Next tile is laid, check the level of the horizontal and prostukivaniya rubber cue.
- Laid next to other tiles follow, that they were smooth and stood in front of each other.
- Do not forget to leave a separating TIC.
- Cropped parts are placed in the least.
- The ability to adjust the products to last no longer than 15 minutes, depending on the type of glue.
- A day clean separation TIC.
- Not earlier than 36 hours you should start grouting.
Exactly cover other tiles, check the level, control the amount of applied liquid glue, waterproof mortar, immediately remove excess adhesive mixture with a special spatula.
The fifth stage is the grouting ↑
Seams between tiles fill the mixed grout composition, mixed to a certain thickness Fugue.
I choose the colour to match the tiles or brighter, lighter, darker, depending on the desired result.
For floor tiles would be appropriate wide grouting joints up to 2. 5cm.
The dry mixture is diluted with water in a ratio of 4 parts liquid and one part.
Using a rubber spatula carefully trimmed the surface of the tiles without damaging its base. The procedure is carried out to such an extent that the joints are completely razed with the edge of the floor covering.
Remains extra of the mixture, dust, dirt, easily cleaned with a damp sponge or flannel rag. During the day the sutures will be tightened and the tiled surface is ready for use.
Do not hurry to put on just made the tile heavy massive objects, furniture, etc. May take a few days and cover usage will be stronger and more reliable. It’s better to wait than to redo such a complex and time-consuming work again.

Below you can find video instructions on proper installation of floor tiles with their hands.

