The contents
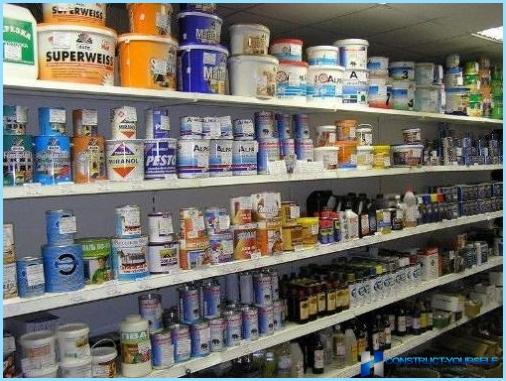
To get the carefully painted ceiling, pleasing to the eye homogeneous, saturated color, without stains and peeling, it is very important seriously to approach the selection of paint. Pick up a good paint will help you with the following indicators:
- adhesion – the effect of creating strong ties between the ceiling surface and the paint;
- opacity – a feature that enables you to veil the previous color the ceiling surface;
- environmental safety;
- no pungent smell;
- ability to hide surface defects;
- ease of maintenance of ceiling clean after staining;
- the reputation of the manufacturer;
- price.
Types of paints for ceiling ↑
All the colors for the ceiling are classified into two large groups:
- Matt;
- glossy.
Matte ↑
The view is especially good because it camouflages imperfections encountered in the putty, and other small defects. Also, the advantages include fast drying and the absence of sharp odor. The downside is a tendency to accumulation of dust and not so easy to eliminate contaminants, as in the case with a glossy option. These dyes are optimal for staining of the ceilings of the living area.

Glossy ↑
By choosing this class, you will receive a ceiling with a beautiful shiny surface. But in the case of the presence of even minor rough edges, they will all be unprofitable underlined. Therefore, to decide on this option should be performed only if the surface of your ceiling is flat. Among the advantages worth noting durability and affordability of wet cleaning.
Coating materials for ceiling ↑
Composition of paint materials for the ceiling are of the following types:
- latex;
- acrylic;
- latex;
- silicate;
- silicone.
Latex ↑
This kind is often used and has many advantages:
- environmentally safe;
- without a strong odor;
- suitable for all surfaces;
- easily washed off with soap and water;
- on top of this paint in the future it will be possible to apply dye of any other species.
Acrylic ↑
The most popular type. The advantages of acrylic paints are:
- resistant to moisture, so it can be used in rooms where humidity levels are high (kitchen, bathroom, toilet);
- fills minor defects;
- durable;
- good clean;
- long retains color;
- no pungent smell;
- a short drying period.
It is also worth considering that after you put on the ceiling plaster, will have to wait about a month until it dries completely before you paint ceiling acrylic. This is due to the fact that acrylic paint does not pass vapor and gases.
Latex ↑
The advantages of this mode are as follows:
- a very high degree of resistance to moisture, so you can wash the painted surface, not fearing to spoil the appearance;
- resistance to mechanical stress;
- the porous structure does not prevent air circulation;
- has the property to mask cracks up to a thickness of one millimeter.
The disadvantages include:
- high cost;
- inferior to the acrylic on the degree of stability to ultraviolet radiation.
Silicate ↑
The advantages here are:
- low cost;
- durability;
- it has antiseptic properties, prevents the growth of bacteria and microorganisms.
Among the disadvantages worth noting:
- the inability to repaint the ceiling paint another;
- the inability to hide the imperfections;
- not suitable for rooms with high humidity;
- when you work with it you need to be careful due to the presence in the composition of the alkali.

Silicone ↑
Expensive modern paint material, with a large number of positive effects:
- well lets fumes and gases, therefore, do not have to wait when the plaster dries (this will happen under the paint layer);
- veils of cracks in the ceiling up to a thickness of two millimeters;
- good water-repellent characteristics;
- odorless;
- does not require special safety precautions when you work with it;
- you can use it in rooms with high humidity (for example, in the kitchen, in the bathroom, in the toilet);
- stops the growth of microorganisms;
- excellent strength and durability of the coating.
Popular producers of paints for ceiling ↑
Reputation is an important aspect when choosing colors. Do not pursue cheapness, beware of fakes and try to learn information about a particular brand before you purchase paint material. Most popular today are:
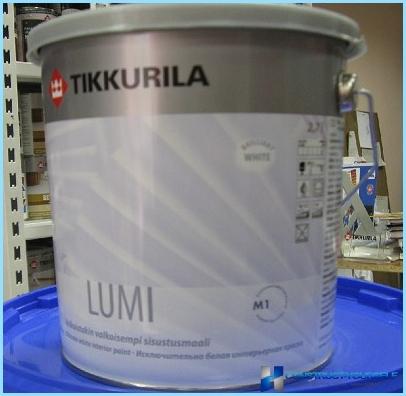
- Tikkurila. The products of this brand are considered the highest quality water-based paints for the ceiling. They have a broad color palette, durability, environmental safety, resistance to sunlight, high drying speed. However, their price is high.
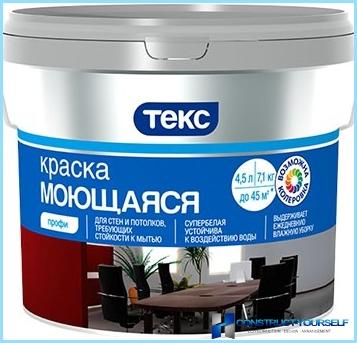
- Tex. They are well suited for rooms with high humidity. Inexpensive paint material, almost odorless, easy to apply. According to customer reviews, the opacity of these paints is low, so to mask the previous color, you need to apply paint several times. In addition, experts noted a significant amount of paint, the presence of constraints on the ground and the inability to wash the ceiling with water as the paint from it is erased.
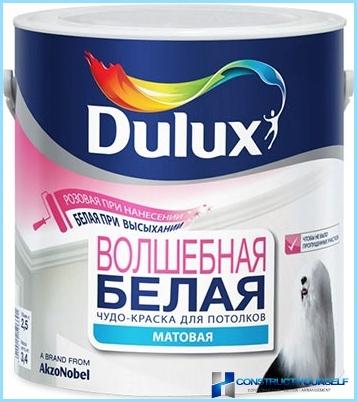
- Dulux – water-based dye that can be applied on any surface: drywall, concrete, brick, plaster and others. There are no restrictions on the degree of humidity. Received a lot of good reviews.
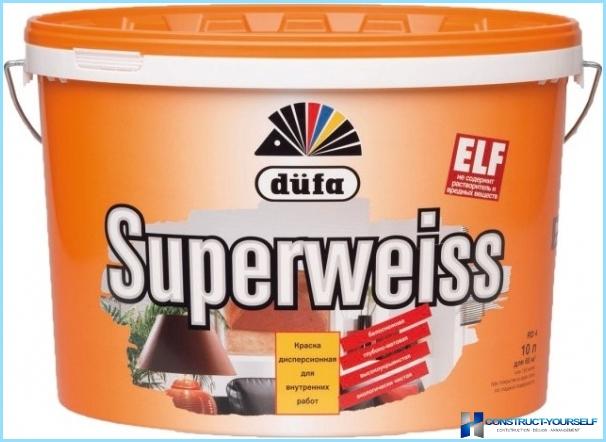
- Supervis – popular latex paint for ceiling.
The technology is independent of the ceiling painting ↑
Selecting the right paint, you can begin processing the ceiling with his hands. You will need these tools:
- spatula (at the stage of surface preparation for painting);
- wide and narrow paint brushes;
- a roller with a long NAP (preferably two);
- the capacity for dye – cuvette.
The whole process is divided into two stages:
- preparatory work;
- directly painting.
Preparation for painting ↑
- First of all, you need to protect all the items in the room that should not get paint: Wallpaper panels. Cover them with plastic or newspaper, and secure with paper tape.
- Check that there is drafts.
- Organize a good illumination of the room.
- Remove old coating, soaking it with a sponge, roller or sprayer, and finish when saturated with moisture, remove it with a spatula. As a result, should be seen by a concrete slab.
- Align the surface of the ceiling before painting. First, run the putty of small bumps and cracks, then cacluate a continuous layer. After drying putty, follow the sweep of the ceiling with sandpaper. Get rid of dust and wash the ceiling, it is very important for quality painting.
- Perform the priming the ceiling with a brush and roller. The primer is needed to reduce the paint consumption and to ensure the strength of the final coating. It is recommended to apply a primer the paint manufacturer, the same color, and paint material. After drying of the soil, remove the garbage and wash the ceiling.

The painting algorithm ↑
First of all, please note that the painting of the ceiling must perform in a room with a temperature not below +5 degrees Celsius (ideally at normal room temperature), otherwise the paint will go smoothly. The algorithm of the process of painting the following:
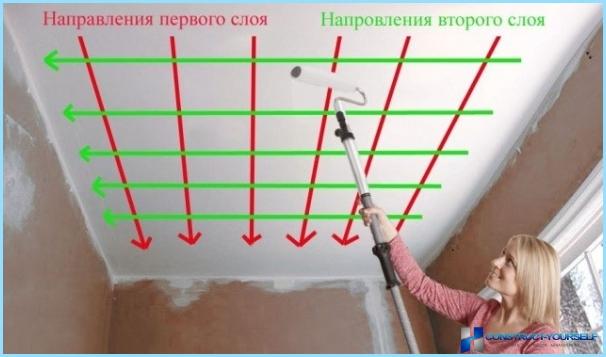
- Start with places where you don’t get the roller and do the coloration of a paint brush. Paint the entire perimeter of the ceiling at the junction with the walls, capturing the corners, baseboards, areas behind pipes. Brush try to keep the angle 35-40 degrees to the surface of the ceiling and dip it in the paint to half. Before painting obtachivaya the brush on the rim of the container with paint. Make strips with a width of 3-6 cm. The next layer should be applied at right angles to the preceding. Attention! Layers of paint on the ceiling must be at least two. To ensure uniform staining of the layers should be thin.
- After completing work on hard to reach places, move on to painting the rest of the ceiling surface. To do this, use a roller. The Council! In order to avoid streaks in the first coat of paint is usually added 5 to 10% water.
- Submerge the roller into the cell as a whole. To remove excess paint, with some pressure a few times, slide roller over the ribbed region of the cell.
- First, apply the paint at a right angle to the window.
- Make parallel stripes with overlapping of 5 cm.
- That was not a divorce, the next layer of paint should be perpendicular to the first.
- Do not forget to appreciate what you get. To do this go to the wall opposite the window and look at the ceiling at an angle of 30-40 degrees. Removing flaws, move the roller in the direction of the fixed layer.
- Try to complete the painting of each layer quickly to avoid getting fresh paint on the dried. It is important! The next layer of paint can be applied only after complete drying of the previous.
- During the drying of the ceiling you have to be careful to avoid draughts and direct sunlight on painted surfaces. As this can lead to staining.
The following video shows the mechanism of the ceiling painting in the illustrative example:

