The contents
- Advantages of glass shelves
- The types of glass shelves
- Cleats
- Backlight
- Instructions for making glass shelves
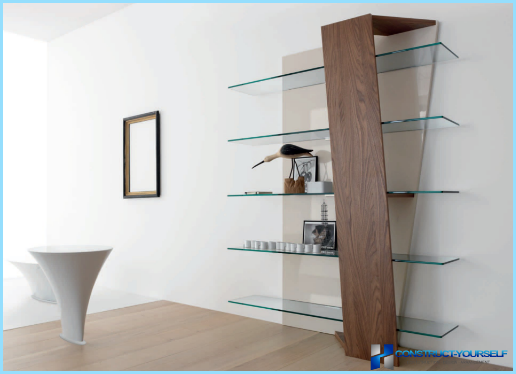
Not so long ago in interior design have become popular shelves of glass. Their popularity is justified by many factors. Unlike wood, glass shelves help to create a stylish, modern and «easy» interior. Functionality glass shelves are not inferior to the shelves made of wood. They also can be placed books, Souvenirs, appliances, or plants. Glass shelves would be appropriate in any room. Especially good they are in the bathroom and in the kitchen, as they are not afraid of water, moreover, different kinds of stains to remove from the glass surface is easier than with wooden.
Most often, the glass shelves have an open design, although sometimes you can meet shelves, with doors and back wall. Also, there are shelves, which is a design unusual shape.
Advantages of glass shelves ↑
Pendant and wall shelves help to spice up the interior and give it flavor. Many people purchase wooden shelves, not knowing about the advantages of glass shelves, which are in many respects more practical than a wooden one. Glass shelves have the following advantages:
- they do not create a feeling of over-saturation in the room. And give the room an airy feel;
- combined with the other furniture in glass, wood or plastic, fitting in perfectly with any interior;
- glass shelves can be not only transparent, but also colored. A wide range of colors can make the room as uncluttered and defiantly bright;
- glass shelves are quite durable. They can withstand loads of up to 15 kg. with proper installation;
- they are durable. Quality made shelf calm will last 10-15 years;
- behind the shelves of the stele is easy to maintain and unlike wood, they are not afraid of moisture;
- glass shelf allows you to make unusual shapes that give the room personality and character;
- reklamnye shelves you can do with your hands.
The types of glass shelves ↑
There are many types of glass shelves. The shelves are divided by style, design and purpose. Some regiments are part of furniture design (wall or corner of the schoolboy), and some appear as a standalone element in the interior.
There are 3 types of designs of glass shelves:
- Frame shelves. These trays are the doors and rear wall.
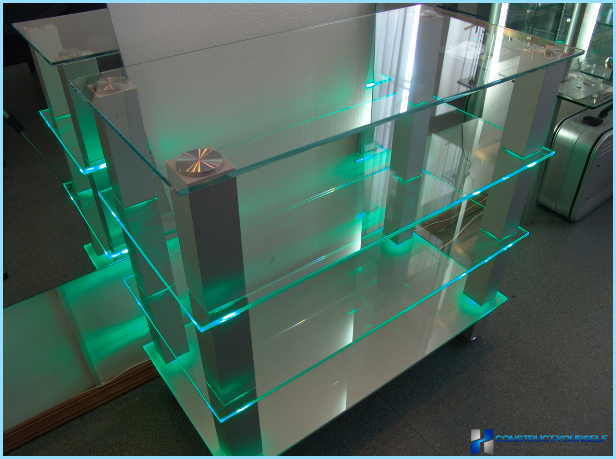
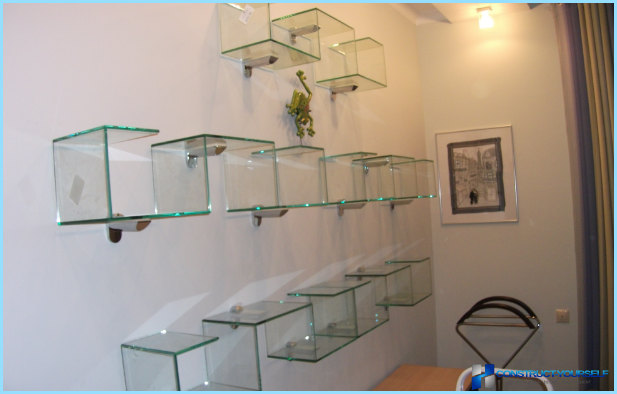
- Prefabricated shelves without a frame or moulded shelves. Basically this shelf with unusual shapes: cubes, ladders etc.
- Classic glass wall shelf without a frame.
Shelves can also be divided into types according to purpose:
- for appliances (TVs, computers, household appliances);
- for photos, small Souvenirs;
- for books and magazines;
- for cosmetic (a shelf in the bathroom or shelves around the dressing table).
Cleats ↑
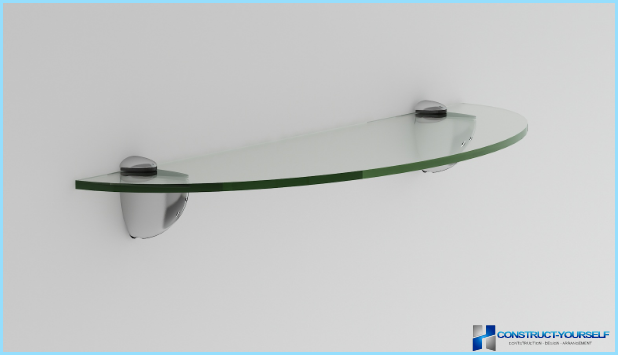
Shelf supports for glass shelves can be made of plastic or metal. Hardware for x glass shelves, made of metal, durable plastic. It often has a special coating, frosting or chrome plating, which gives it a stylish look.
For attaching shelves using the following components:
- holders for glass shelves;
- decorative brackets or pelicans;
- indents. They are needed when mounting glass shelves on the wall or furniture.
Backlight ↑
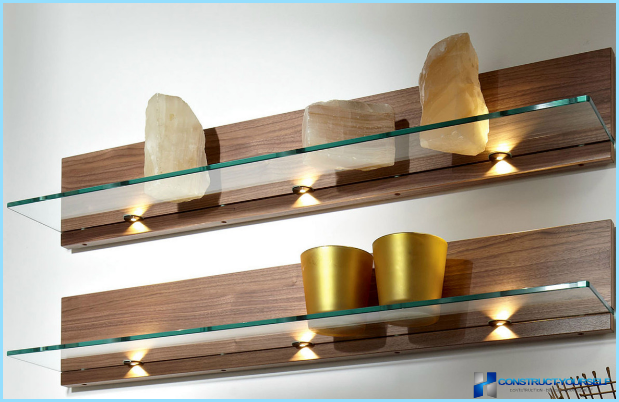
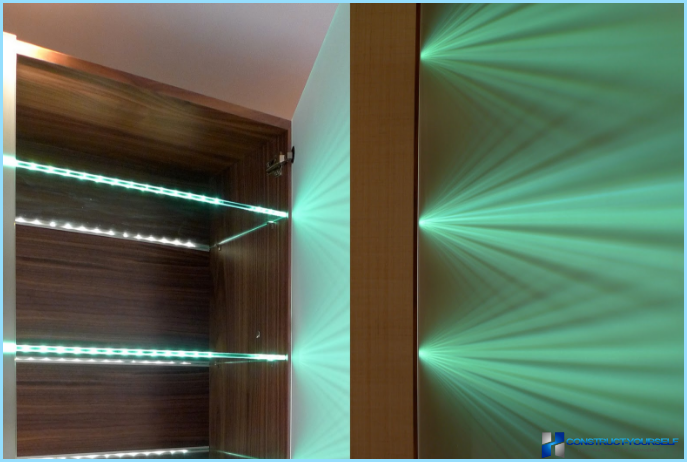
Well-chosen illumination makes the shelves of the ordinary. It visually expands the space and allows you to make it more alive. If you turn off the main light and lit some candles in the bathroom create an atmosphere of pleasant shade. LEDs can operate in the mode of color change, so you will always have the opportunity to add a paint that is actual in home party.
Backlight of the glass shelves is performed using LEDs or led strips. They are connected to a power source with a voltage of 12-24 volts. Led strip light allows you to make a pleasant and soft light. Its big plus is that when it is not heated. On the shelf you can put flowers.
For small shelves it is better to use a single led, and for complex structures suitable led modules.
Create a unique design of shelves will help special controllers that allow you to add effects: color change, flicker, or backlight intensity.
Instructions for making glass shelf ↑
Glass shelf you can buy at any hardware store or you can order the parts online and assemble it all yourself. In this article you will find tips that will allow you to do everything with your hands «from scratch».
You will need a quality glass cutter and belt sander. Grit sandpaper should be 120 units. You will also need building level, ruler, marker or pen, drill, a mounting for glass shelves, thick gloves, a respirator. As for the material, it is better to choose glass with a minimum thickness of 10 mm.
Prepare glass ↑
First you need to learn how to work with glass cutter. It is best to get an oil glass cutter. This is a simple tool for which you do not need to have special talents or skills. Quite a bit of practice. Better to practice on junk window. The movement should be confident. You can’t cut twice on the same trajectory. It won’t help, but the glass will be damaged.
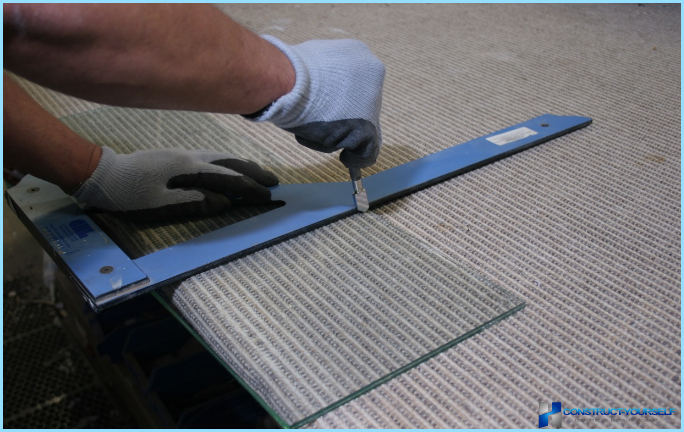
Before starting to work as a glass cutter you need to make a marker line on which you want to cut. Line need to install a ruler, which will serve as a stop. With one hand firmly hold the ruler, and the second guide the glass cutter along the line, sure, but smoothly. This should be done on a flat surface protected with a cloth.
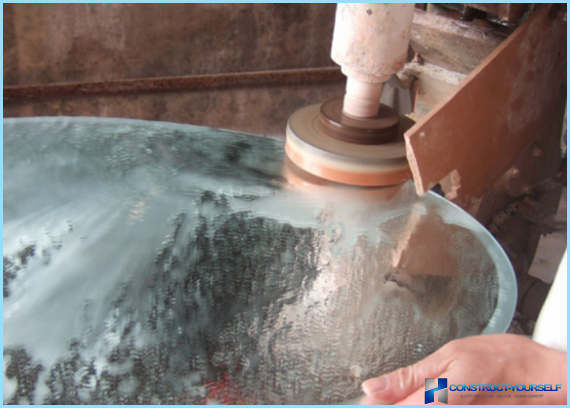
After you get a billet of the desired size, will need to handle sharp edges, otherwise the regiment would be dangerous. To make the edges round or only slightly to blunt them – a matter of taste. Resurfacing requires focus and concentration. It is not just for security. Thanks to polishing reduces the risk of cracks and chips. To make it better on a flat surface, folding the blank so that the treated part is slightly beyond the edge of the table. If you don’t have a belt sander, the edges can be processed manually, but it takes a lot of time. To while polishing, no flying dust, and the edges are transparent, not matte need a little to moisten the glass with water.
Fasten the shelf right ↑
Before the work beginning it is necessary to mark the wall. The layout is an important stage of work, it is not necessary to forget about it:
- Using the building level, draw a line on the wall, in the place where you want to hang the new shelf. If you plan to hang a few shelves, then the markup will help to arrange everything nicely and correctly.
- After that, it should be noted the mounting location, then drill a hole in the wall with the electric drill.

Next you need to install special fasteners for the glass shelves to the wall. To perform the required actions in the following sequence:
- In the drilled hole to insert a plastic dowel. If it is difficult, then you can score it with a hammer.
- In the mounting set for glass shelves should be a metal screw. Find it and replace the drill.
- Using the drill, carefully fasten to the wall with metal bracket. The screw must protrude from the wall by about two inches.
- Now the screw you need to put the puck.
- Then on the protruding screw to attach the bracket.
- Using a level, measure the position of the bracket.
After the above-described operations, it is possible to install the shelf. To ensure that you smoothly cemented the design, again, use the building level.
Conclusion ↑
Shelves of glass – the ability to transform the interior without spending a lot of effort, time and money. Glass shelves will make the room more stylish. Most importantly, in order to make them not need to be a professional. Just enough zapotes patience, and to work with maximum accuracy.
Additionally about how their hands to perform the installation of the led strip for glass shelves in the bathroom find out in the next video

