Effective addition to the interior, along with furniture and textiles are a variety of accessories. Gift Souvenirs close to the heart framed photos, a favorite volume of poems, collection of funny animals or flowers, you need somewhere to place. Come to the aid of various wall shelves, whose main purpose – to store small items. After reviewing the design features shelves and stages, making simple models, it will be easier to pick up additional design element of the room.
Types of wall shelves ↑
An important task in the selection of wall shelves is a combination of practicality and successful implementation of a decorative function. To understand the diversity of structures allows their classification. The purpose of the product divided into following types:
- Kitchen shelf for spices or small decoration items (original exclusive mugs or plates). Typically, these shelves are rather narrow and have tiny bumpers.
- Bookshelves are present in the homes of book lovers or families with children.
- Shelves for the bathroom. A prerequisite for their production is the use of moisture resistant materials. Typically, this glass combined with chrome parts or plastic.
- Versatile shelves allow you to place them flowers or Souvenirs..
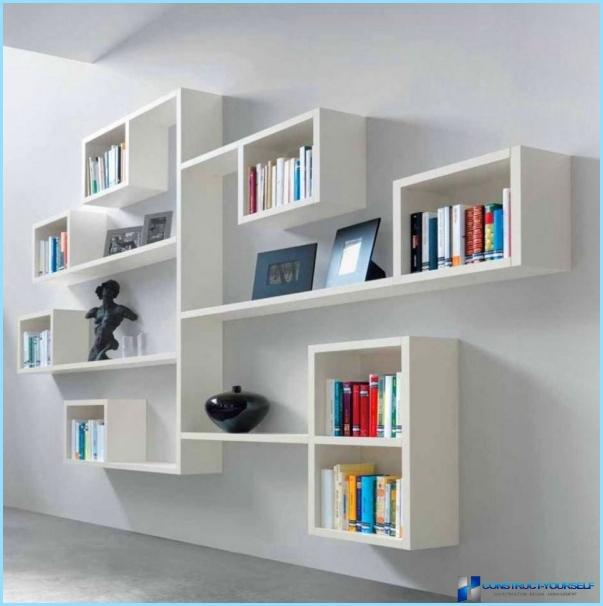
Place the wall shelf in the following way:
- Most often they are mounted directly on the wall. As fasteners are used brackets or corners. Fixation is a hidden or an open way.
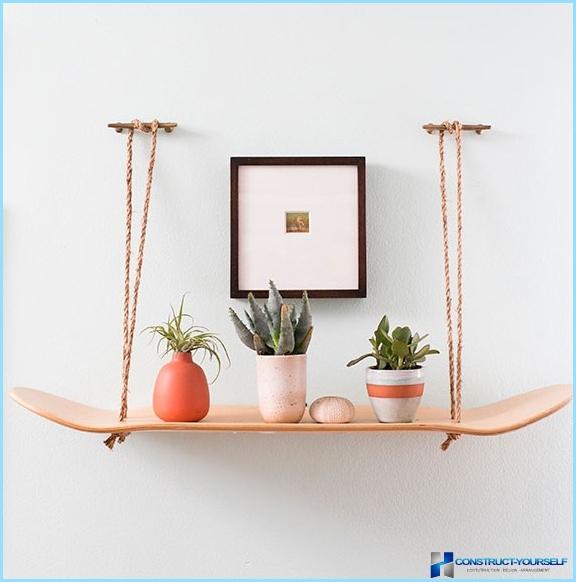
- Element mounting shelves there may be straps, ropes or chains with anchor hooks.
- Corner instances are installed between the adjacent walls. Mounting options similar to standard wall designs.
- Decorative drywall niche perfectly complement the built-in shelves.
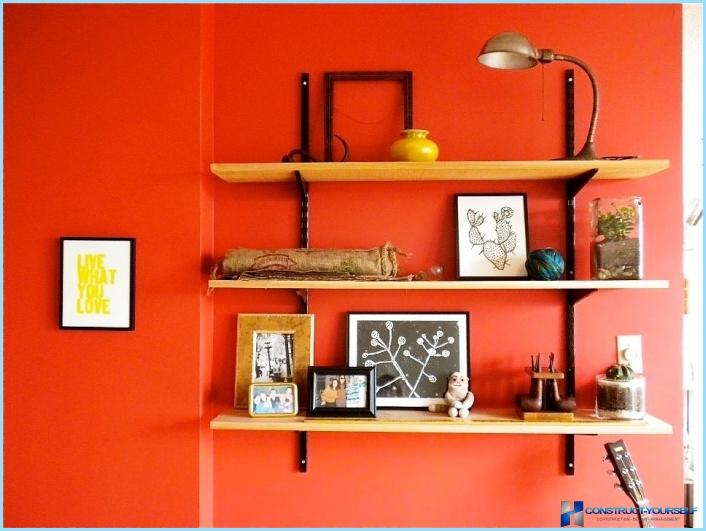
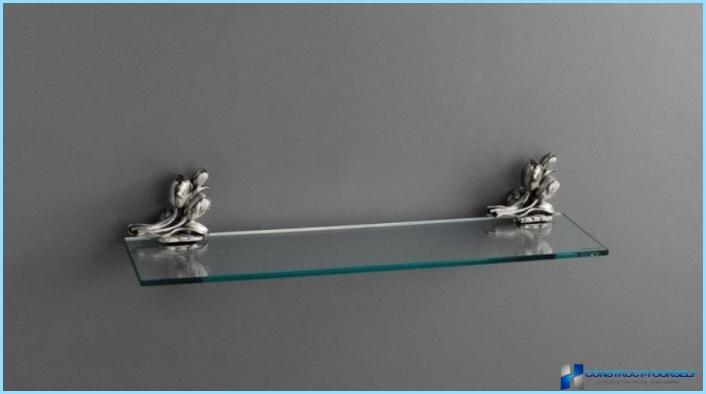
Design wall shelves have the following features:
- Horizontal plane is fixed perpendicular to the wall bears the name of the console.
- The product can be equipped walls from the sides or rear.
- Tiered shelves are a kind of rack.
- Combined models with vertical and horizontal walls.
- Decorative copies. Usually they do not bear the functional load, their main purpose – the zoning area or part of an extra design element.
If desired, wall shelves can make a closed type, additionally equipping them with glass. This option is practical for occasional use the stored items and the absence of their decorative value. In other cases, the design makes open.
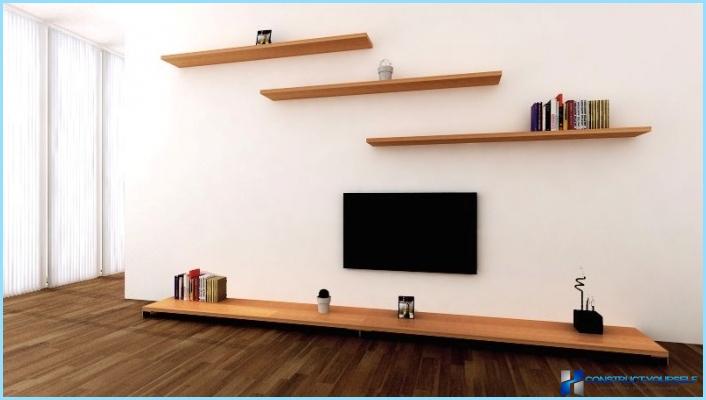
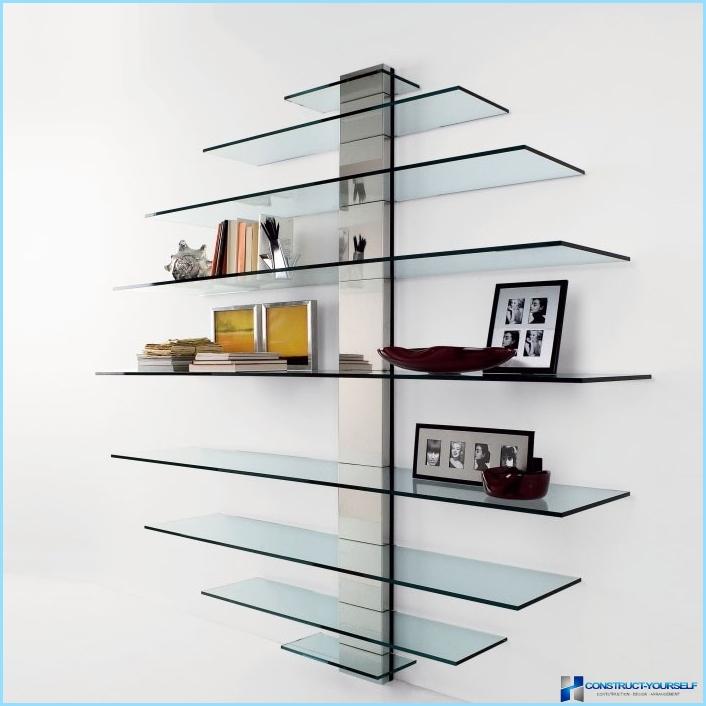
Material for the base and mounting methods ↑
As a basis for wall-mounted shelves can be used the following materials:
- Wood or its derivatives (chipboard, gypsum fiber Board, MDF, plywood, etc.). The use of such material for self manufacture of wall shelves guarantees the absence of difficulties in processing. The finished product looks impressive and its lifetime long enough.
- Plastic wall shelves is often used in the bathroom, is versatile. In industrial conditions, can successfully simulate the appearance of stone or wood.
- The choice of metal as the basis for wall shelves may be several reasons. In the first case the weight of the placed objects is extremely large and requires a durable construction wall shelf. The second way – exclusive forged products, emphasizing the respectability of the owner. The desire to show originality leads to the creation of wall shelves made of metal pipes, it is appropriate looking at the design of the room in the loft.
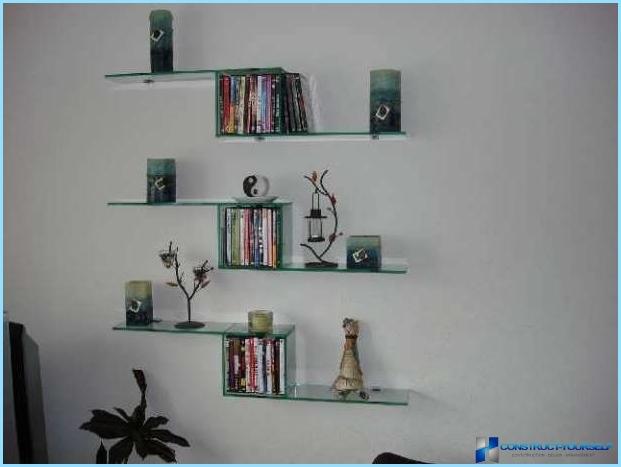
- Transparent hanging glass shelves successfully create an atmosphere of lightness. To work with such materials at home is extremely difficult, so it is better to choose ready-made design glass wall shelves.
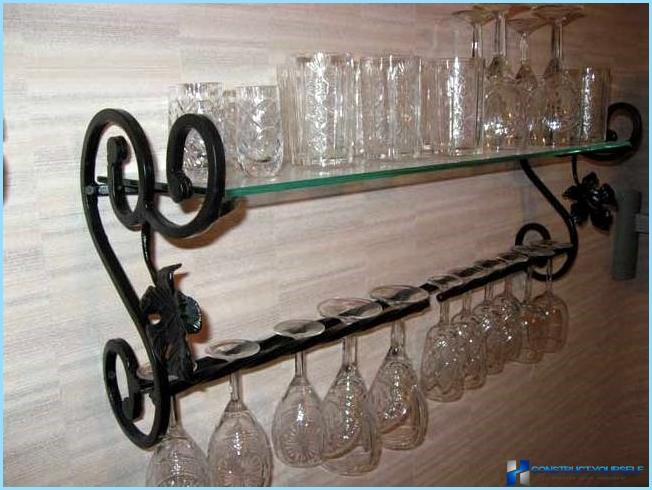
To fix a wall shelf can be different. The choice depends on the structure itself and the surrounding interior. The easiest way is to use a loop, easy to install different metal corners. Heavy wall shelf is better to mount on the brackets. There are various devices for fixing of glass products. Fans of unconventional combinations will appeal to a wrought iron design wall-mounted glass shelves.
Independent production ↑
Is most comfortable for you is the wood. Show imagination, you can make an original wall shelf, most suitable for a particular room are stored on her items.
In most cases, to create a wall shelf, in addition to the main material you will need:
- a drill and a hacksaw;
- sander;
- the level, ruler and pencil;
- the brackets or loops;
- screws, dowels;
- stain and varnish, as a variant of the hinged shelf can be primed and painted.
Classic form ↑
Consider the process of making a simple wall shelves, suitable for storing books.
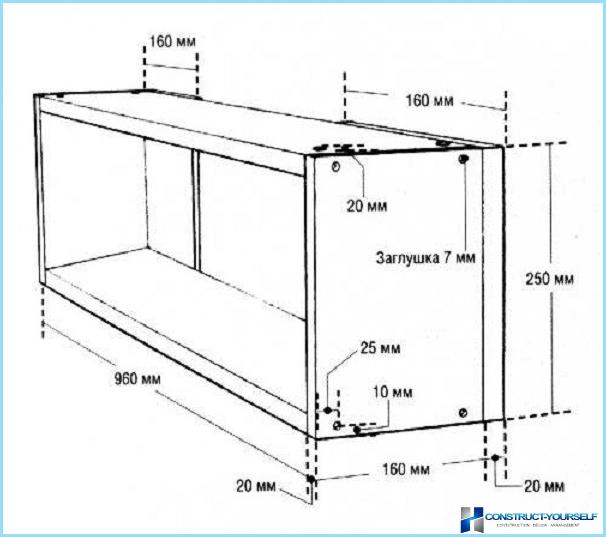
The dimensions of the future design: the length – 110 sm, height – 25cm, width – 16 cm Actions include the following steps:
- Markup. Placing the Board horizontally, they carry sizes selected drawing wall shelves.
- Cut the boards. To work practical to apply the jigsaw, providing a neat and perfectly even slices. In the end, for hinged shelf will need two short and two long panels.
- Processing of the material. Application for wall shelves natural wood provide a preliminary sanding of the boards. The pieces will then be covered with stain and varnish. If you wish to give the interior a bright future the shelf is treated with antiseptic primer, followed by painting.
- The Assembly wall construction. At the bottom of the Board, retreating from the slices 0.8 cm, carried out two parallel lines. The holes for the screws are drilled at the marked lines with an indent from edge 5 cm Top Board for wall shelves subjected to the same manipulations. After preparing the holes, all parts are assembled together.
- Brackets for wall structures fixed to the ends of the side members. In the wall of drilled recesses, dowels twisted with consideration of protrusion of 0.5 cm and Then using the screws the brackets are fixed to the wall.
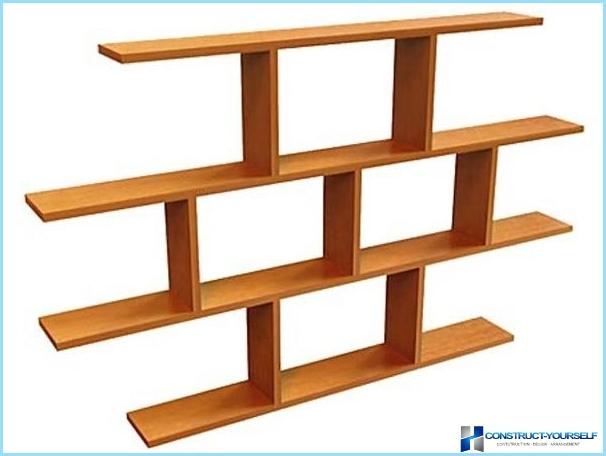
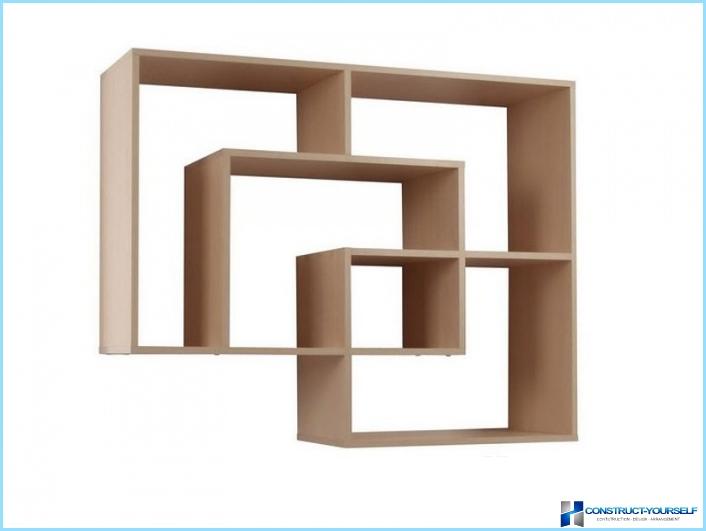
If necessary, a rear wall closed with a sheet of plywood and make a shelf is gated by inserting glass. According to this principle, it is possible to build all kinds of models of wall shelves. For example, after a few blocks, differing in size, the shelf placed on the wall in a checkerboard pattern.
Angular variations ↑
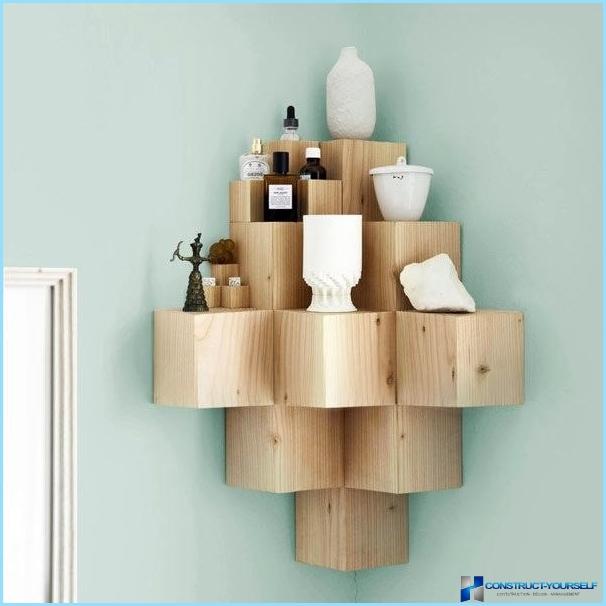
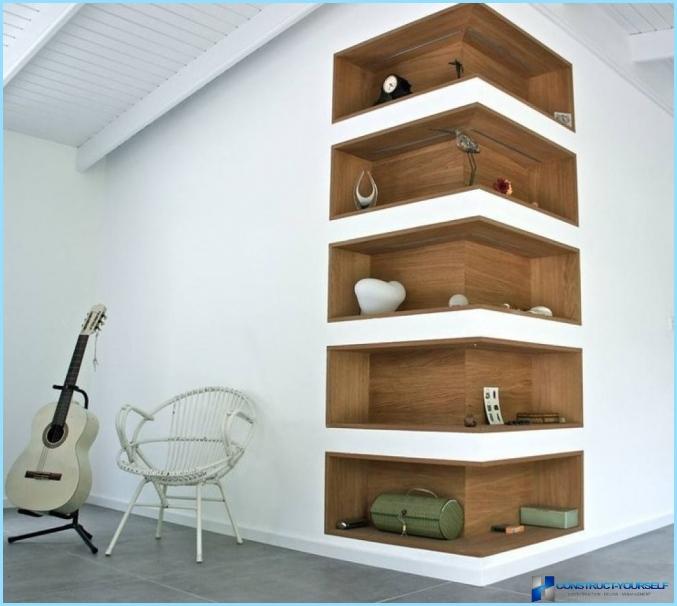
Efficient use of space provide a corner wall shelf. Their design also is varied. Save material contribute to a combined model, where the mount tiered design of wall shelves is made through the use of chromed metal tube. Fans of creative solutions will appreciate the idea to use under built-in shelves external corner of the room.
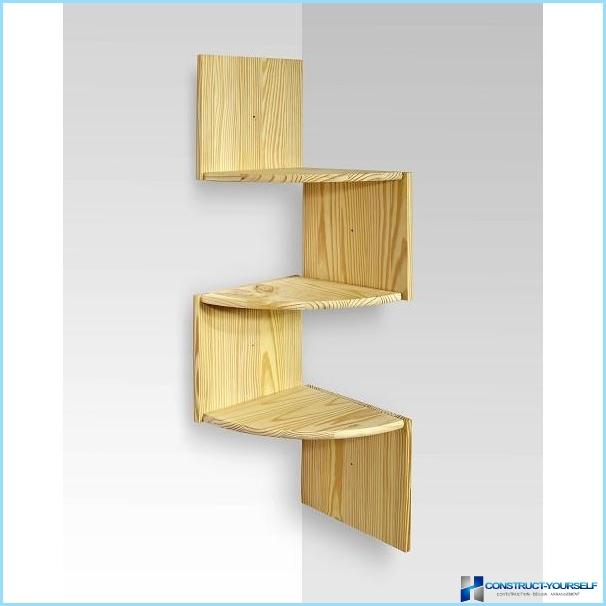
Make a simple model of corner wall wood shelves as follows:
- Details of the top Board are processed on the ends of the adhesive composition and are clamped by clamps.
- The same procedure is carried out with the bottom Board of the future shelves.
- After the glue has dried on all of the elements wall shelf is applied stain or primer.
- On the upper and lower parts mark the sites of attachment and drilled holes.
- The side walls are joined and fixed with screws.
- In conclusion, fasten the brackets and the shelf is installed between adjacent walls.
Hinged models ↑
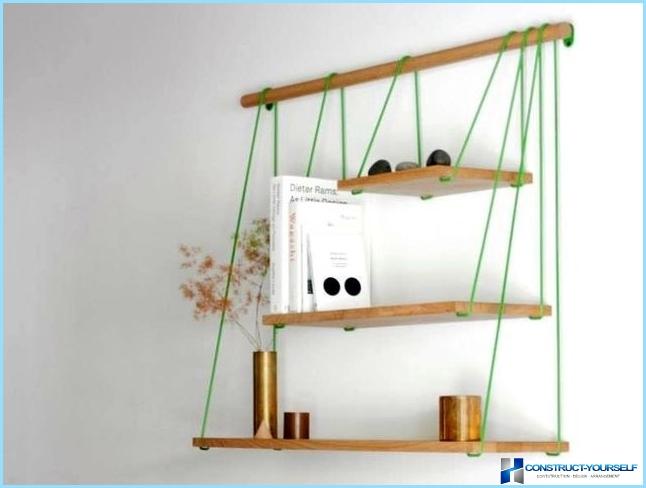
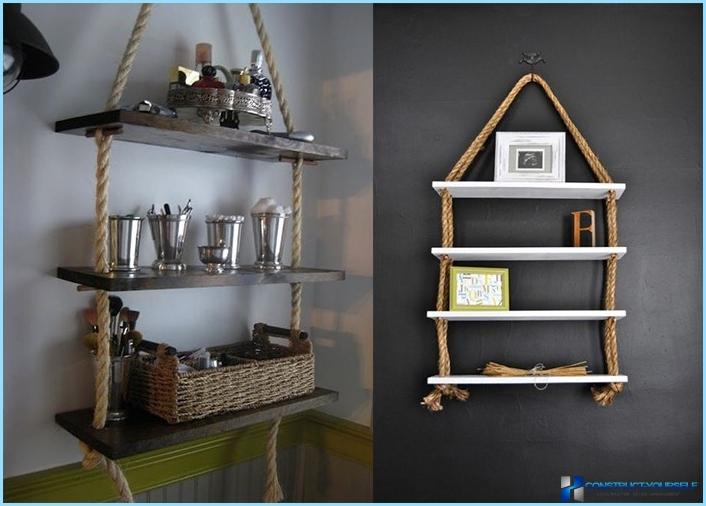
Always fresh and exciting look hinged models shelves, where the fasteners used belts, ropes or chains. The basis of this design in most cases is also the tree or its derivatives. Hinged shelf on the ropes to do so:
- Board sawn according to the selected size.
- At a distance of 2-3 cm from the edges with the prepared drill 4 holes on each shelf for future hinged design. The diameter of the holes corresponds to the thickness of the decorative rope.
- The rope is threaded through the prepared hole and the lower side is fastened on the node.
The remaining ends of the ropes 4 are connected together and are mounted on the anchor hook secured in the ceiling.
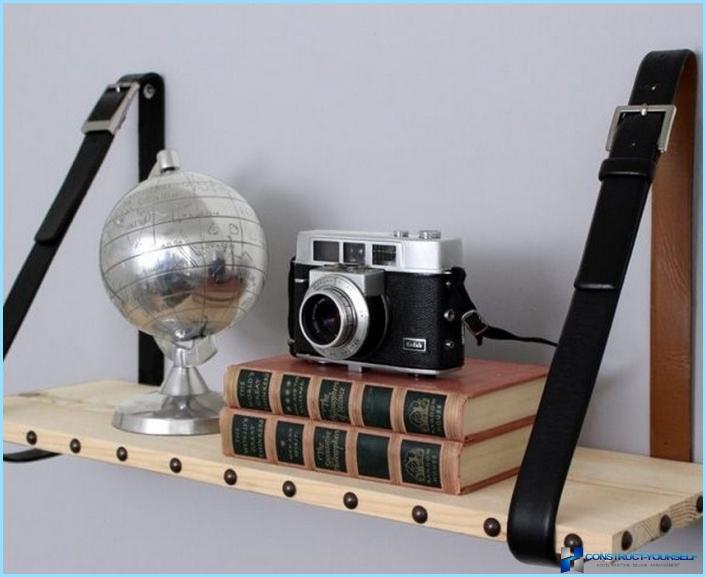
An original element of interior design rustic style will be hanging shelves, where the mounting straps used. Number of shelves can vary, the length of the belt calculated based on the distance between the flanges and the height of the subsequent multiplication by two. Drilled holes in the straps and the wall, unusual mounts are fixed with screws or nails. For mounting shelves between the straps is also possible to use nails.
Unusual shelf ↑
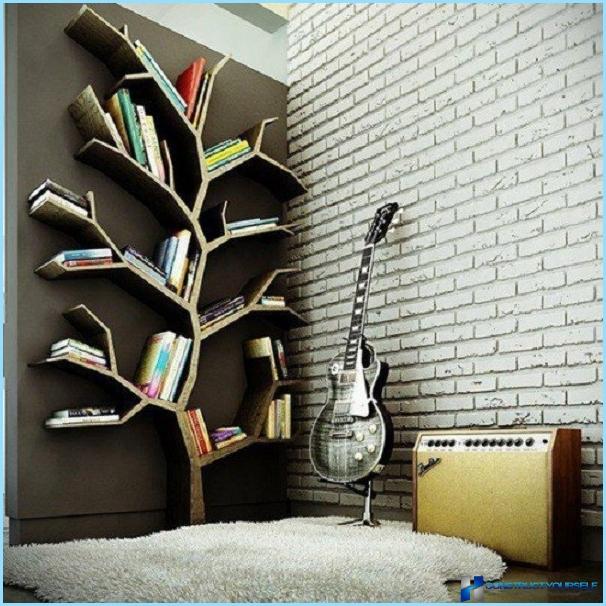
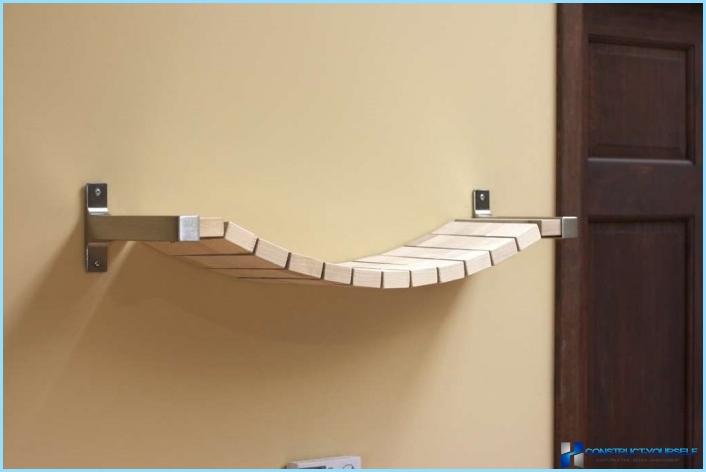
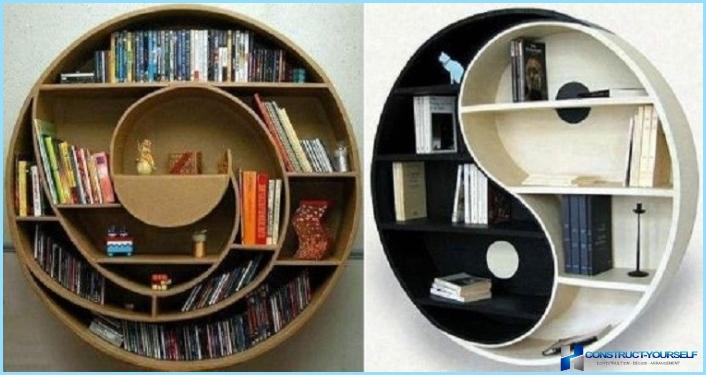
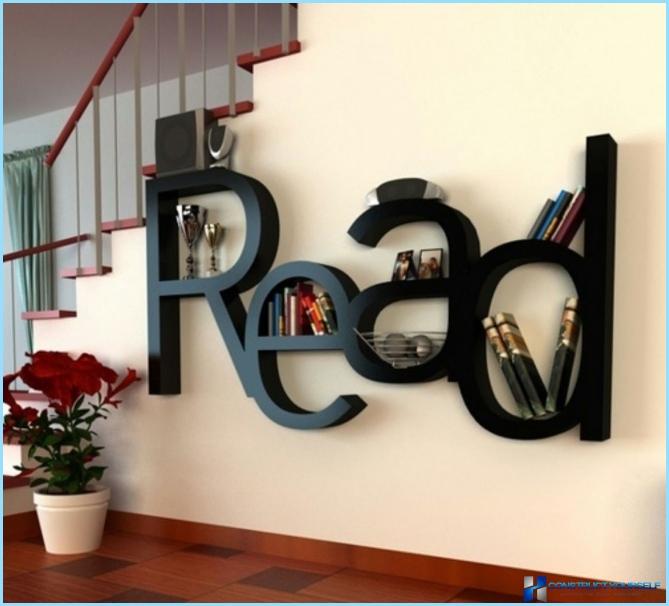
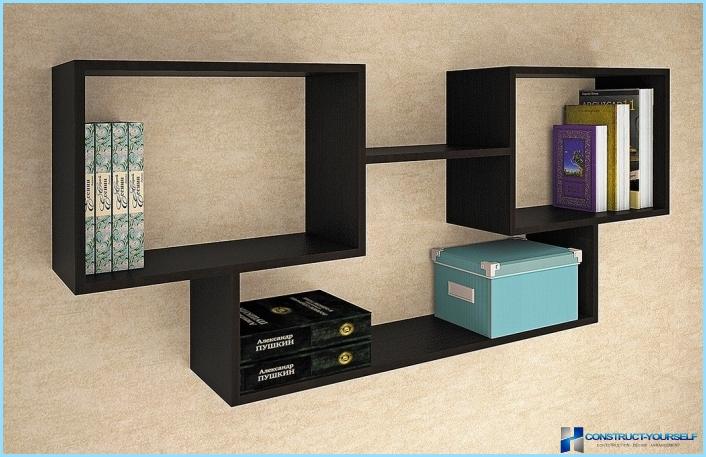
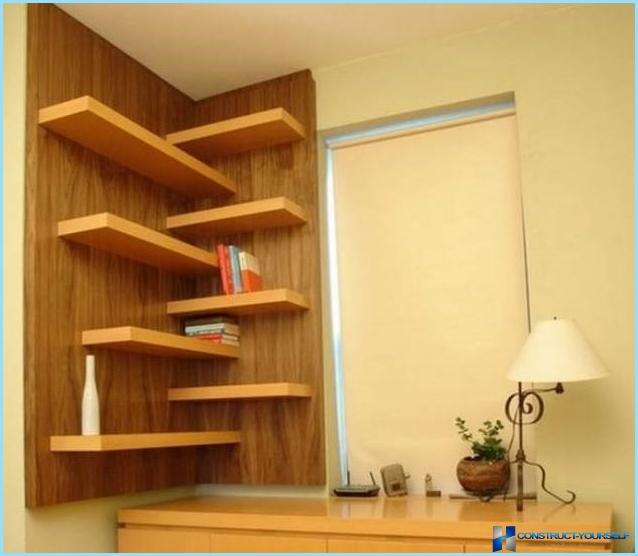
In conclusion, I want to present the photo gallery of unusual wall shelves. The unconventional combination of materials or irregular shape will give zest to your interior, highlighting the individuality and creativity in the design space:
