The contents
- Materials
- A necessary tool
- Preparation for work
- The layout of the lateral parts of the arch
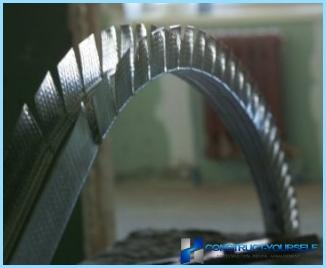
- Prepare profile
- Prepare the drywall
Interior arches are now becoming probably the most popular element of the interior of our home. These «highlights» apartment design give the room a very attractive and unusual appearance. They look great in partitions, «zoniruya» the living space and the stylish archway between the kitchen and living room are all able to transform the entire appearance of the housing. The advantage of these designs lies in the fact that their installation is easy even for a beginner DIY.
Of course, before starting work, you must carefully examine the entire process, and this is what we plan to talk about in our review. I would like to draw your attention to the variety and design of interior arches, to consider what you need to install them with their hands, and also discuss some of the nuances of installation. For complete convenience, you will be presented with photos of various arches and detailed video of the whole process.
The variety of interroom arches ↑
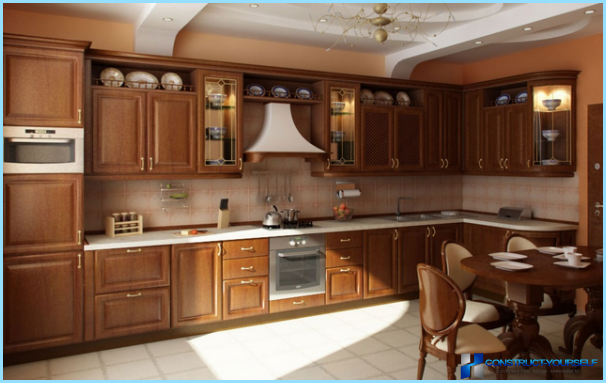
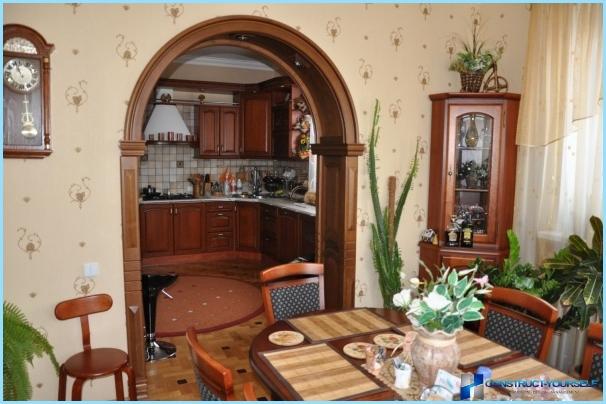
Arches in the openings of differences in the form that depends on the characteristics of load-bearing structures, and personal aesthetic «addictions» the owners of the home. Consider the main types of design elements by the example of arch between kitchen and living room.
A-line ↑
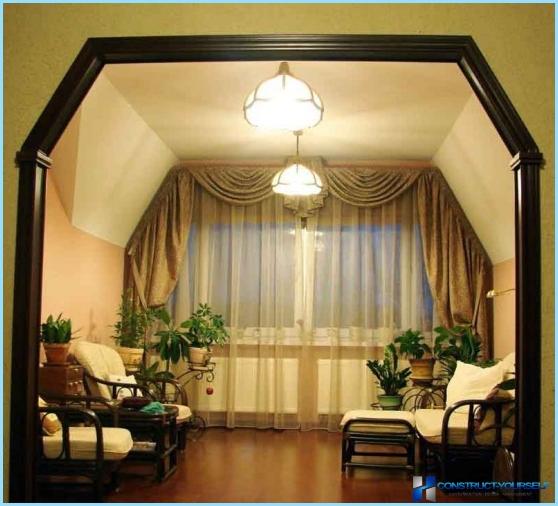
Designs have a non-standard form, which is different «broken» angular arch shape, perfectly highlighting the design space. Arches a-line may very well be suitable for openings of any size.
Modern ↑
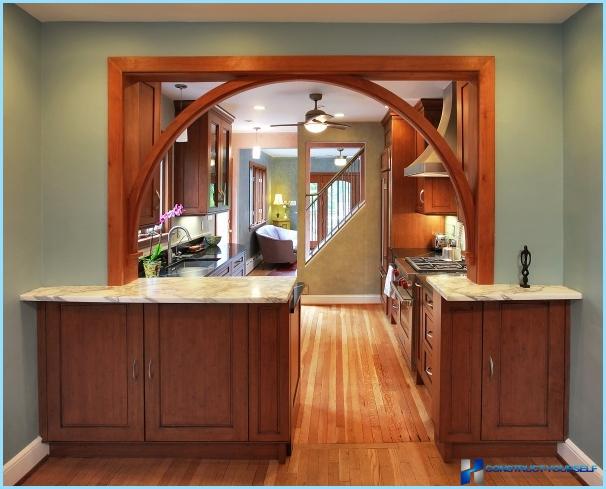
The design of the arches made in the form of a hollow arc. Their feature is that they visually «extend» doorway and give the interior a kitchen or living room a special and attractive appearance.
Romance ↑
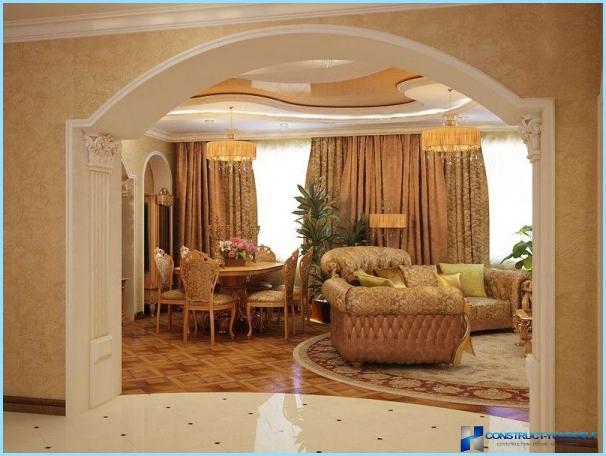
This set has a rectangular shape, with slightly rounded upper corners. The arch of this design is the perfect solution for wide openings, because its benefit is very small «loss» space.
Classics ↑
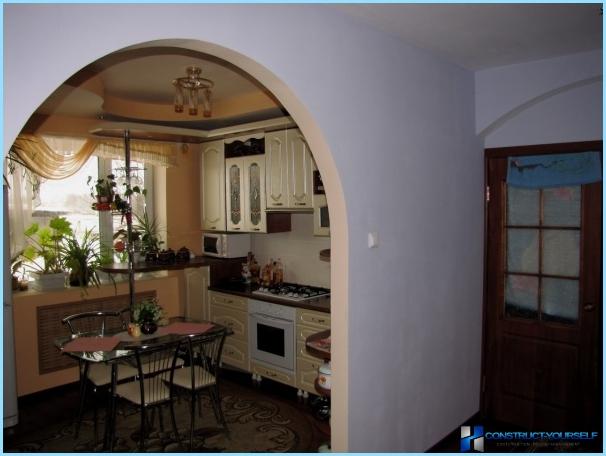
Probably the most popular form of an arch has the shape of a flat semicircular arc, greatly ennobling doorway. «Classic» the set is perfect for any interior. This style chooses the majority of craftsmen, with the design of the arch between the kitchen and living room, or office and sleeping.
Here are just some of the main types of arched vaults. In addition, there are numerous designs in the form of polaron, arcs, ellipses, and so on – design depends only on your imagination and features of the room.
Materials for the manufacture of arches ↑
In creating the arch between our kitchen and living room with their hands can «to participate» a variety of building materials:
- Stone, brick or concrete. Quite suitable for work, but should take account of their considerable weight and considerable dimensions. Can you go to expand the door opening, and whether the supporting structure of the kitchen or living room to withstand additional load? Will you have to mount the brick or concrete arch the arch with their hands? These questions must consider.
- Metal, wood, chipboard or MDF. The arch of these materials it is possible to buy already assembled, but such a purchase is usually very expensive. Of course, in a specialized workshop and will perform them according to individual order, but the question still acutely rests in the price.
- Drywall. The most popular and «low-budget» the option for the installation of the arch between the kitchen and the living room with his hands. Is durable, ready for finishing and easy installation.
Stop at the latest material from our list and the example of the construction of plasterboard discuss in more detail the technology of installation of interior arches.
The technology of manufacturing of the arch between the kitchen and living room ↑
The process of drywall installation of the arch will be little different from creating any other frame and facing design.
Materials ↑
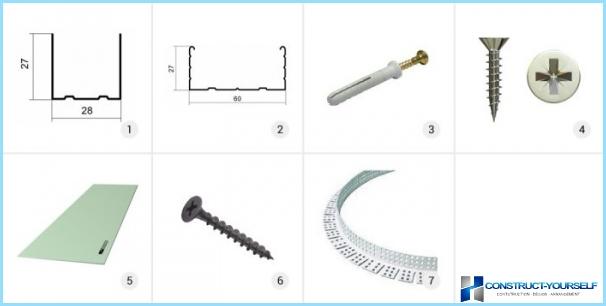
All necessary materials can be easily found in every hardware store. For mounting of the frame arches with your hands, we need:
- Metal profile rack (60х27) and the guide (28х27);
- Self-tapping screws «metal» and screws-wall plugs (6×60).
The casing of the arches will be performed using:
- Sheets of plasterboard thickness 6.5 mm (the arc) and 12 mm (side walls);
- Arched area, reinforcing the edges of the arc;
- Self-tapping screws securing the trim to the frame.
A necessary tool ↑
For the construction work of the arch between our kitchen and living room we need a readily available set of tools:
- the drill – the drill
- screwdriver
- scissors «metal»
- knife
- construction roulette
- pencil
- center punch or nail
- durable nylon thread
As we can see, no expensive materials and complex tool is not required. It only remains to study in detail the step by step instruction for installation of drywall arches between the kitchen and living room, photo which is presented below – it will help us to execute quickly and efficiently.
Preparing ↑
- Prepare opening for installation of the arches, extending it if necessary, removing the door frame and scraping the plaster. We pay special attention to the alignment of the top plane.
- Using a ruler performed the measurement of the width of the opening (x) and the distance from the top ceiling to the highest point of the arch of the future (u). Remember the figures – they will be used in the manufacture of composite structural elements with their hands.
The layout of the lateral parts of the arch ↑
- From the sheet of drywall, cut a strip width equal to the width of the opening. Find the middle of the part and note the Central axis of the arch between the kitchen and the living room, holding a pencil vertical line.
- From the top edge of the workpiece measure out the distance half-width (x) and add the size value «have». The resulting distance «offer» on the line of the Central axis we obtain the center point of a circle arched arc.
- «Master» a compass from a pencil, center punch (or nail) and nylon yarn. Securing it at the point, we draw a semicircle with radius half the width (1/2 of «x») and get the schema of the side panel with arched neck.
Prepare a profile ↑
Prepare the drywall ↑
Manufacturer «classic» arches between living room and kitchen is impossible without acquaintance with the basic methods of bending the sheet of gypsum Board to the arc. So, these two ways:
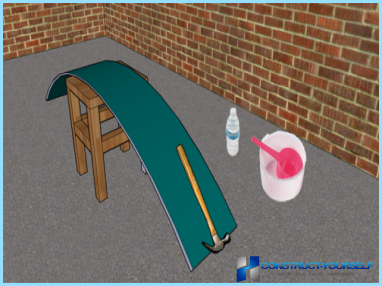
- «Wet» – provides hydration of the gypsum Board. Cut off element of the desired size and coated on its surface with many punctures, using an awl or a needle roller. Dampen the item with water and lay it on the template, prepared from everyday items. The material will take the desired shape and is ready to use immediately after drying.
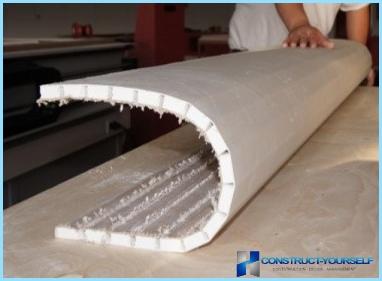
- «Dry» method of bending plasterboard with their hands involves the application of cuts on one side of sheet (see photo). It is more time consuming, requires specific skills and patience.
Installation of the arch between the living room and kitchen ↑
The preparations are complete, now consider «step-by-step» plan the installation of the arched doorway between the kitchen and living room, photos of certain stages of work considerably will help us in this.
Installation frame ↑
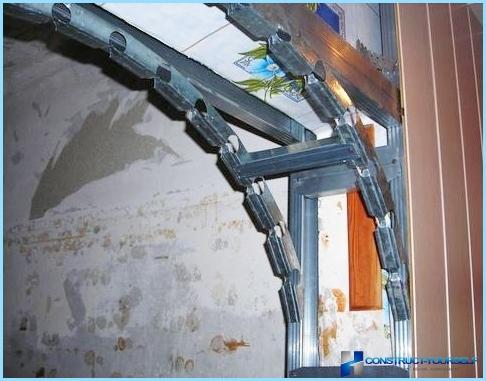
- Dowels reinforcing strip guide profile on both sides of the upper floors. Similar items should be mounted on the side walls from the top of the structure to the point where the rounding ends of the arch. Mounting the arch between the living room and kitchen with your own hands, remember that the installation frame must be performed with the retreat inland of the opening 15 mm is the distance «covered» thickness of gypsum Board and finishing.
- The bonding frame of the arch with screws «metal», mounted on U-shaped frame, the arc elements. Strengthen the design strips upright profile.
The cladding ↑
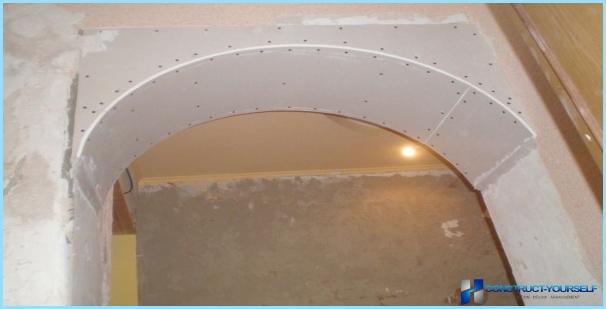
- Take a sheet coated with the previously stamped and cut out the side wall. «Pretends» it in place – if the item fits, then cut another one, similar to the first. Fixed elements of the casing to the frame of the arch with the two sides with screws in increments of 100 mm, slightly utaplivaja them hats.
- The arc of the arch between the living room and kitchen close to the curved strip of plasterboard, prepared in advance, it is attached with self-tapping screws to the profile every 50-70 mm.
All our arch is almost ready and «waiting» final finishes. Of course, this is only the most basic principles of creation of the partitions of the arch type. In detail having got acquainted with the site and with the support of specialists, you can own hands to make a photo of your kitchen with arch to the living room took pride of place in our gallery

