The contents
The problem of occurrence of cracks of the ceiling slabs facing the majority of residents of apartment houses, especially panel buildings. The reasons for such defects may be multiple, and the changes of the soil under the building, and the shrinkage of the walls in new buildings, and not the best work of builders, the use of substandard building materials. In any case, such defects in the ceiling in the apartment do not add masters good mood. Sooner or later you have to solve the problem of how best to megorzese seal the joints between the slabs.
Modern technologies allow to once and for all resolve the situation with the incorporation of defects in the seams between the edges of adjacent floor slabs, installing the finishing of drywall sheets or stretch option. Such a solution is not always available, may not allow the height of the premises or financial position. In this case, it will have to do repairs and sealing of overlap seams on the ceiling.
Specifics of the grouting ↑
Consider the specifics of grouting:
- if the crack is narrow but deep, from the materials it is better to send your choice of cement grade NTS, the solidification it expands and adheres tightly to the surface will not crumble out of the joints;
- if the cavity is too wide to seal with an additional use of sealing components, for example, polyurethane foam, expanded polypropylene, etc..
How to seal the seam on the ceiling between the floor slabs ↑
When planning the sealing of cracks, is to stock up on the necessary materials and tools. Better to give preference to high quality materials which have specific characteristics that are most suitable for sealing cavities between the slabs.

Required materials:
- Cement grade NTS;
- Primer for deep processing and entry.
- Elastic filler (may be latex);
- Polyethylene foam or building foam;
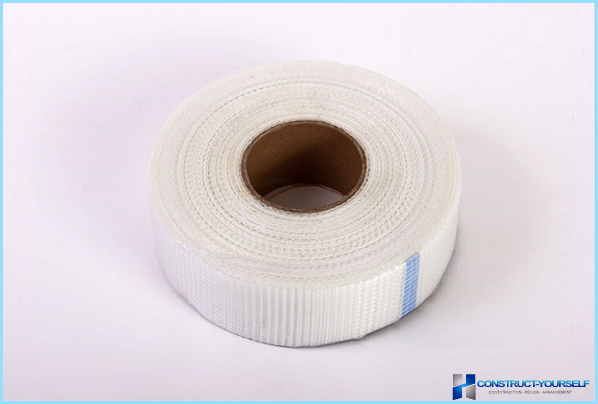
- Serpyanka not less than 20 cm;
- Putty for pre-treatment and finishing composition.
- Spatulas wide and narrow, brush, Pulver, hammer.
Technology of sealing the cavities of the joints between the ends of the slabs ↑
From grouting to repair the entire ceiling. First, evaluate your strength and capabilities. The ceiling repair is a time – consuming task. To prepare for it, you need to strip the ceiling of old coatings, whitewash, vykroshivaetsja plaster, flaking putty.
The old whitewash washed with water, first moisten the ceiling with a spray bottle with water, preferably hot, after waiting about 15 minutes, clean the ceiling with a spatula to plaster from old paint.
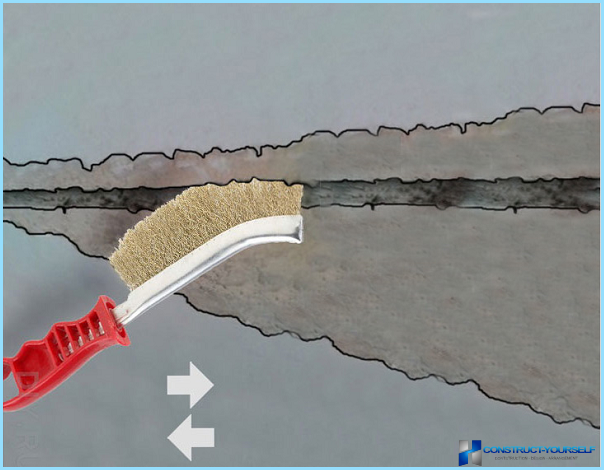
If the ceiling has traces of rust, treated with a special compound against rust. In places where the old plaster behind the ceiling, you need to clean it with a spatula. Then, the joints free from the remnants of old plaster, remove the excess cement slurry, debris, dust, if necessary, extend the seams with a hammer. The seam should ideally be P-shaped or enlarged on the inside to better seal the putty. After the expansion seam of him clean the dust with a brush, wipe with wet sponge.
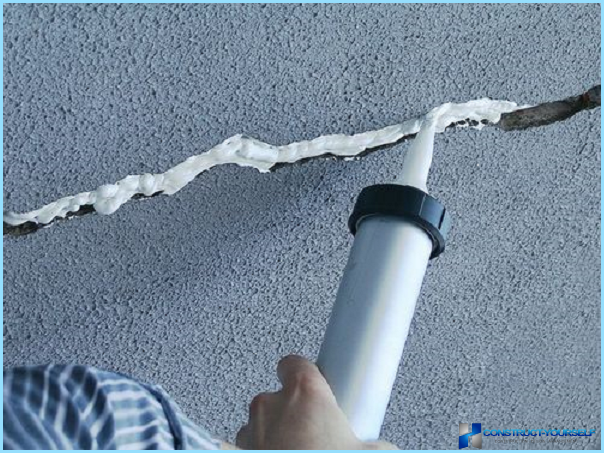
Then it is necessary to estimate the value of the obtained cavity to decide how to repair ceiling seam between the stacked slabs. Depending on its size use different materials for sealing. Shallow joints with a width of more than 3cm moisturize, then blow out with foam. After the foam begins to harden, a knife cut off the excess, it is necessary to make a hole triangular in shape from the edges of the slabs to the center of the seam to a depth of 5-7mm.
A gap of less than 3cm in width, but deep must first be primed deep penetration, then dry well. After drying, the slabs inside the depression lay a moisture resistant sealant and close up the seal (polypropylene, polystyrene or other material). Outside plastering of cement mortar brand NTS, leaving a slight indentation on the inside of the seam. Then you must wait for the complete drying of the cement mortar.

As a result of the operations is obtained filled with construction foam or mortar based on cement the seam with a hollow in the centre. In this deepening applied elastic filler, you can use latex. To make it easier to apply the filler, use two spatulas, wide and narrow. On a broad reach the required amount of putty and then put it in a narrow seam, achieving good fit and smoothing. Then, the surface is treated with a wide spatula, smooth down and remove excess putty.
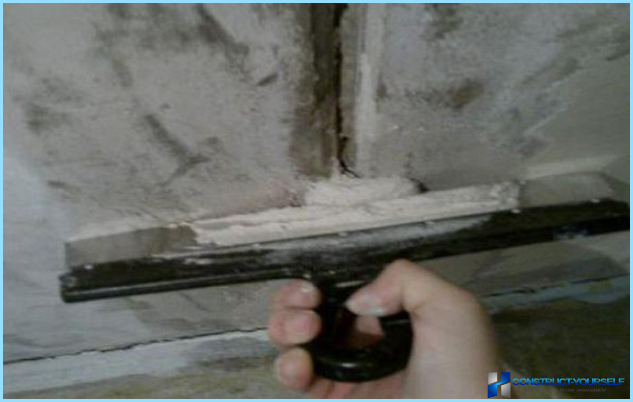
About a day is required to withstand for a good drying of joints, you can then start putty. For this purpose, pre-plaster, it is applied to the place, capturing the adjacent rim of the slabs. The top layer of putty is applied to the junctions, it is possible instead to use a painting mesh, pressed into the plaster to prevent cracking and vykrikivaniem putty after curing.
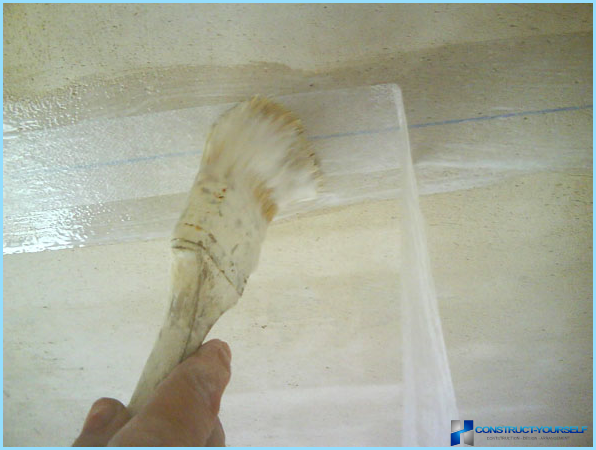
To avoid irregularities, the surface is smooth with a spatula. After complete drying of the putty treated surface of the seam emery tape to remove the remaining irregularities. Then applied pre-plaster, which has a smaller grain size, on the ceiling, it is easy to do using a wide spatula. After drying sand the ceiling with sandpaper. After the treatment is applied smooth plaster finish, this is the final stage of repair. Repeat the operation with the drying and zashlifovyvajut fine sandpaper. After removing all the irregularities and roughness of the ceiling can be painted.
It happens that the ceiling panels in the room are of different heights. In this case you will have after grouting to achieve the effect of smooth and beautiful ceiling plaster. It is better to use a paint grid. The pre-processed ceiling is a good primer that will improve adhesion of the mortar to the concrete slabs due to the special composition containing solid particles. The layer of plaster is applied the masking grid, well smooth it over the surface of the slabs, then allowed to stand for 2-3 days so that the plaster is well dried out. After that, the ceiling putty as described above.
Tips:
- foam when sealing deep cracks you can replace the glue used for tiles;
- instead of serpyanka (masking the mesh) will need a bandage or a strip of gauze. You can even use a thin cotton cloth, which is pre-wet with water and steam for shrink.
- for sealing small joints and cracks, you can use acrylic sealant. From the silicon it is better to refuse, as it turns yellow over time, and badly painted.
To understand the peculiarities of the repair of the ceiling, watch the video about custom sealing joints between the roof slabs.
Than to seal the joints between the OSB plates ↑
If the ceiling were finished OSB plates, before staining, you must do the preparatory work. To figure out what to seal the joints between the ends of stacked OSB plates, you need to consider features of their coverage. On their surface to increase the moisture resistance coated with a special material impermeable to water. Aqueous compositions when working with OSB plates should be avoided so as not to cause swelling and warping of the surface. To seal joints suitable sealant based on acrylic. Sealant silicone badly painted, so the seams between the OSB plates, as a rule, do not use.
High-rise residents are often concerned about the issue than to seal the joints and gaps between the ceiling tiles on the balcony. To solve this problem you must first understand through the crack between the ends of the slabs of your balcony and adjacent or not. The crack between the balconies is best to seal both sides, after agreeing about it with a neighbor. To seal you need to choose moisture-resistant materials that can withstand seasonal changes in temperature and impervious to UV. For cracks in inaccessible places suitable sealing foam, before starting work it is necessary to clean the crack of debris, well-primed after foaming to cement to the foam layer was isolated from the external environment, and again well primed. After the operations are the plugging of gaps, you are ready to decorative works.
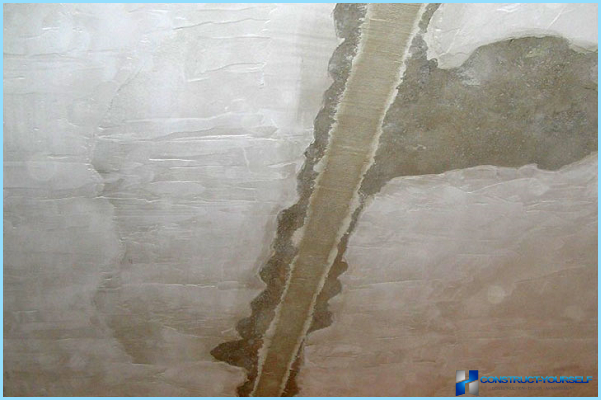
For sealing and sealing of seams on the ceiling of balcony suitable waterproof mastic. Pre-slabs need to be processed waterproofing primer, so they do not leak. So you can get rid of leaks on the balcony in the rain.

